 Paloma
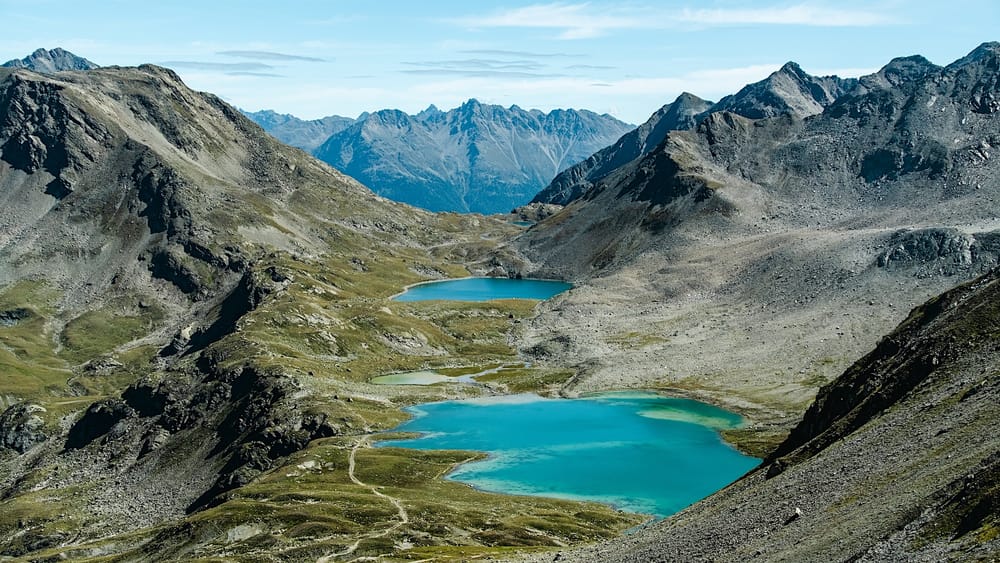
Table of contents
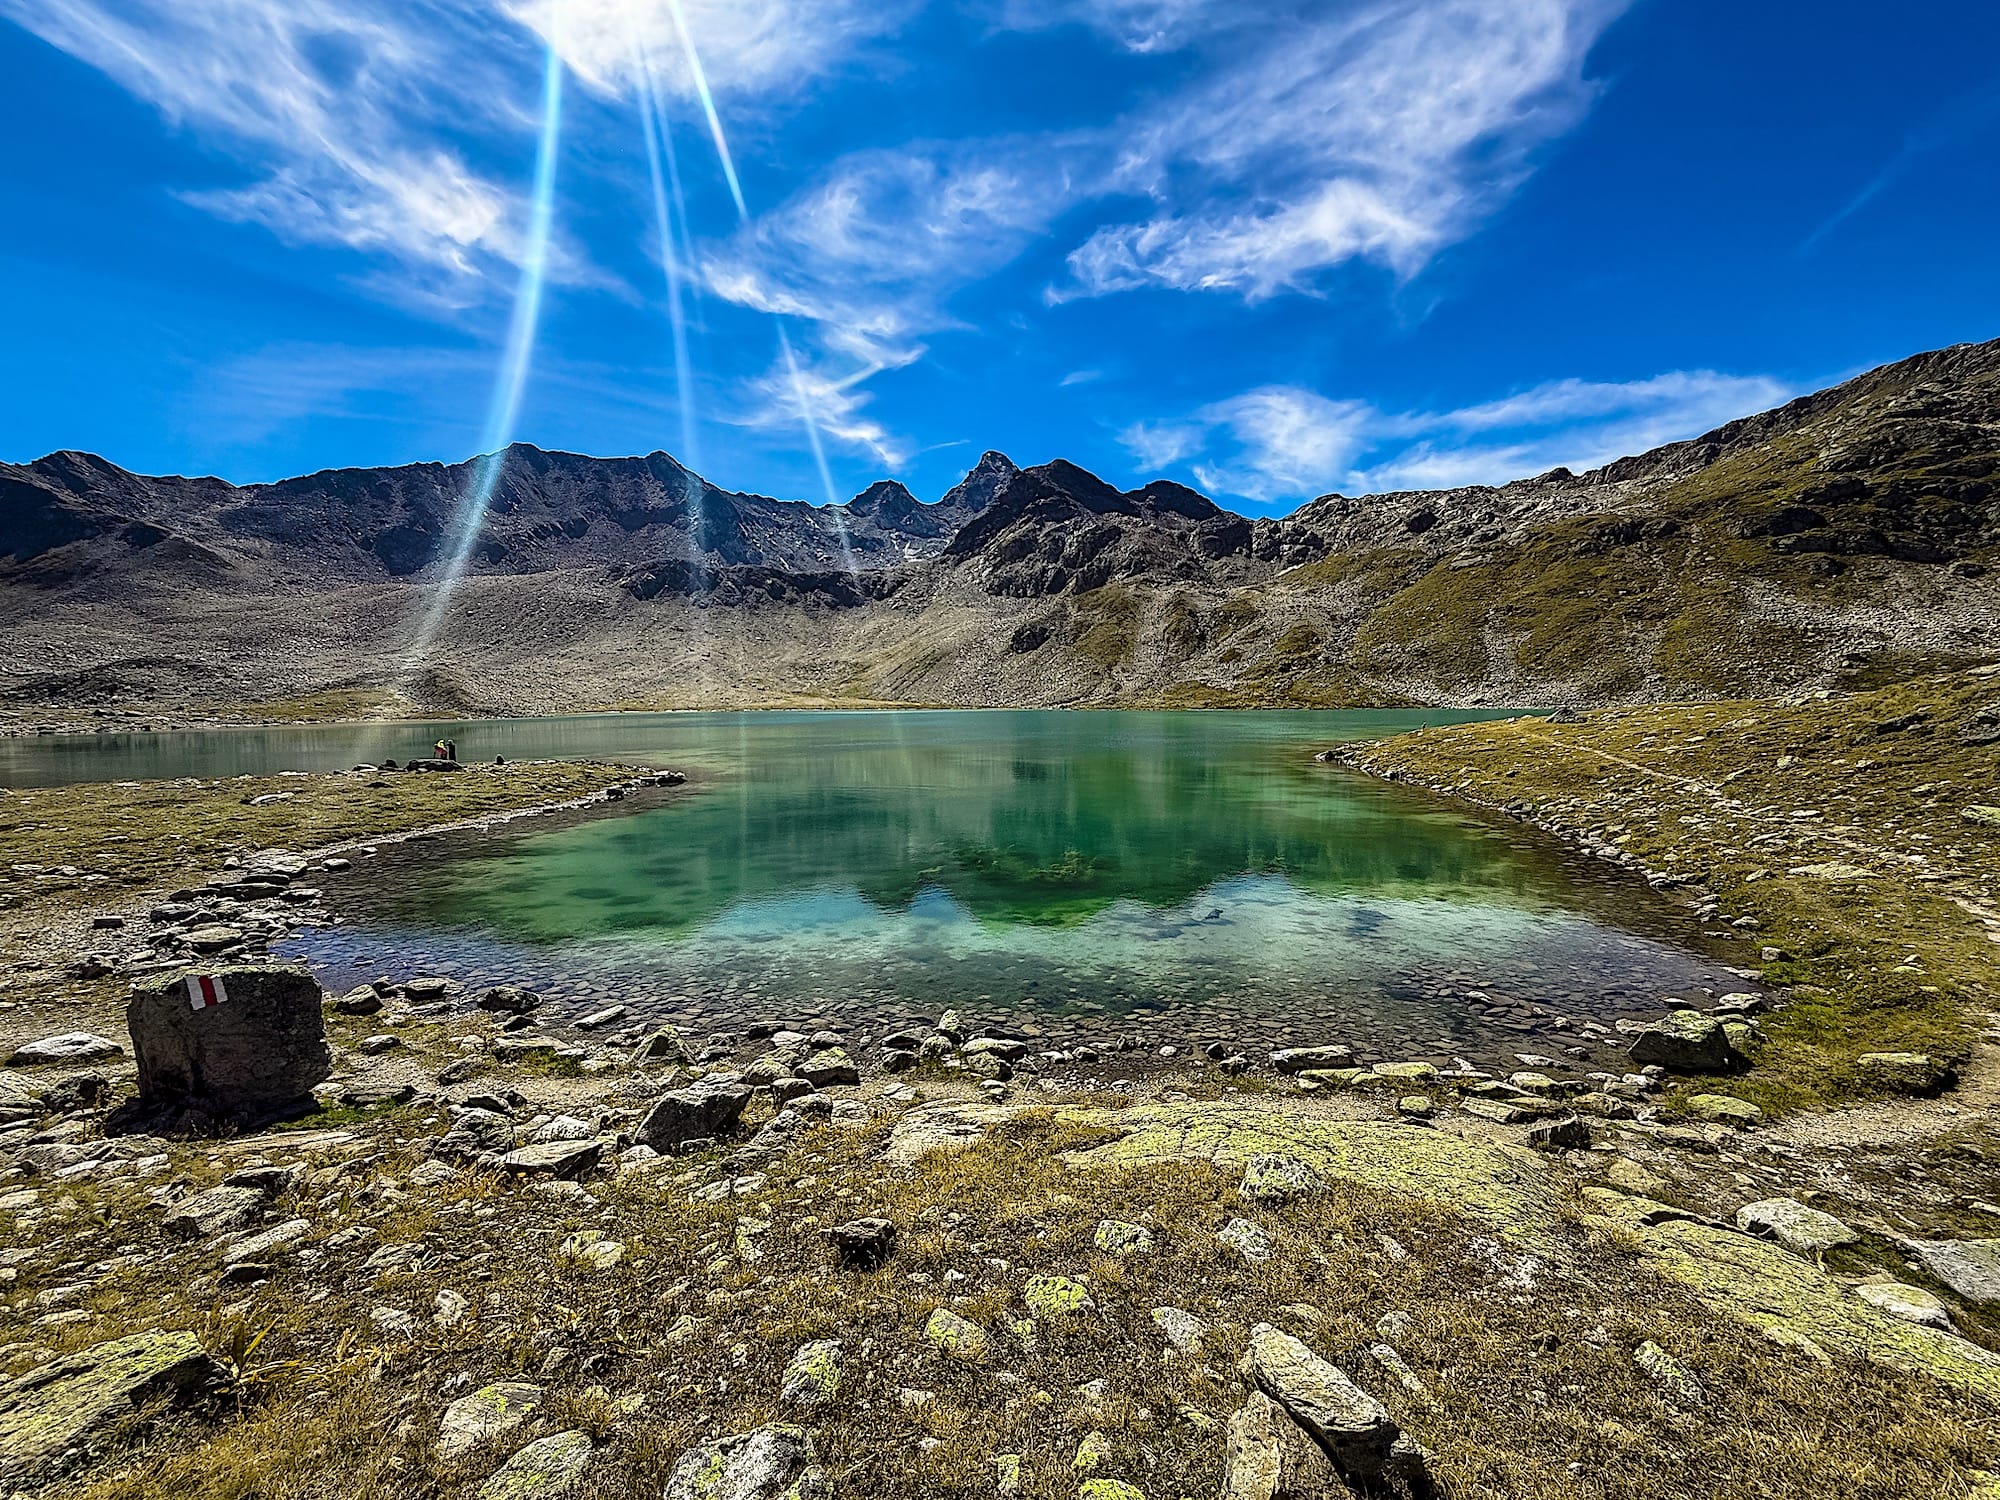
Honestly? This hike surprised me in so many ways. Yes, you've probably seen pictures of the Jöriseeen before, but nothing can prepare you for its raw beauty!
For starters, there's no gondola shortening the way, you almost feel like you're walking through Mordor at some point, and you even have to lift yourself up with the help of chains.
But that's exactly why this mountain will blow your mind. As soon as you see the lakes and their colors, the surrounding mountains, and the raw calm up there, you just forget everything else in the world.
The hike at a glance
Hard- Distance
- 6.9 miles (11.1 km), loop
- Time needed
- 5:30 hours total
- Elevation gain
- 2,550 ft ( 778 meters) up & down
- Starting point
- Next to the bus station Wägerhus/Abzw. Jöriseen here
- Parking
- Parking Wägerhüttä
- Cost
- Free: no cable car, free parking
- Crowds
- Low to Medium
- Sun exposure
- High
Trail overview
Hiking Map
Difficulty
This is a hard hike, especially on the way up after the lakes. It will test your endurance in two steep uphill sections.
Also, the chained section is exposed and not easy, so it's better suited for people in good condition with hiking experience.
Variations
I did this hike counterclockwise; however, you can do it clockwise too.
Most people go counterclockwise, and I think it's because you tackle the steepest parts first, and then going down is easier.
However, some people complain that when they go counterclockwise, they dont have the panoramic view in front of them most of the time. This didn't bother me personally, as I often took short breaks to take pictures and appreciate the landscape.
How to get there
By car
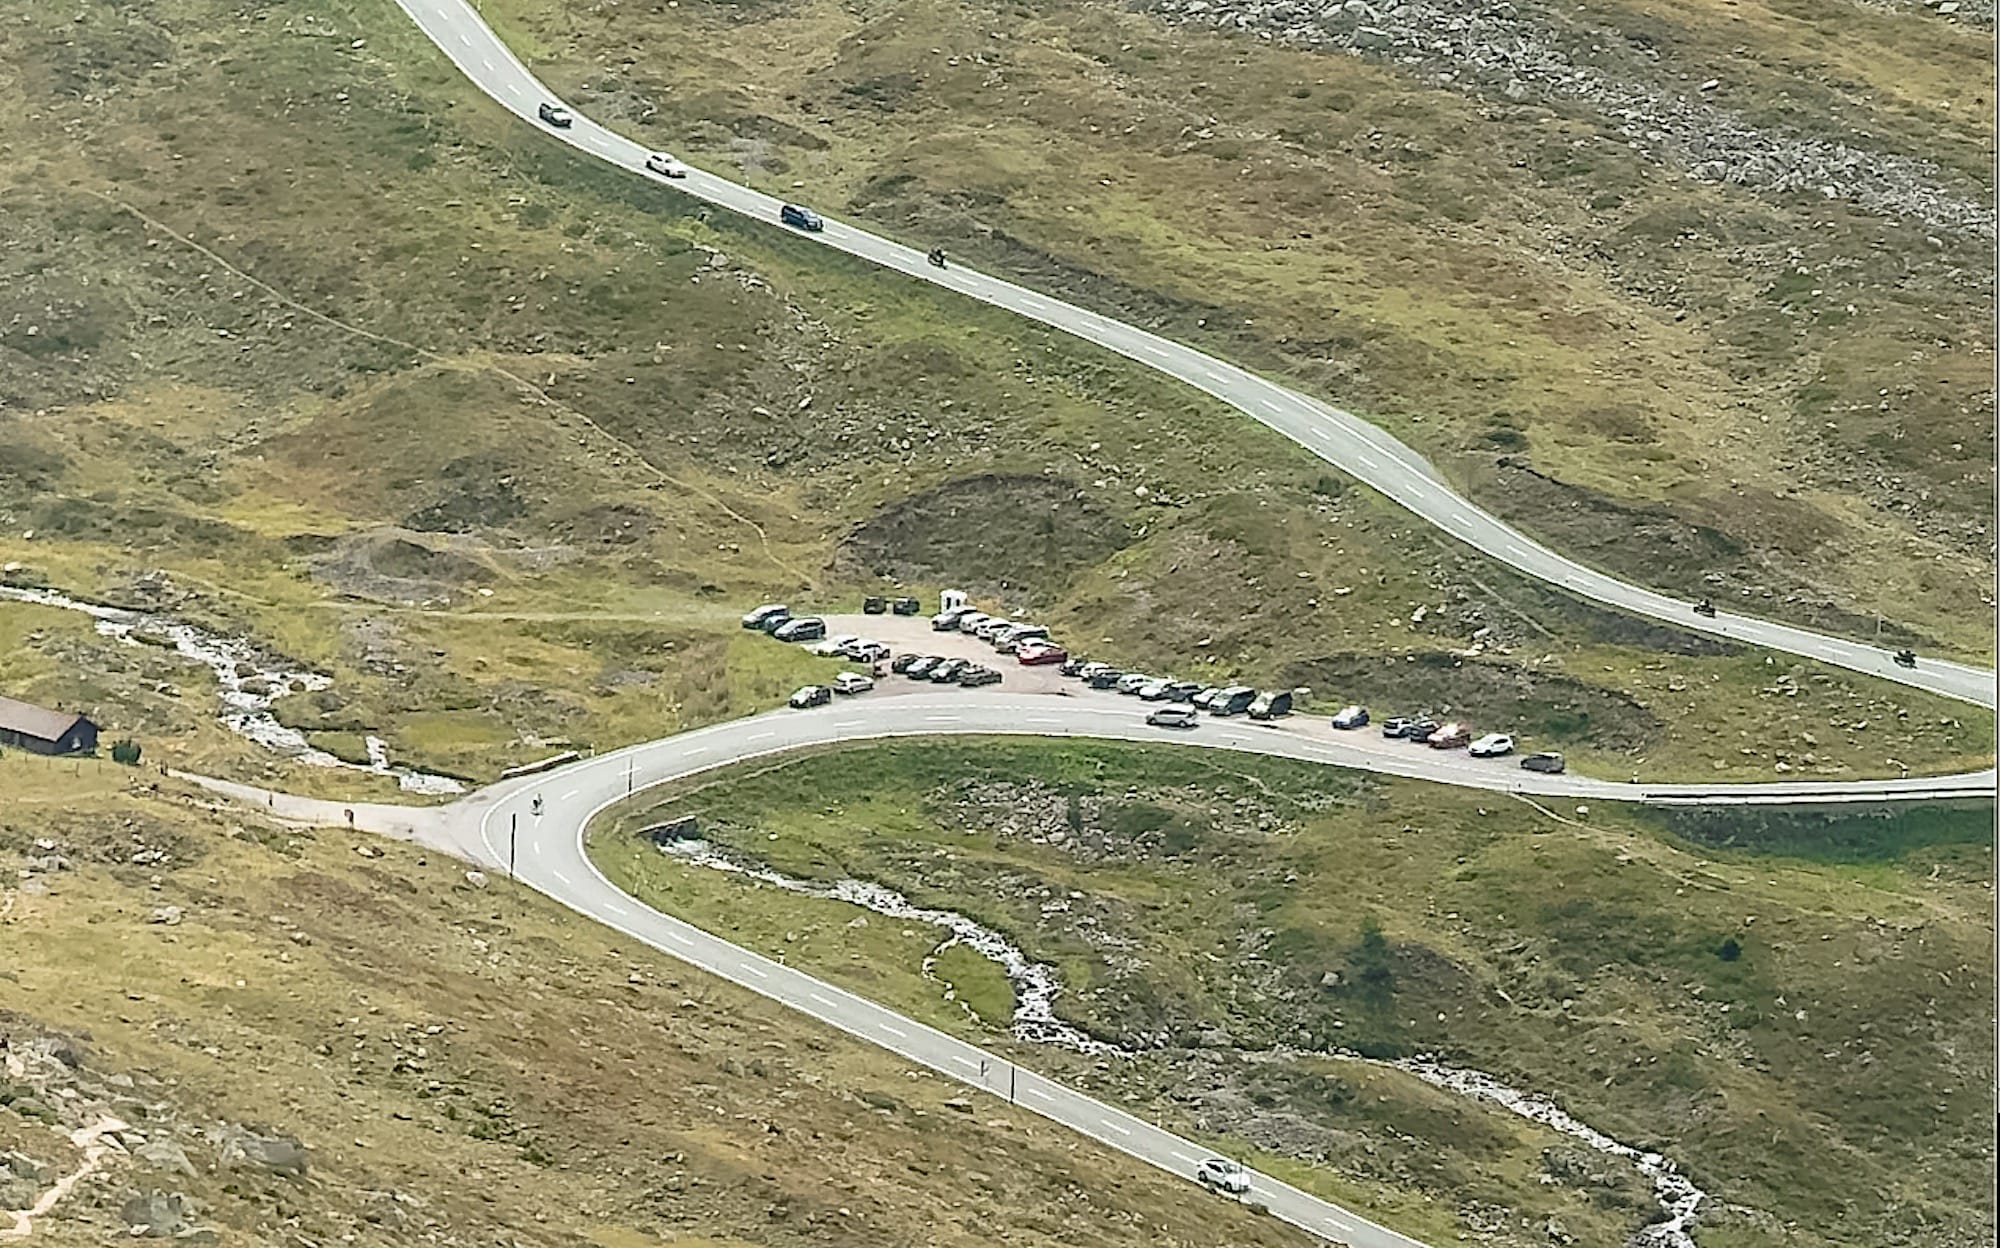
Drive to the free parking lot, Parking Wägerhüttä. It is a small parking lot, so try to be there early.
By public transportation
You can take public bus 331 from Davos Dorf, Bahnhof to the station Wägerhus/Abzw. Jöriseen, which leaves you literally at the start of the trail.
Practical planning
Operating hours & Cost
There's no cable car on this mountain, so this hike is completely free and gives you flexibility in when you start. Still, plan enough time to descend in daylight and/or catch the last bus to Davos.
Services on the mountain
You won't find any services along this trail, not even at the beginning. So make sure you have enough water and food before leaving the Davos area.
The trail in pictures
1 Up to the start of the loop
To reach the trail start, take the trail on the left of the only house you'll see. The trail to the right has a barrier and won't lead you to the Jöriseen.
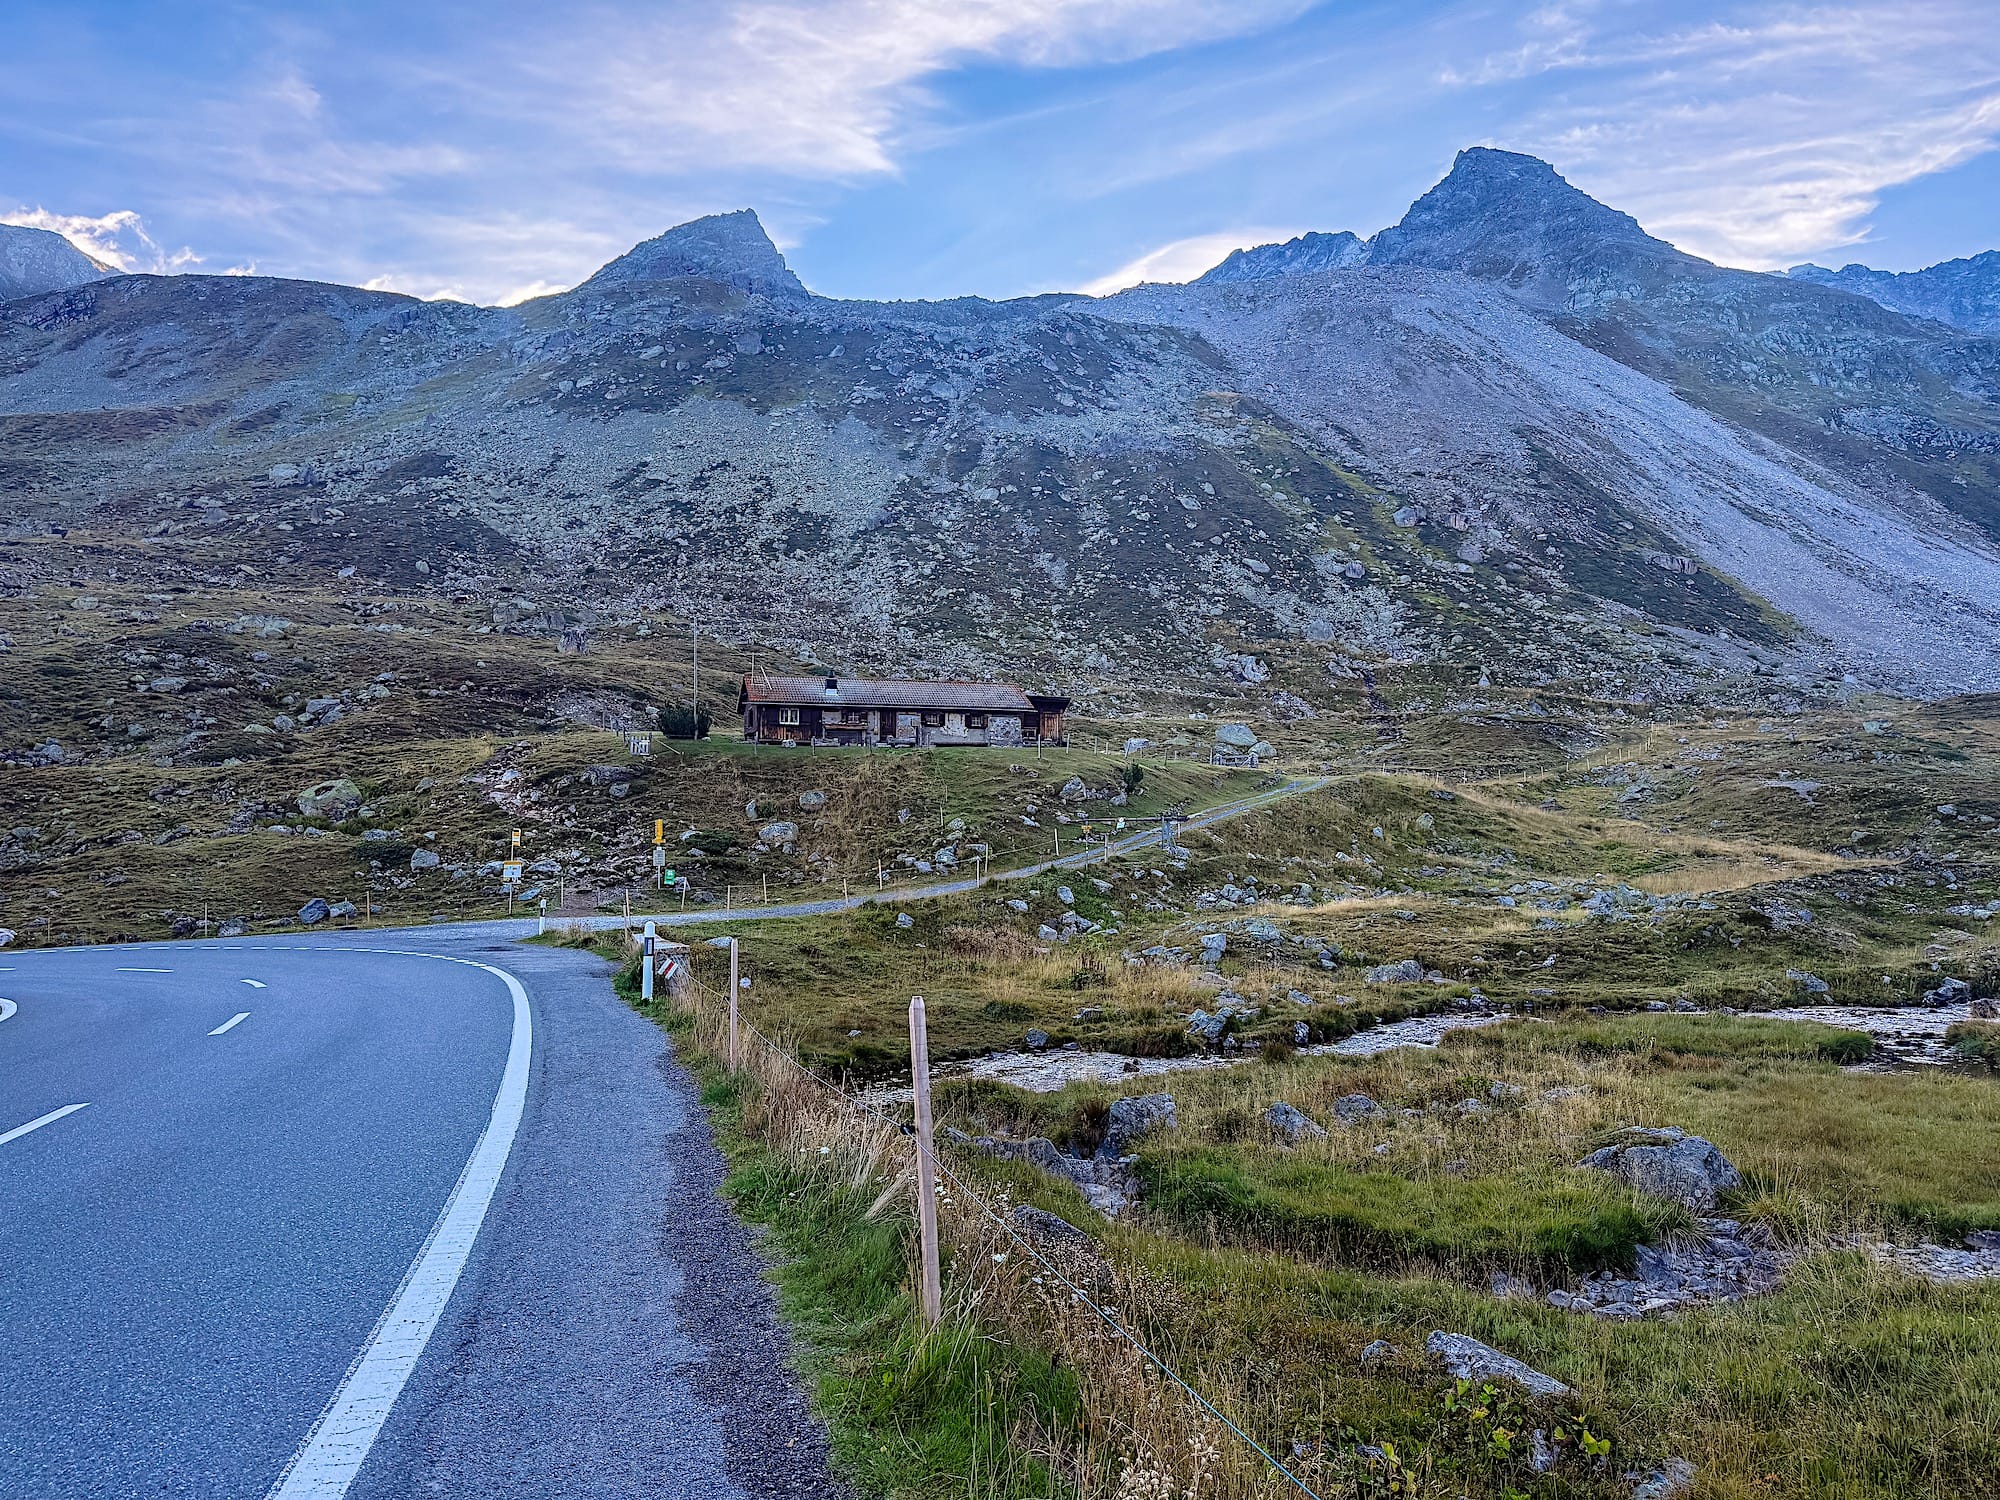
Right off the start, the elevation gain begins immediately. This first section is made out of switchbacks going up.
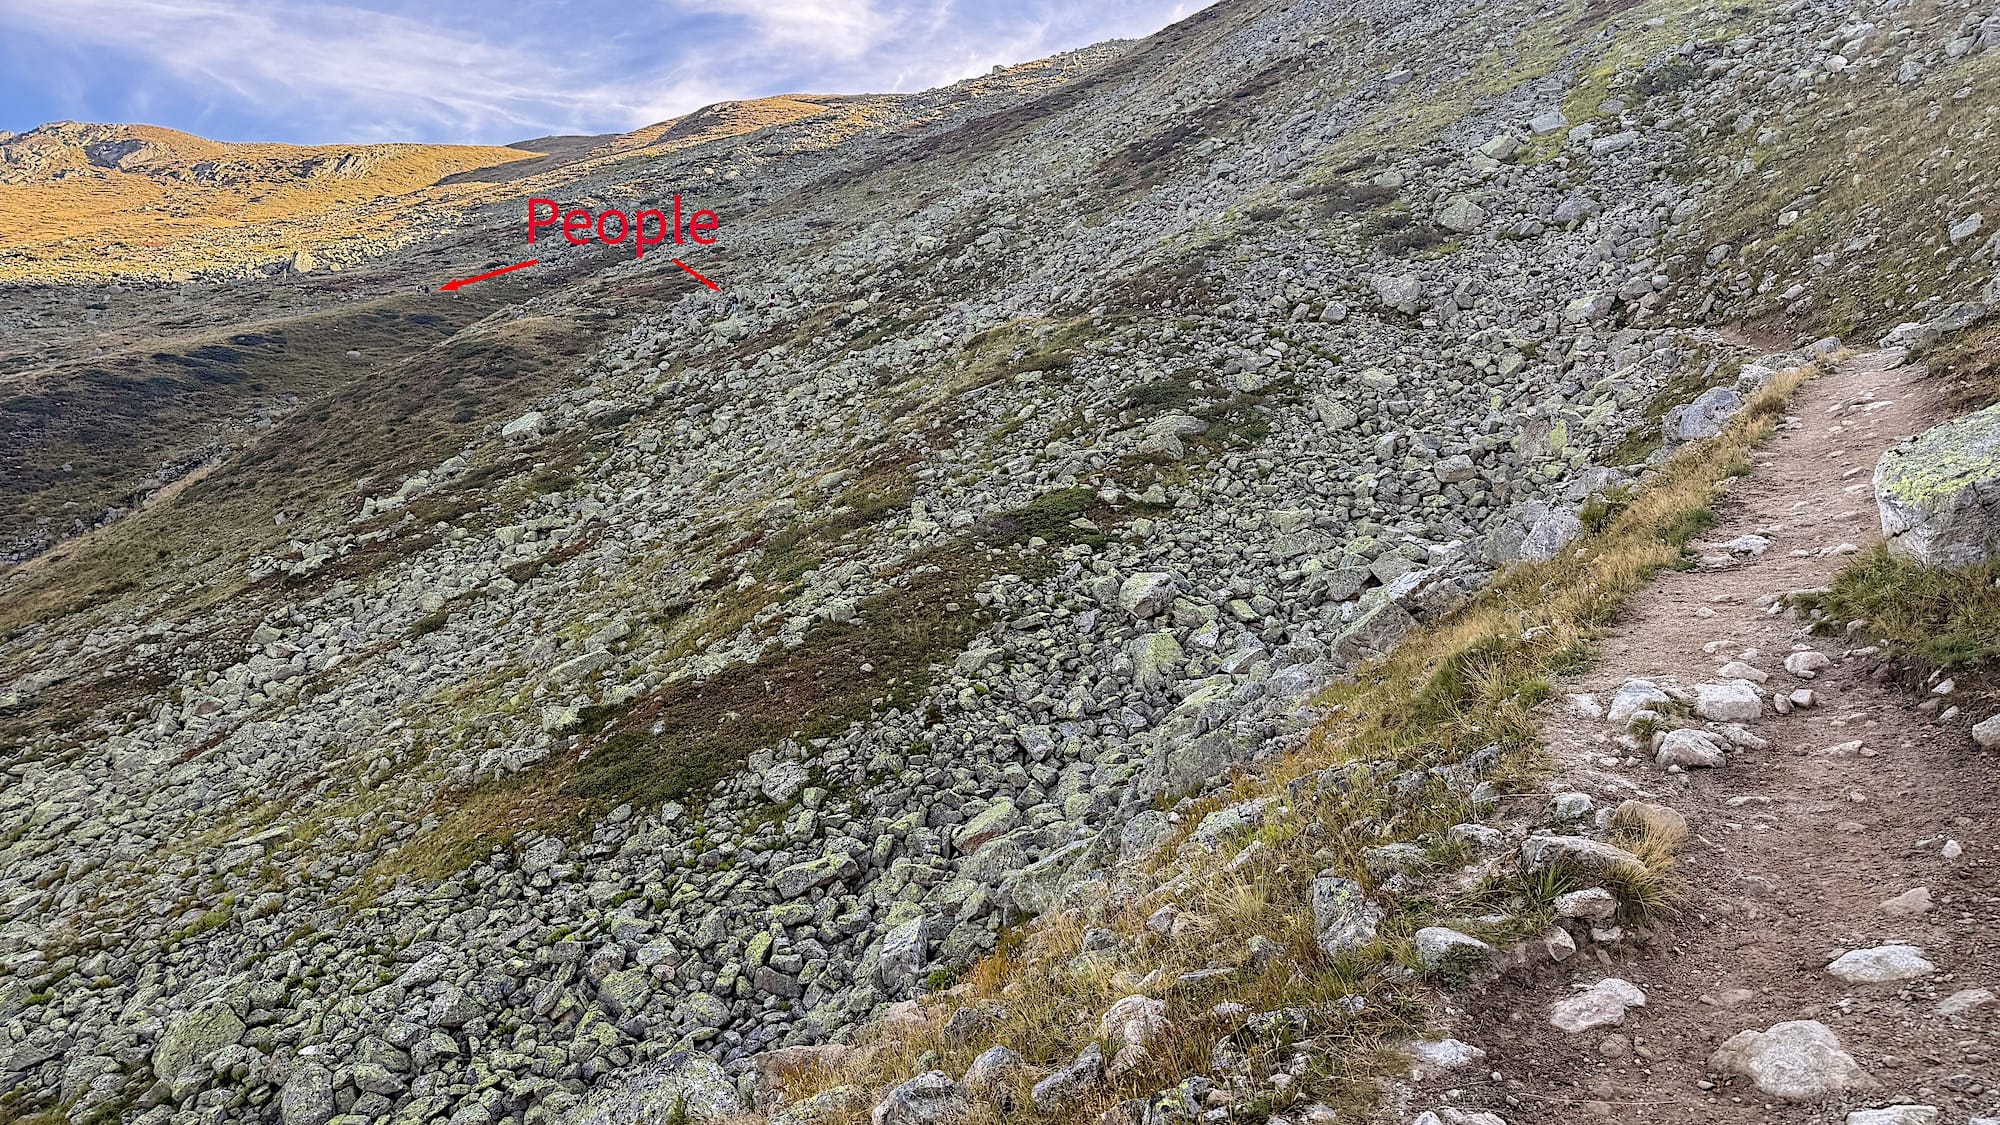
I went up early in September, and it was cold, so dont forget to bring a light jacket or a sweater if you go late in the season.
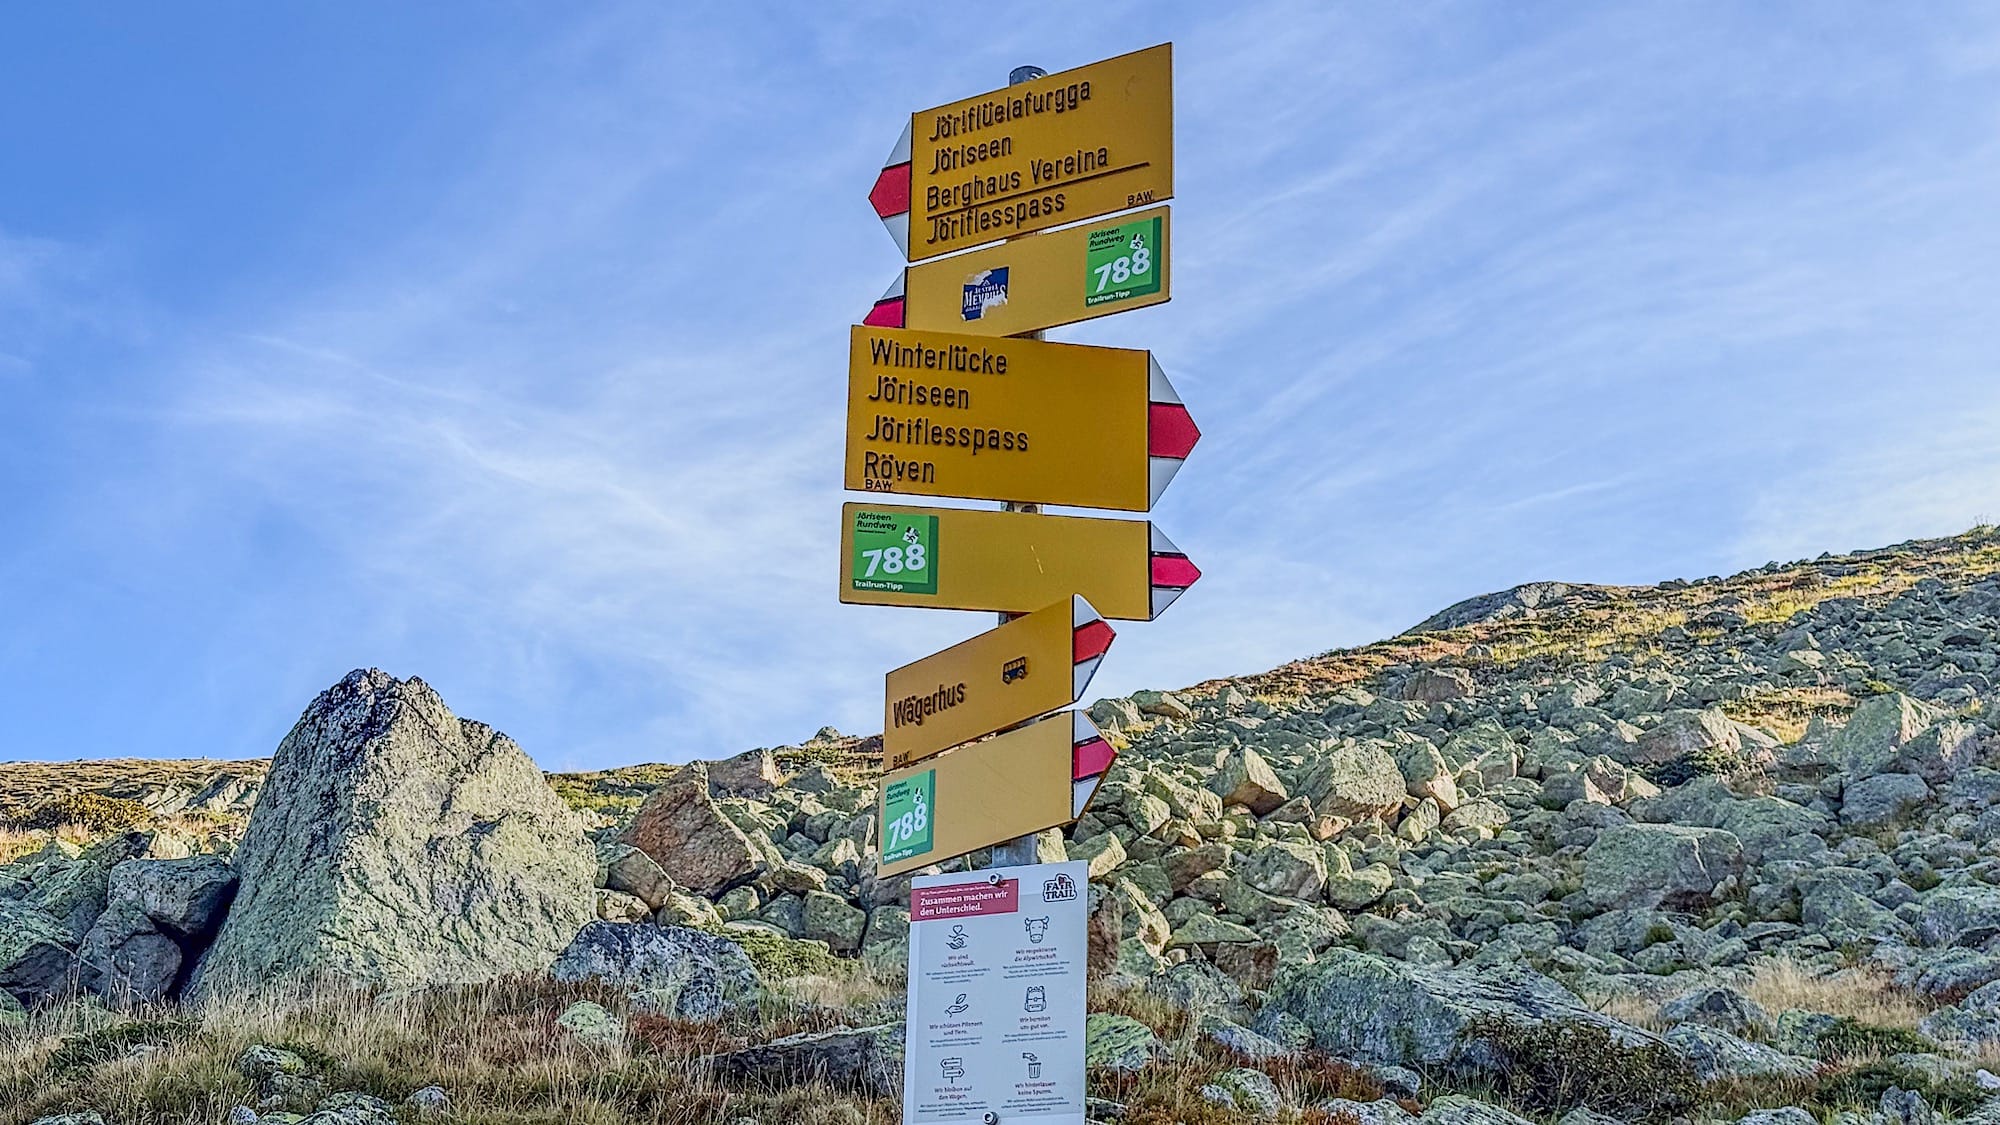
At the end of this part, the path splits in two, and you will find a sign. Go to the right.
2 Up to the Winterlücke
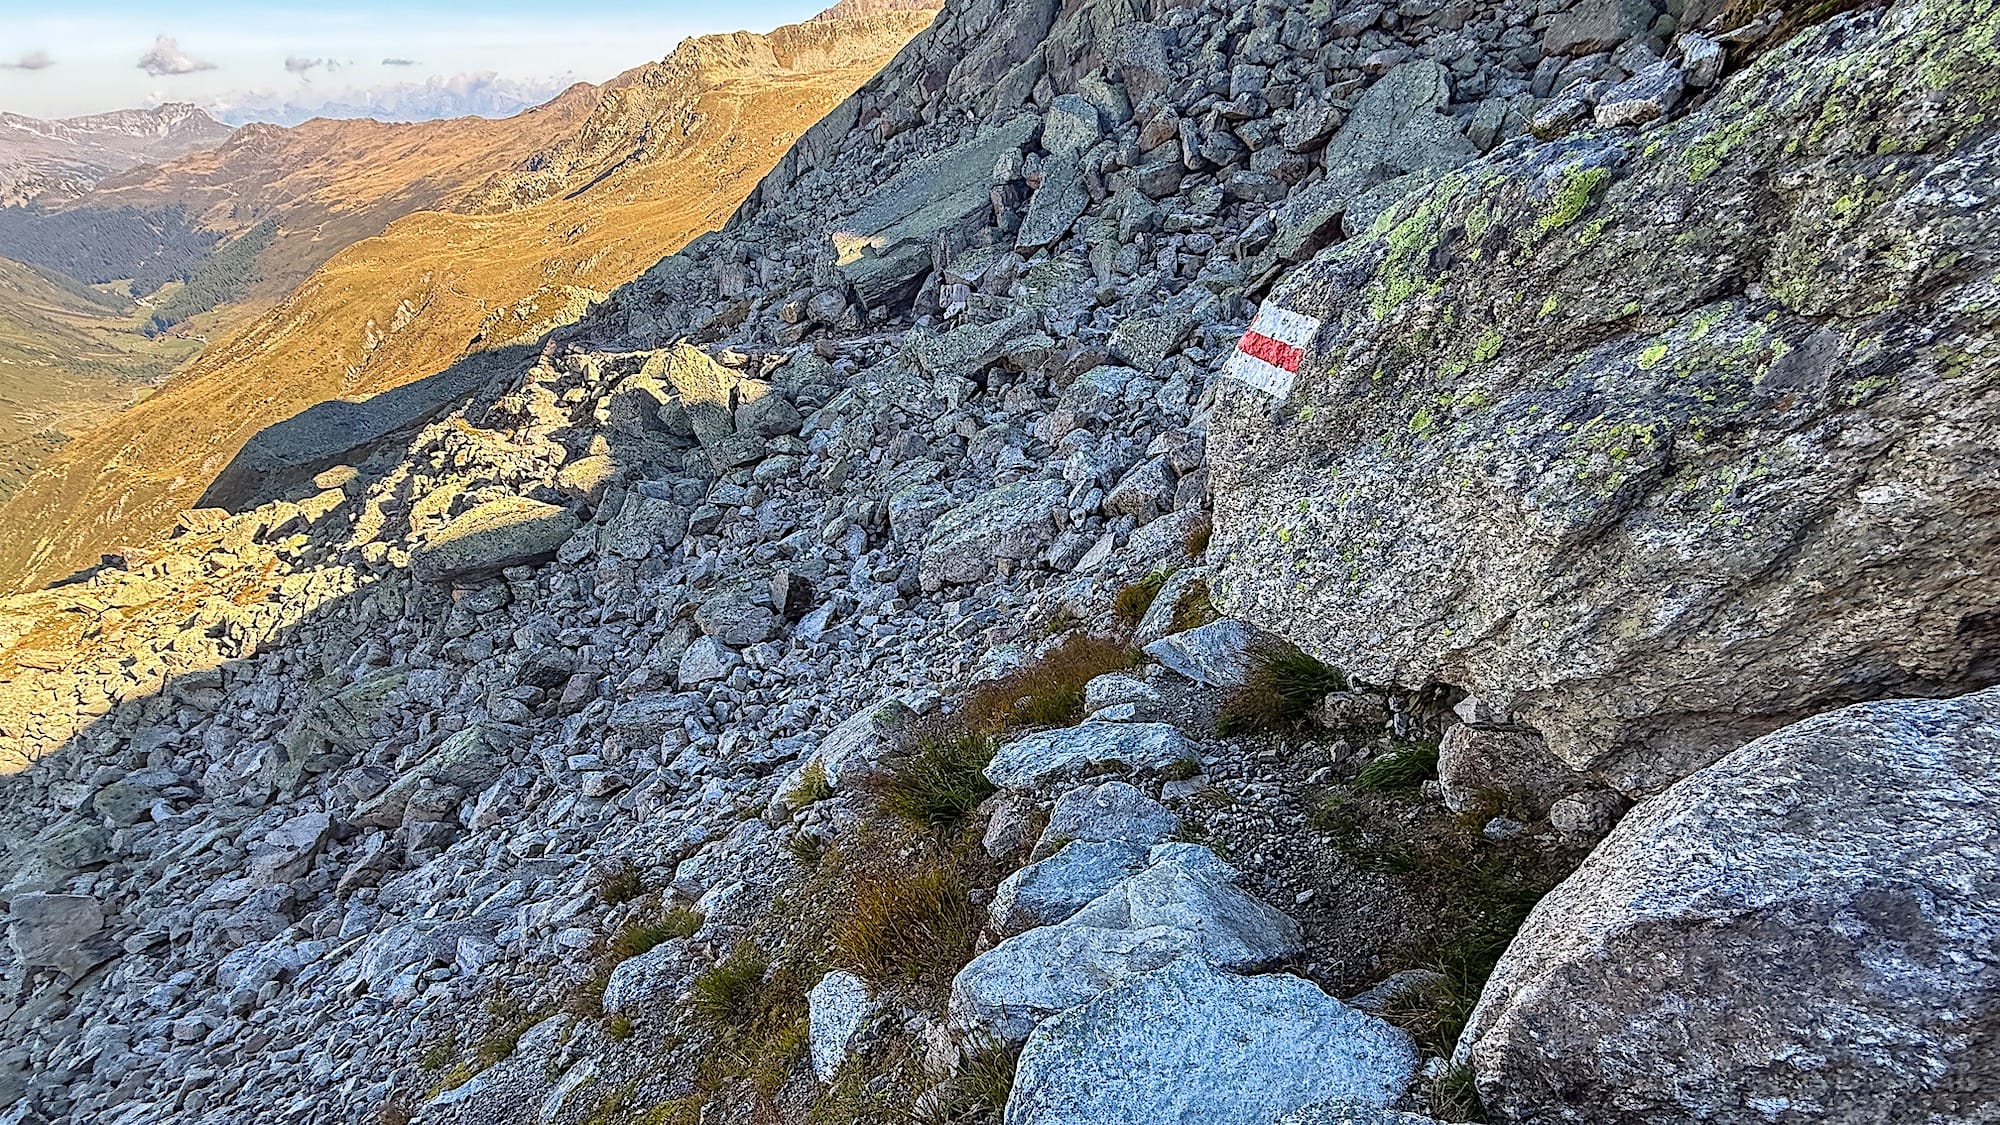
After this point, the barren landscape surrounds you while you keep on gaining elevation.
Some sections are very rocky and more complex to navigate, but nothing crazy. Keep going until you reach the end of the way up.
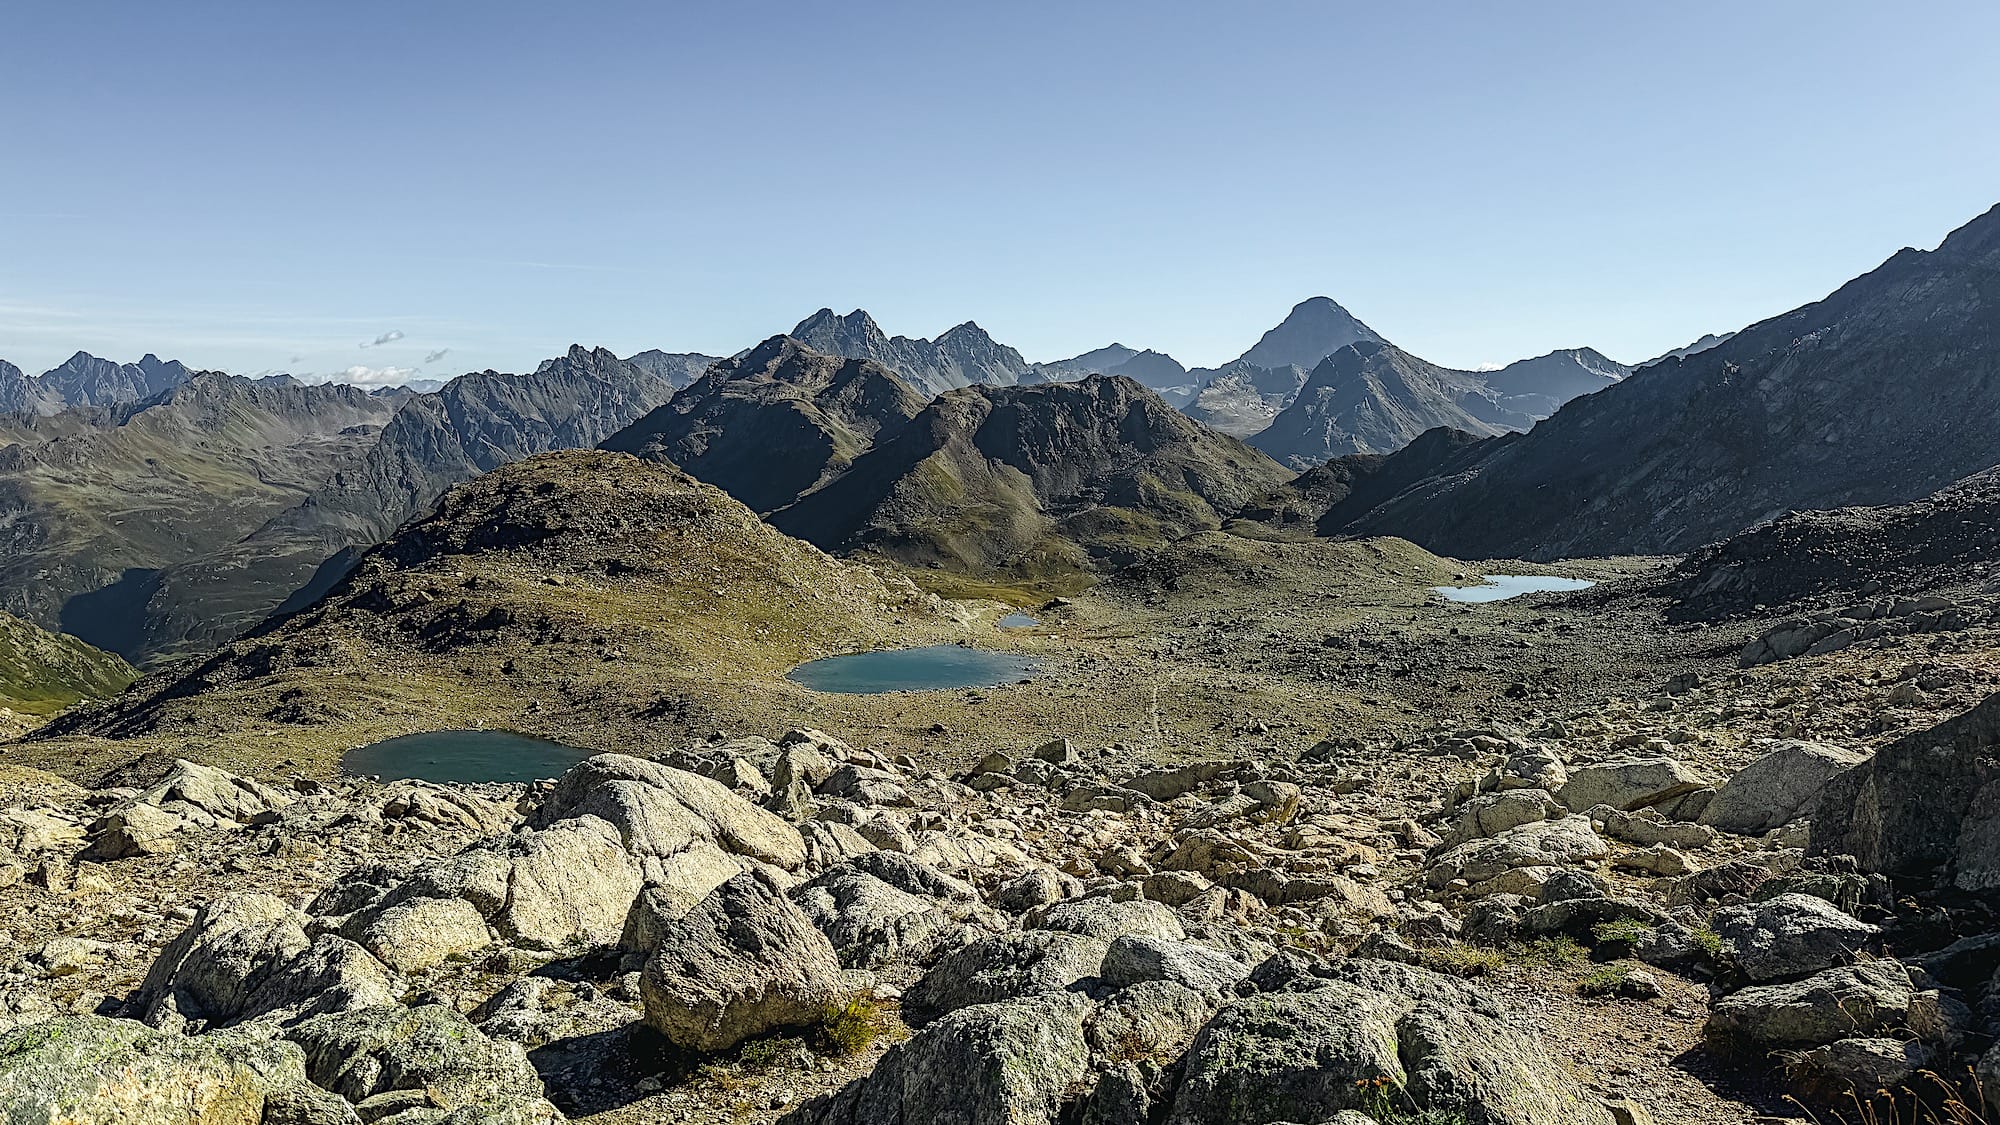
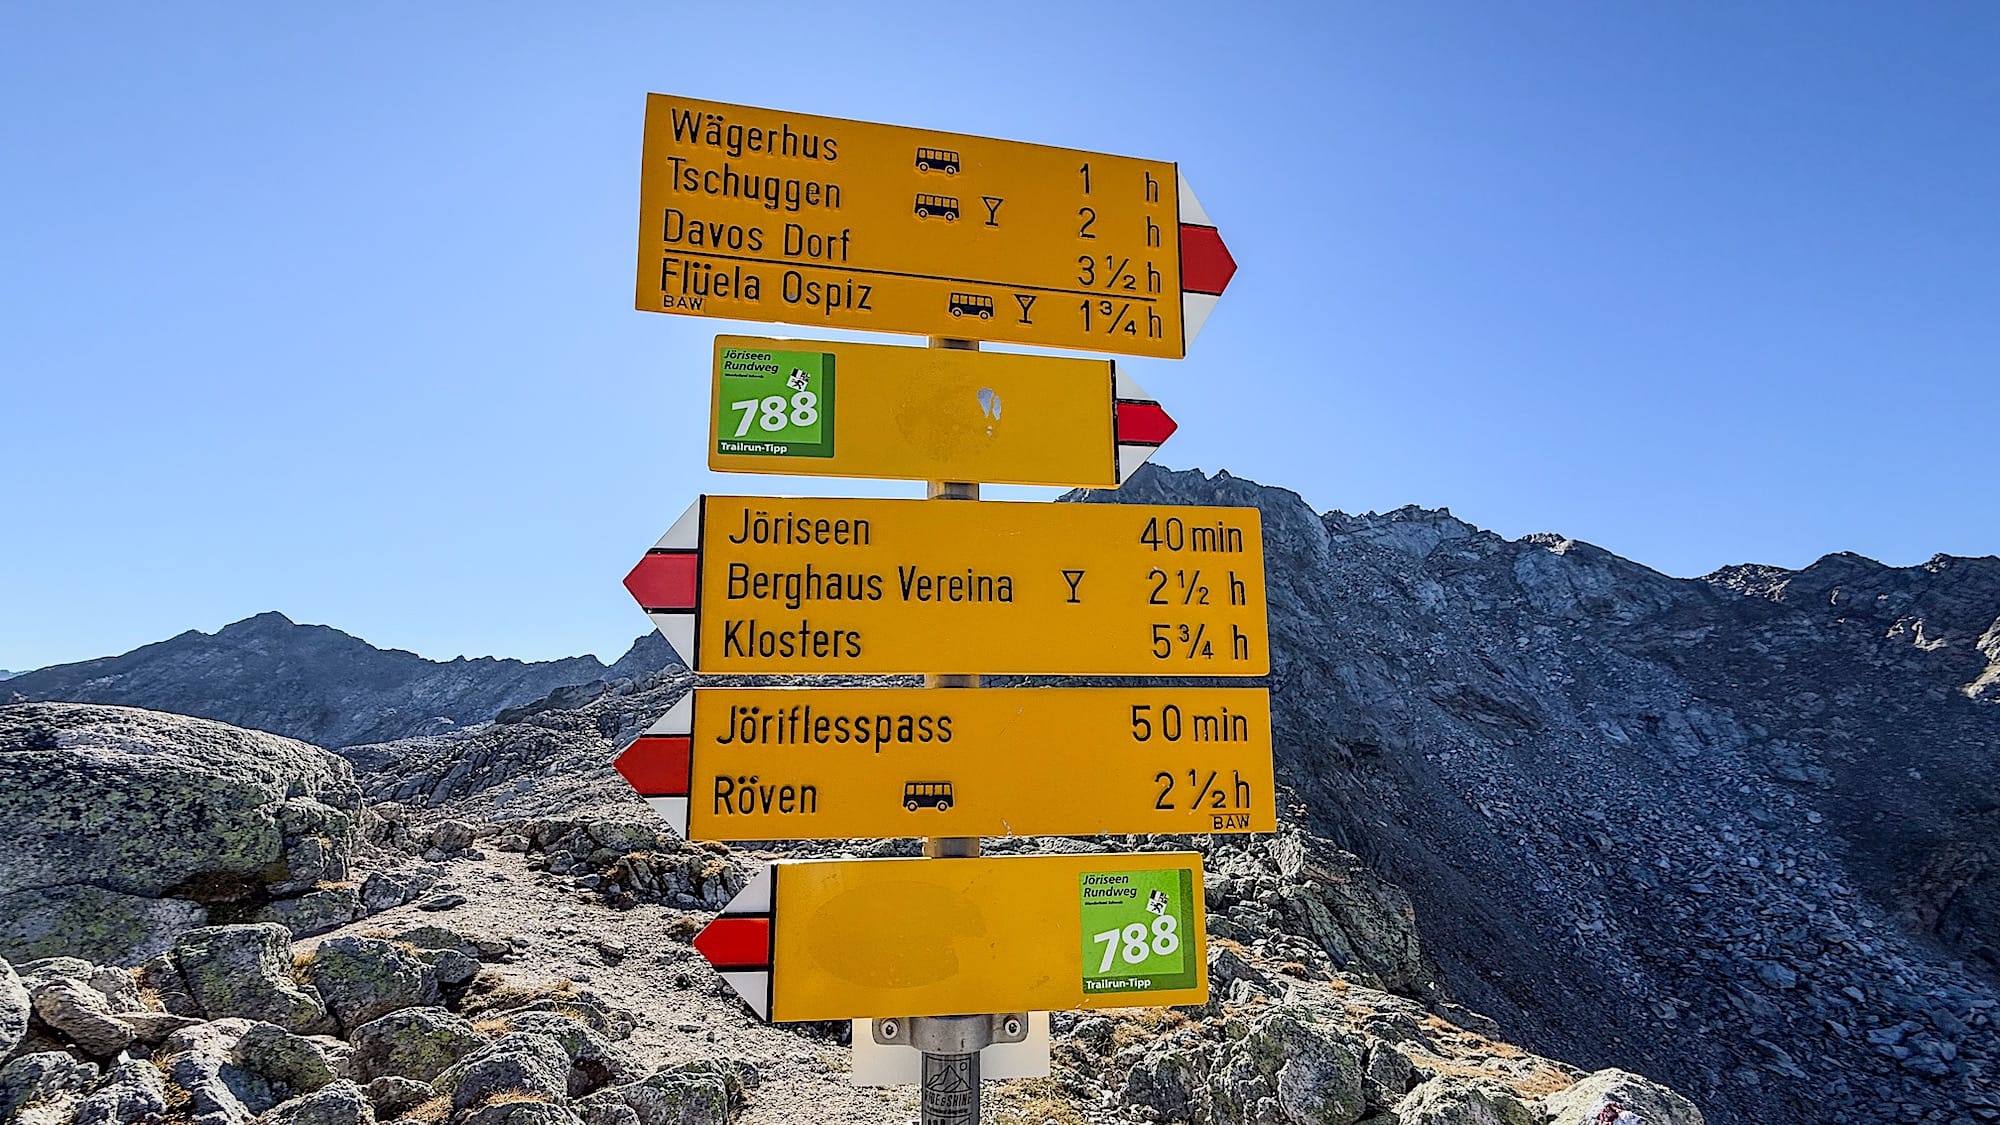
From here, you get a great 360-degree panoramic view. You should be able to see the first two lakes; they are small, and their color depends on the sunlight. The trail doesn't go by these lakes, but you can detour and approach them if you want.
3 Down to the main lakes
After this point, you continue down through a barren valley, which, in my opinion, was pretty cool, but there's no "main sightseeing" here.
This section continues down until you're close to the lakes, and you can actually get a sneak peek from the trail. You might get the impression you're getting away from them, but you're actually going around them, so don't worry, you'll get close to them right after this.
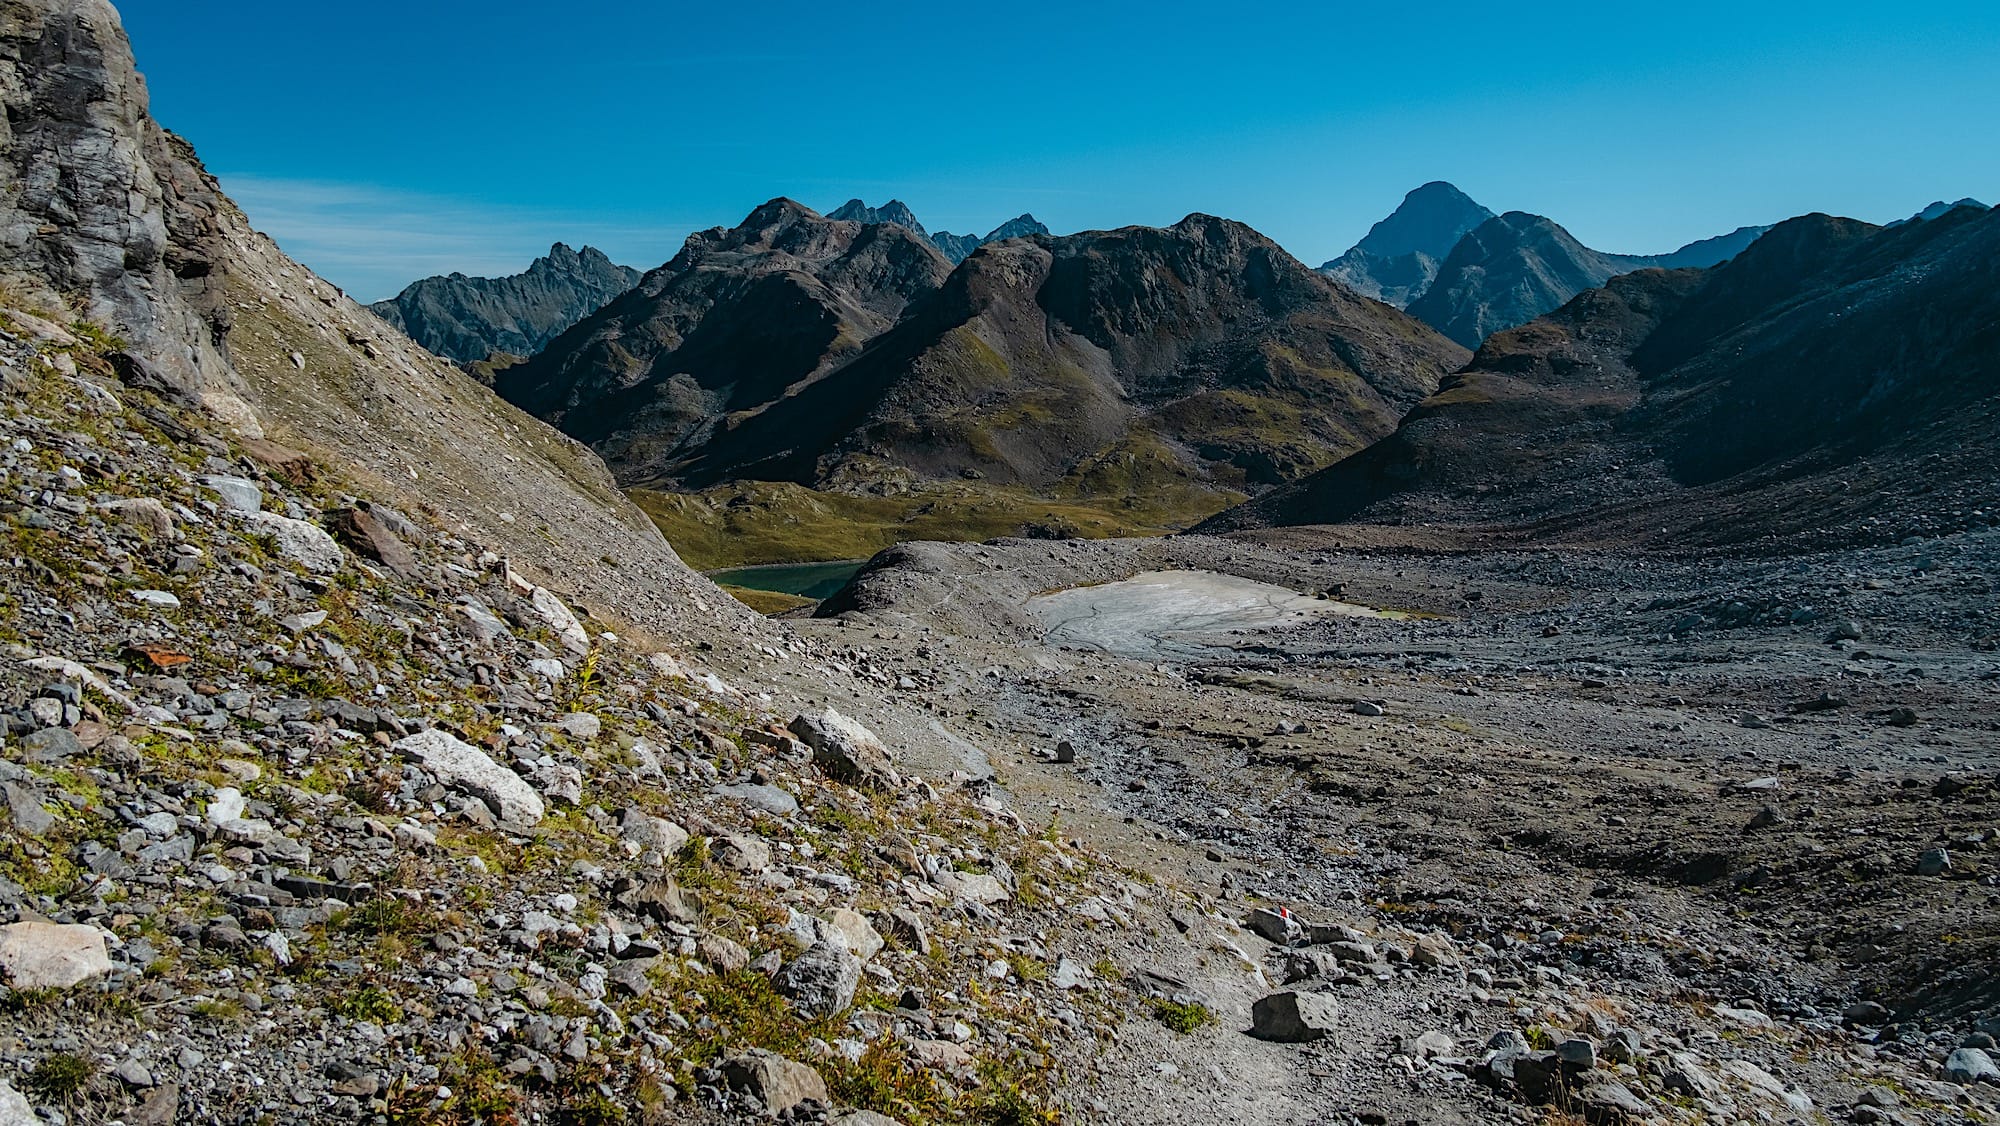
4 The lakes
Here, you get up close to 4 lakes.
After you take in the first lake, the trail takes you left. You can, however, go right if you want to explore this first lake further and a smaller lake beyond it. Make sure you come back to the "traditional" path after this detour.
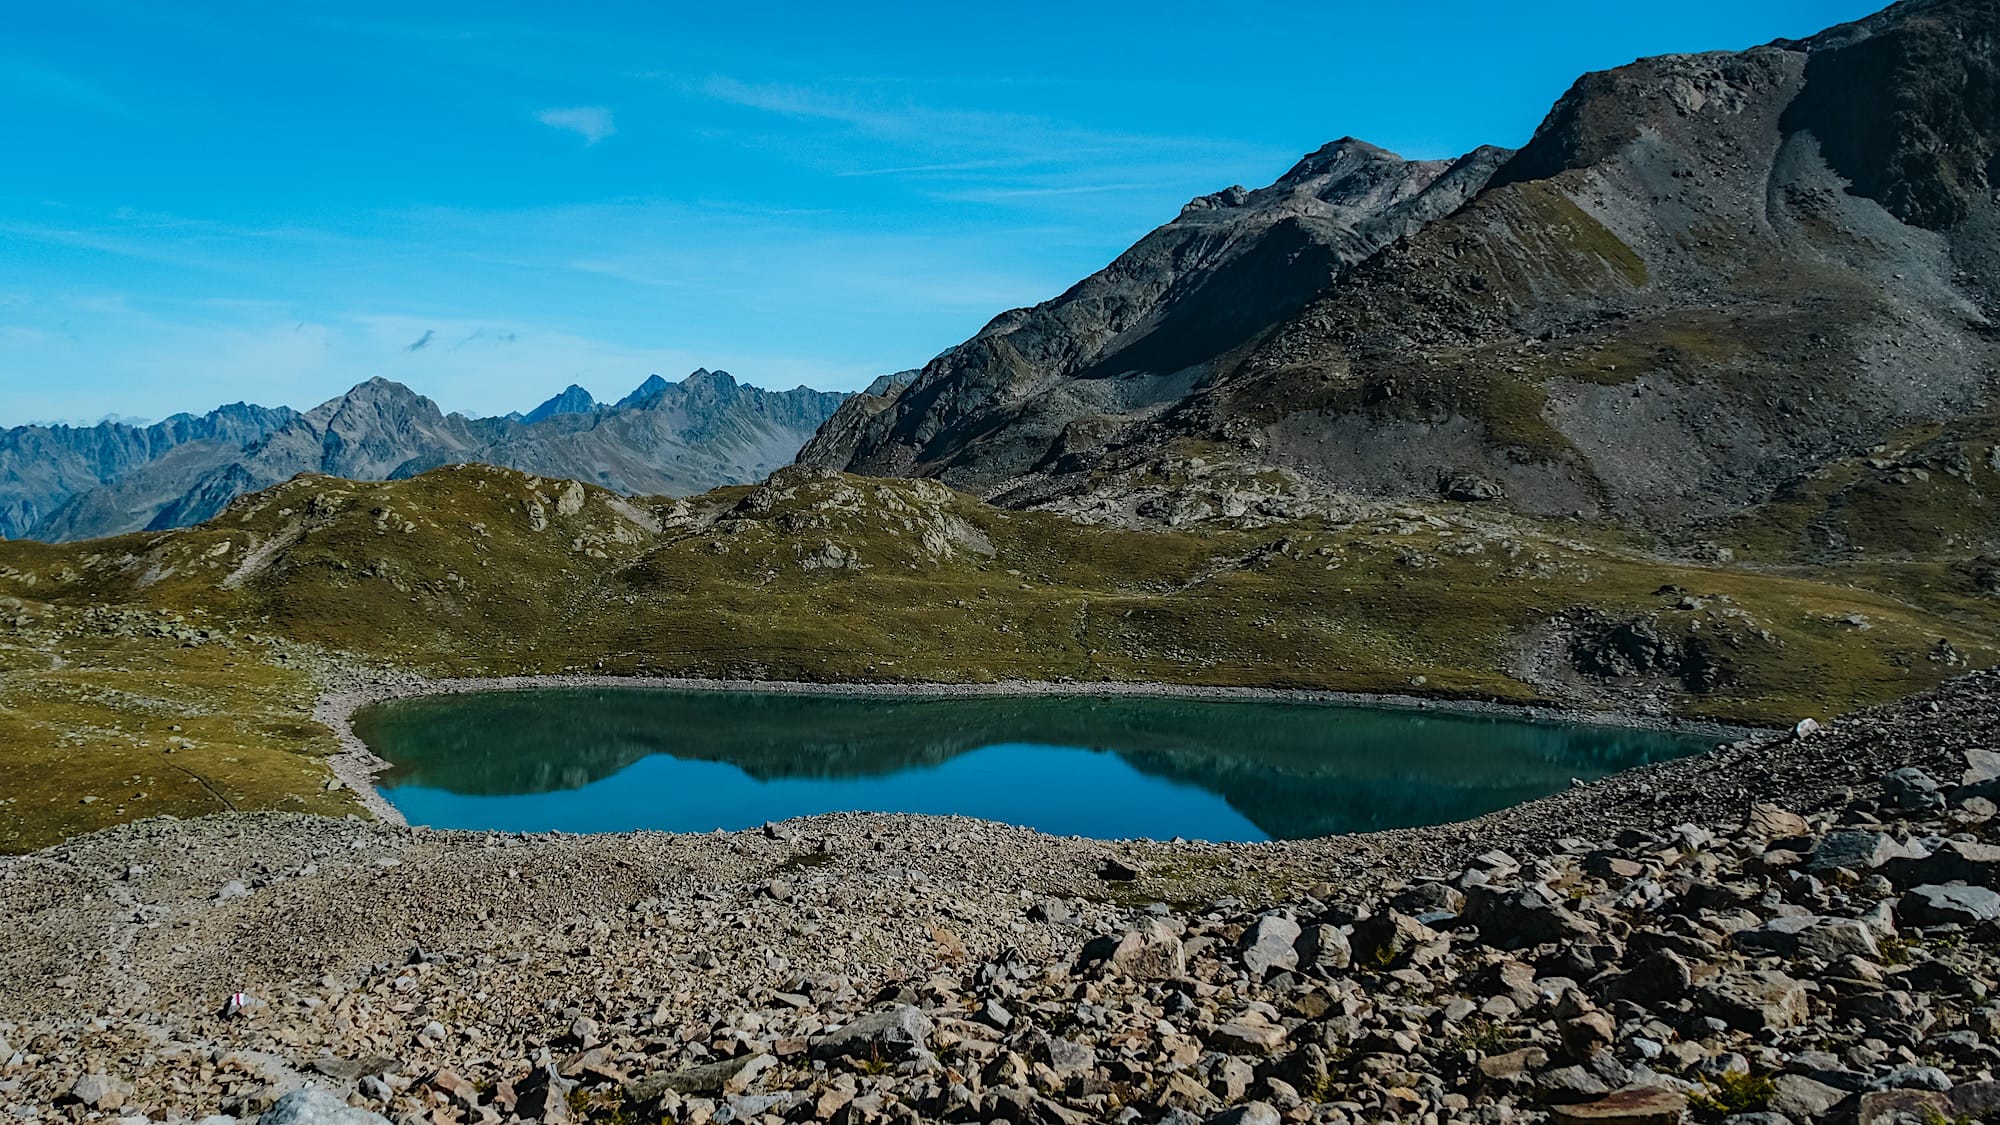
By following the normal way, you will soon find what, in my opinion, is the most beautiful lake of them all. An almost fully melted glacier feeds this lake, so its color stands out from the others.
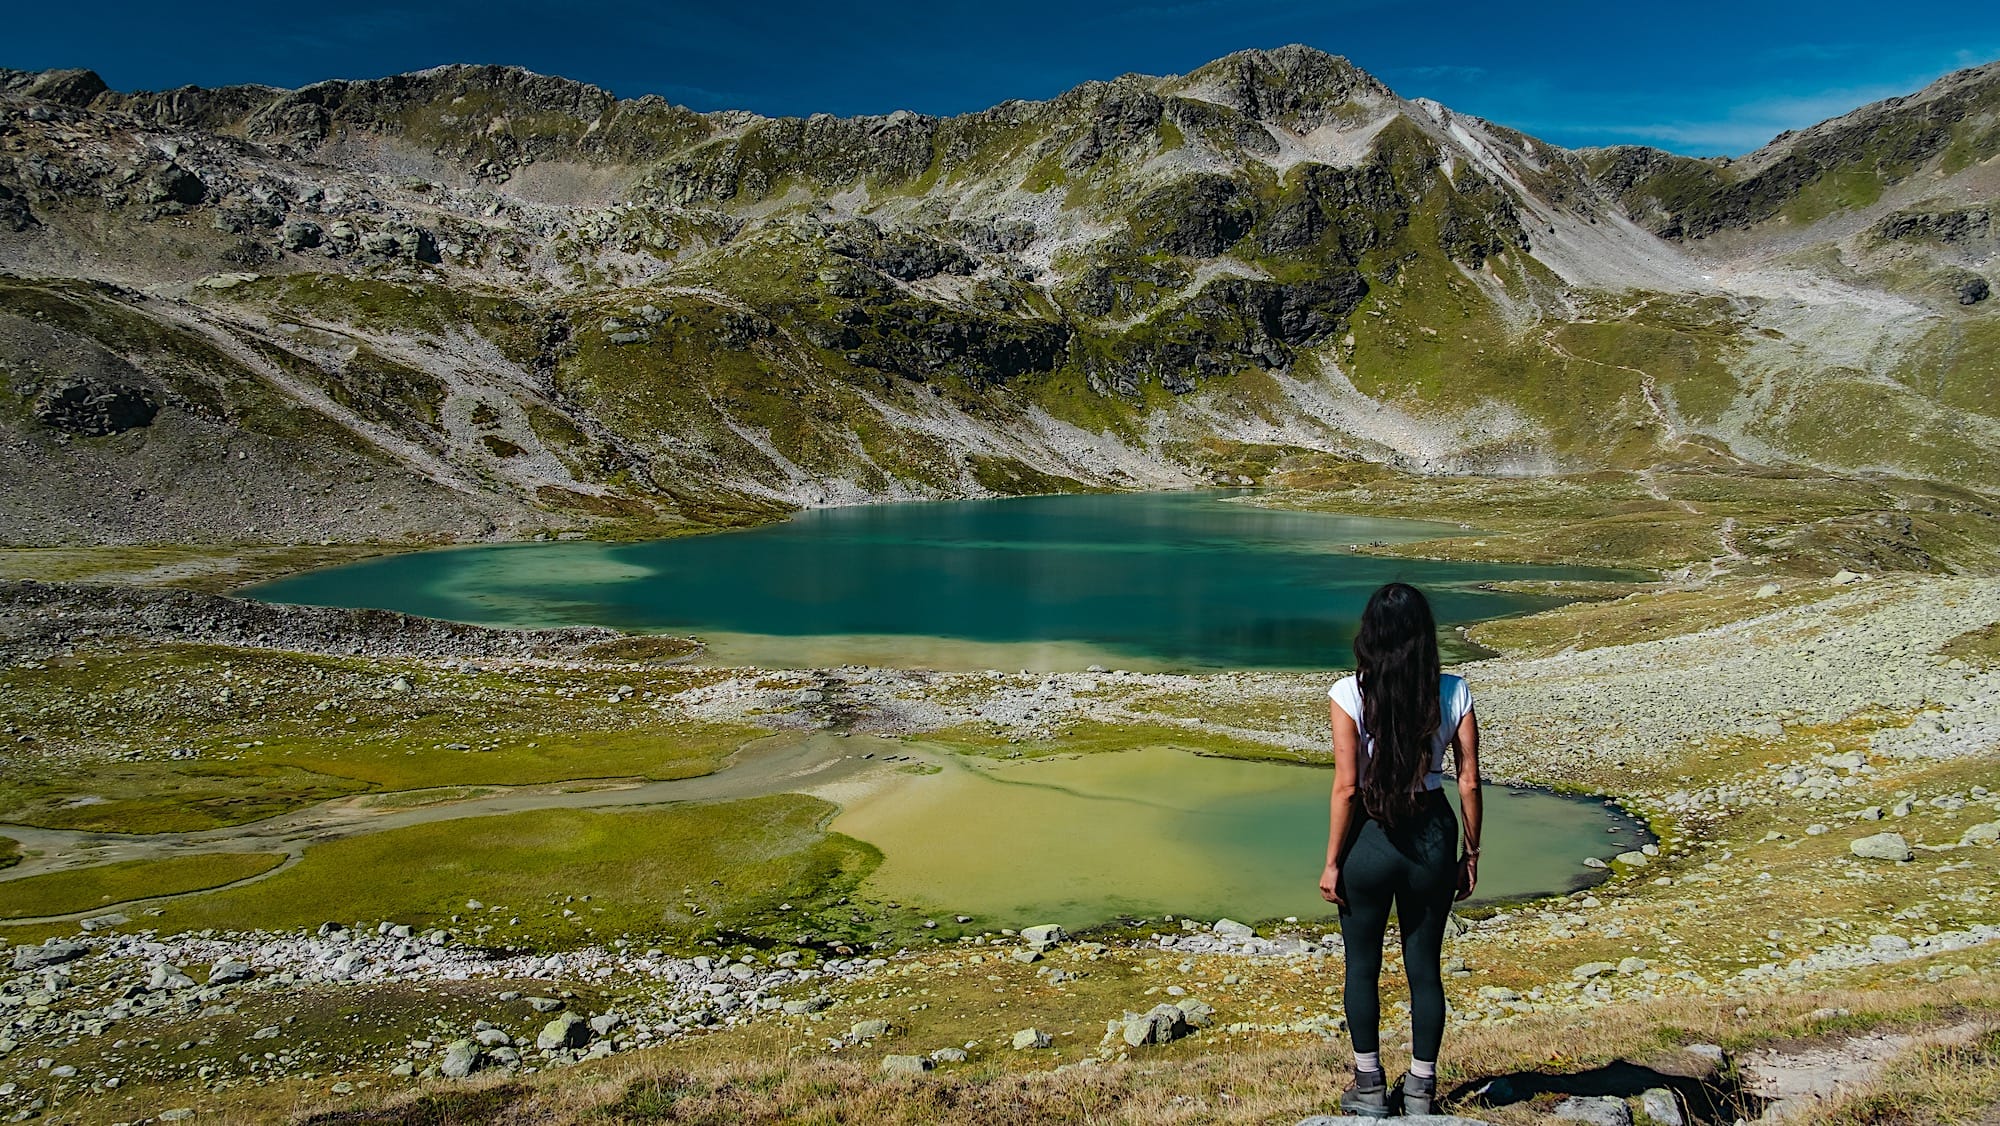
Here, many people were having a picnic and even swimming. Make sure you have enough time to enjoy this lake from many angles before you continue.
5 Up to the Jöriflüelafurgga
This is where things get rough, so get mentally ready. The way up is steep, as you literally need to get to the other side of the mountain, but it's wide enough to let people pass if needed.
After the first uphill section, you reach a rock scramble that serves as the trail. I didn't take pictures because I was trying to find the trail (sorry).
Then, get ready for some switchbacks as you go up.
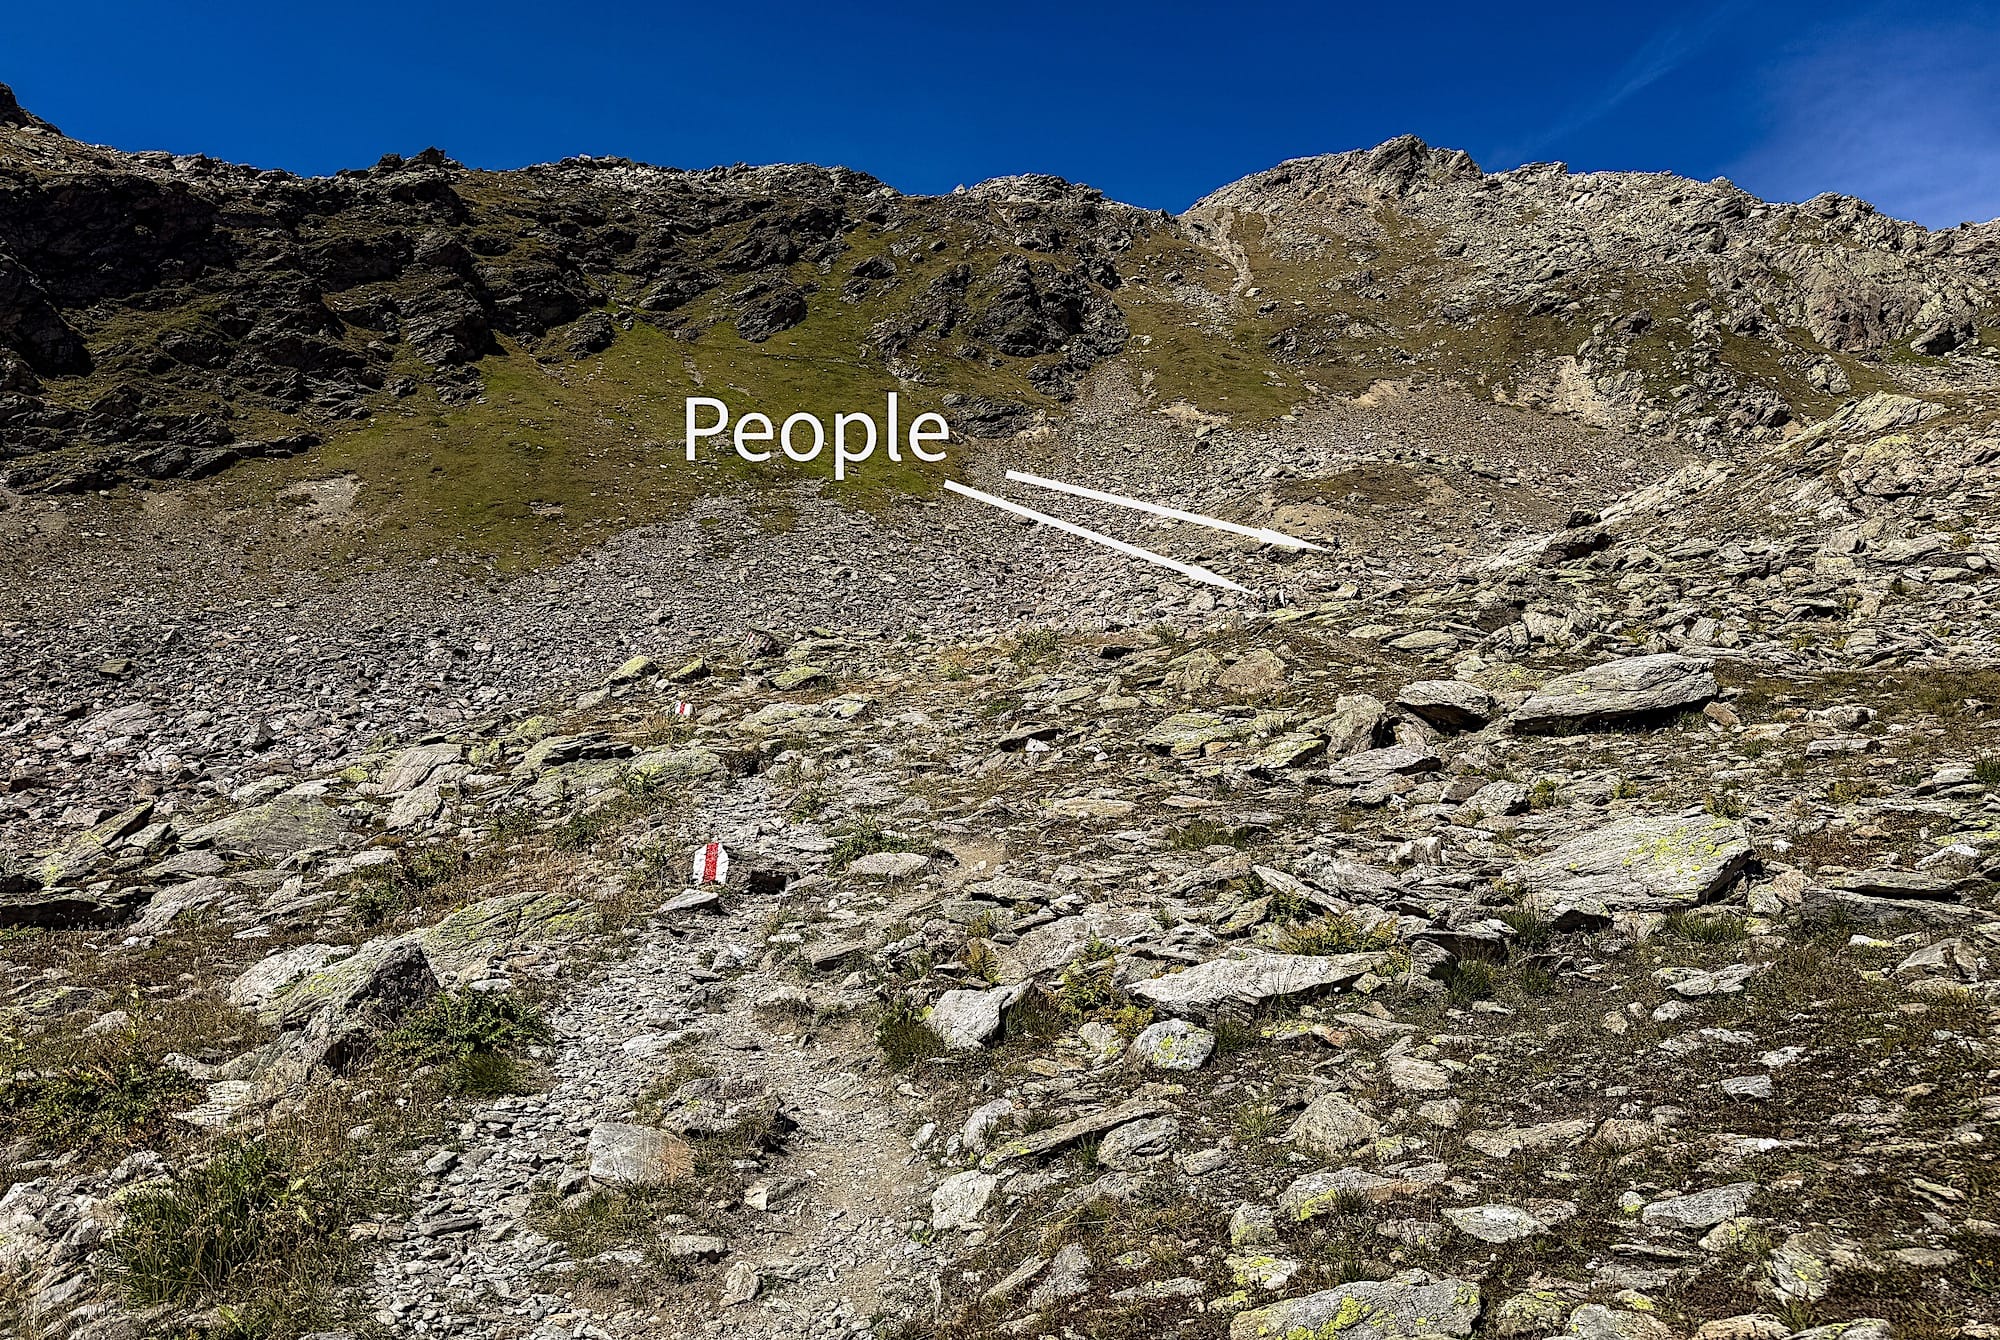
Finally, you reach the infamous section secured with chains.
You will climb up a couloir, but it's not as bad as I thought. It is exposed and narrow, though, so if you have a fear of heights or a dog or small child, it's probably better to just turn around and go back the way you came up.
Because I have short legs and the rock was smooth, the section I found most difficult didn't provide enough traction. That's why I had to grab the chains and pull myself up with my arms. Don't worry, it's not like a full gym-style pull-up, but you will probably need your upper-body muscles.
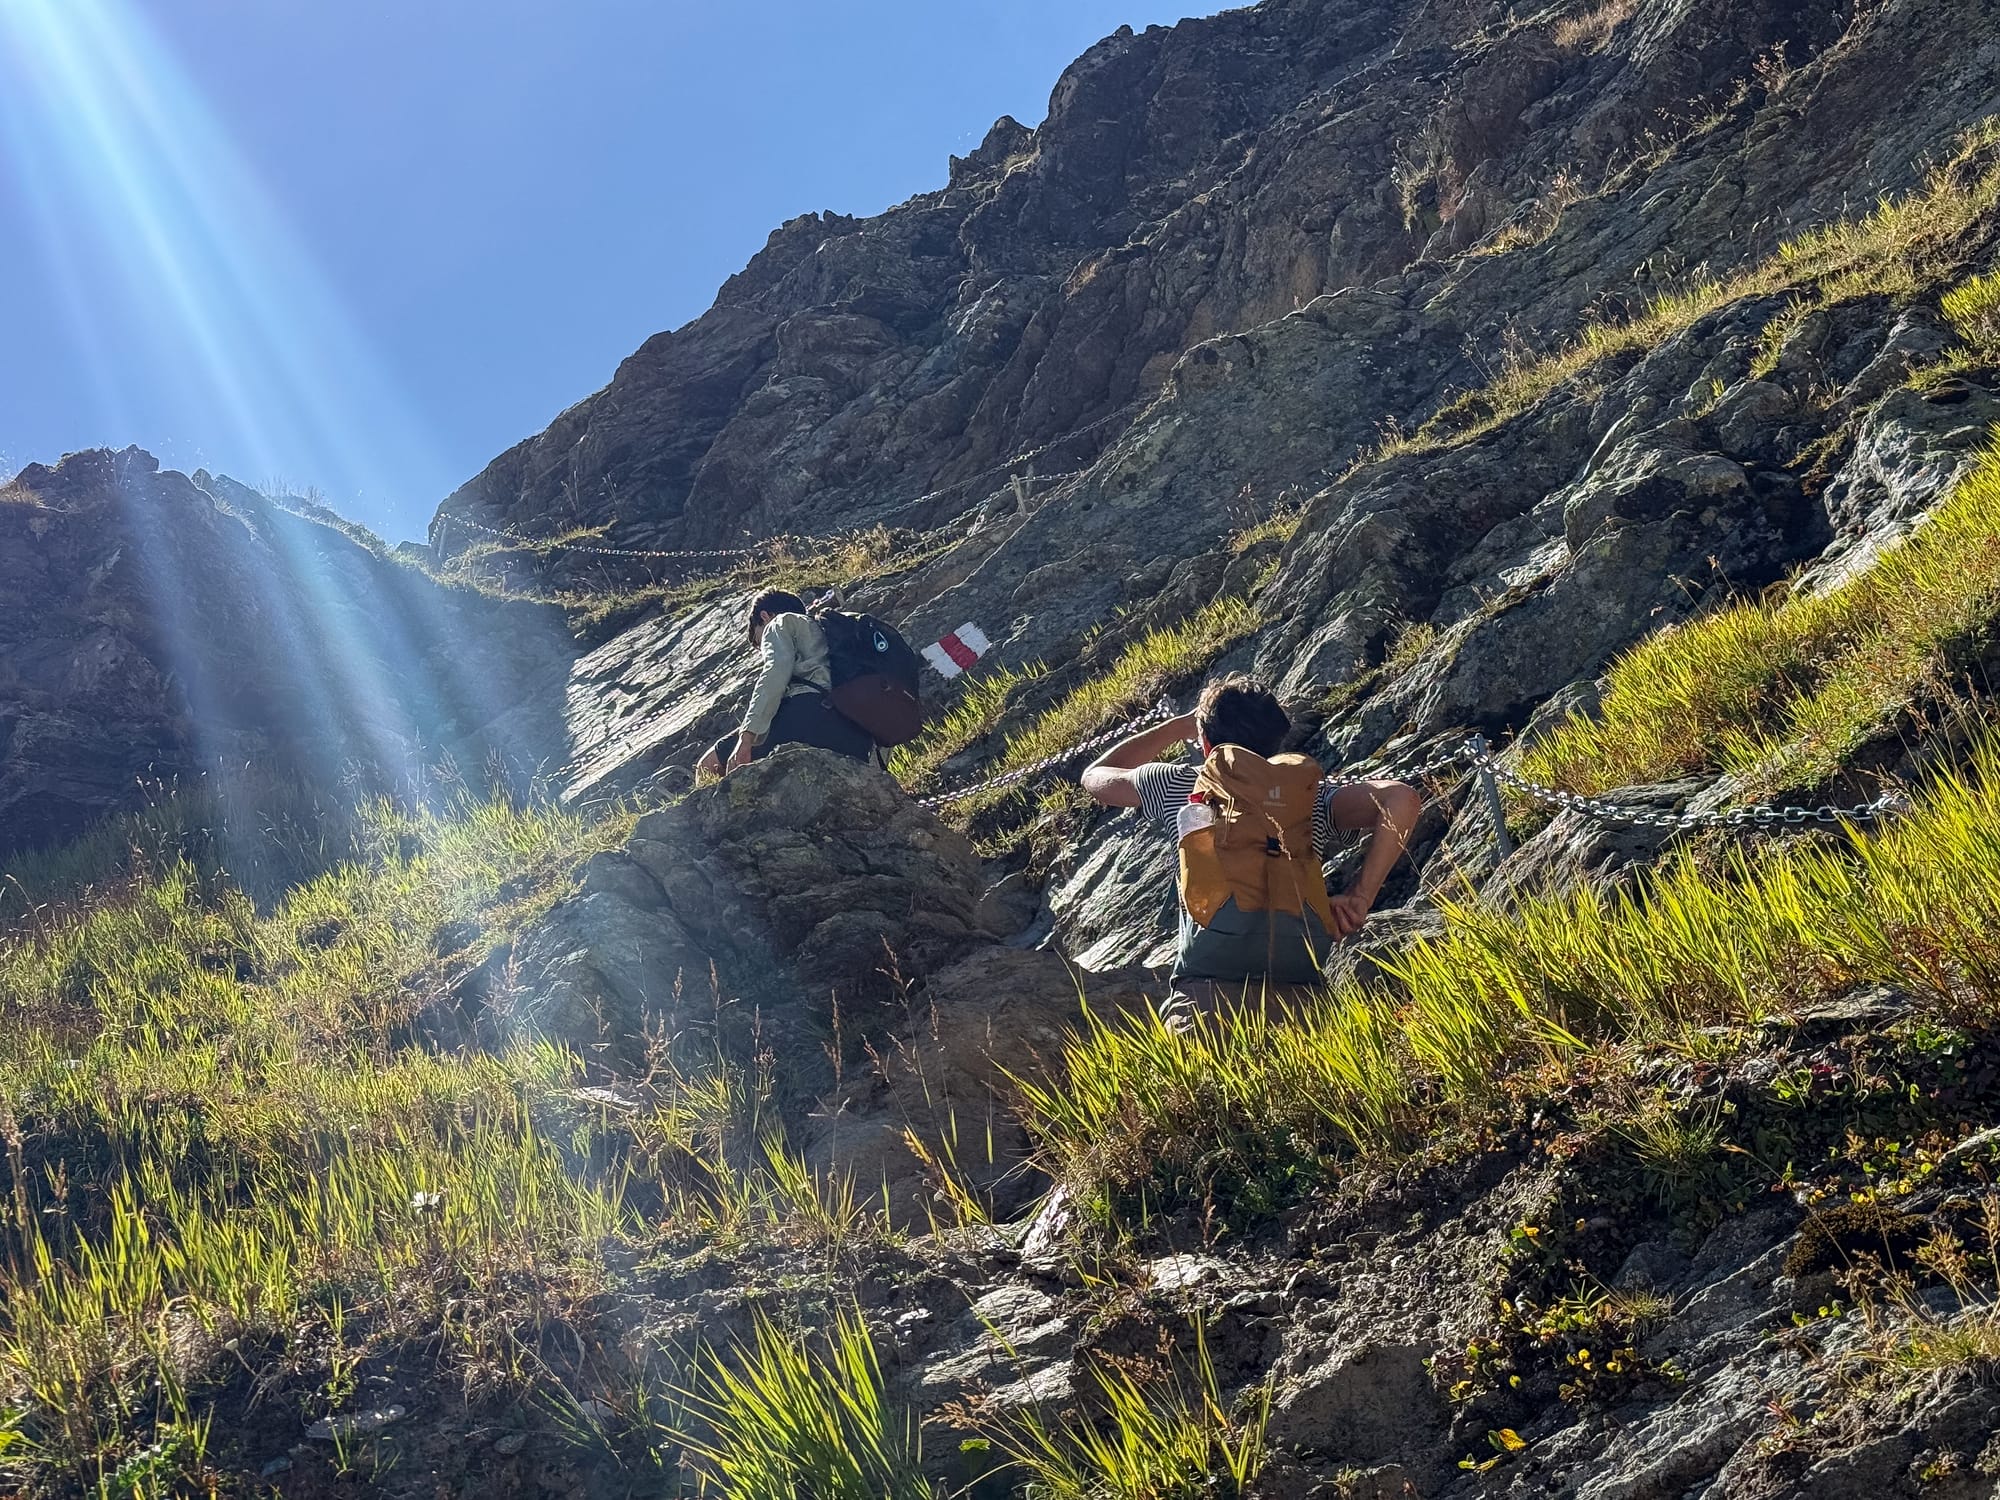
Congratulations! You have done the hardest part of this hike, and you're rewarded with a panoramic view over the lakes.
6 Down to the parking lot
From here, you can take a shortcut on a steep downhill (unofficial?) path or follow the regular trail.
I recommend following the regular trail, though, since the shortcut doesn't save much time and you'd miss a great view of the mountains from behind. Granted, you would still see the mountains from behind if you took the shortcut, but I feel the angle is more grandiose from the mainstream trail.
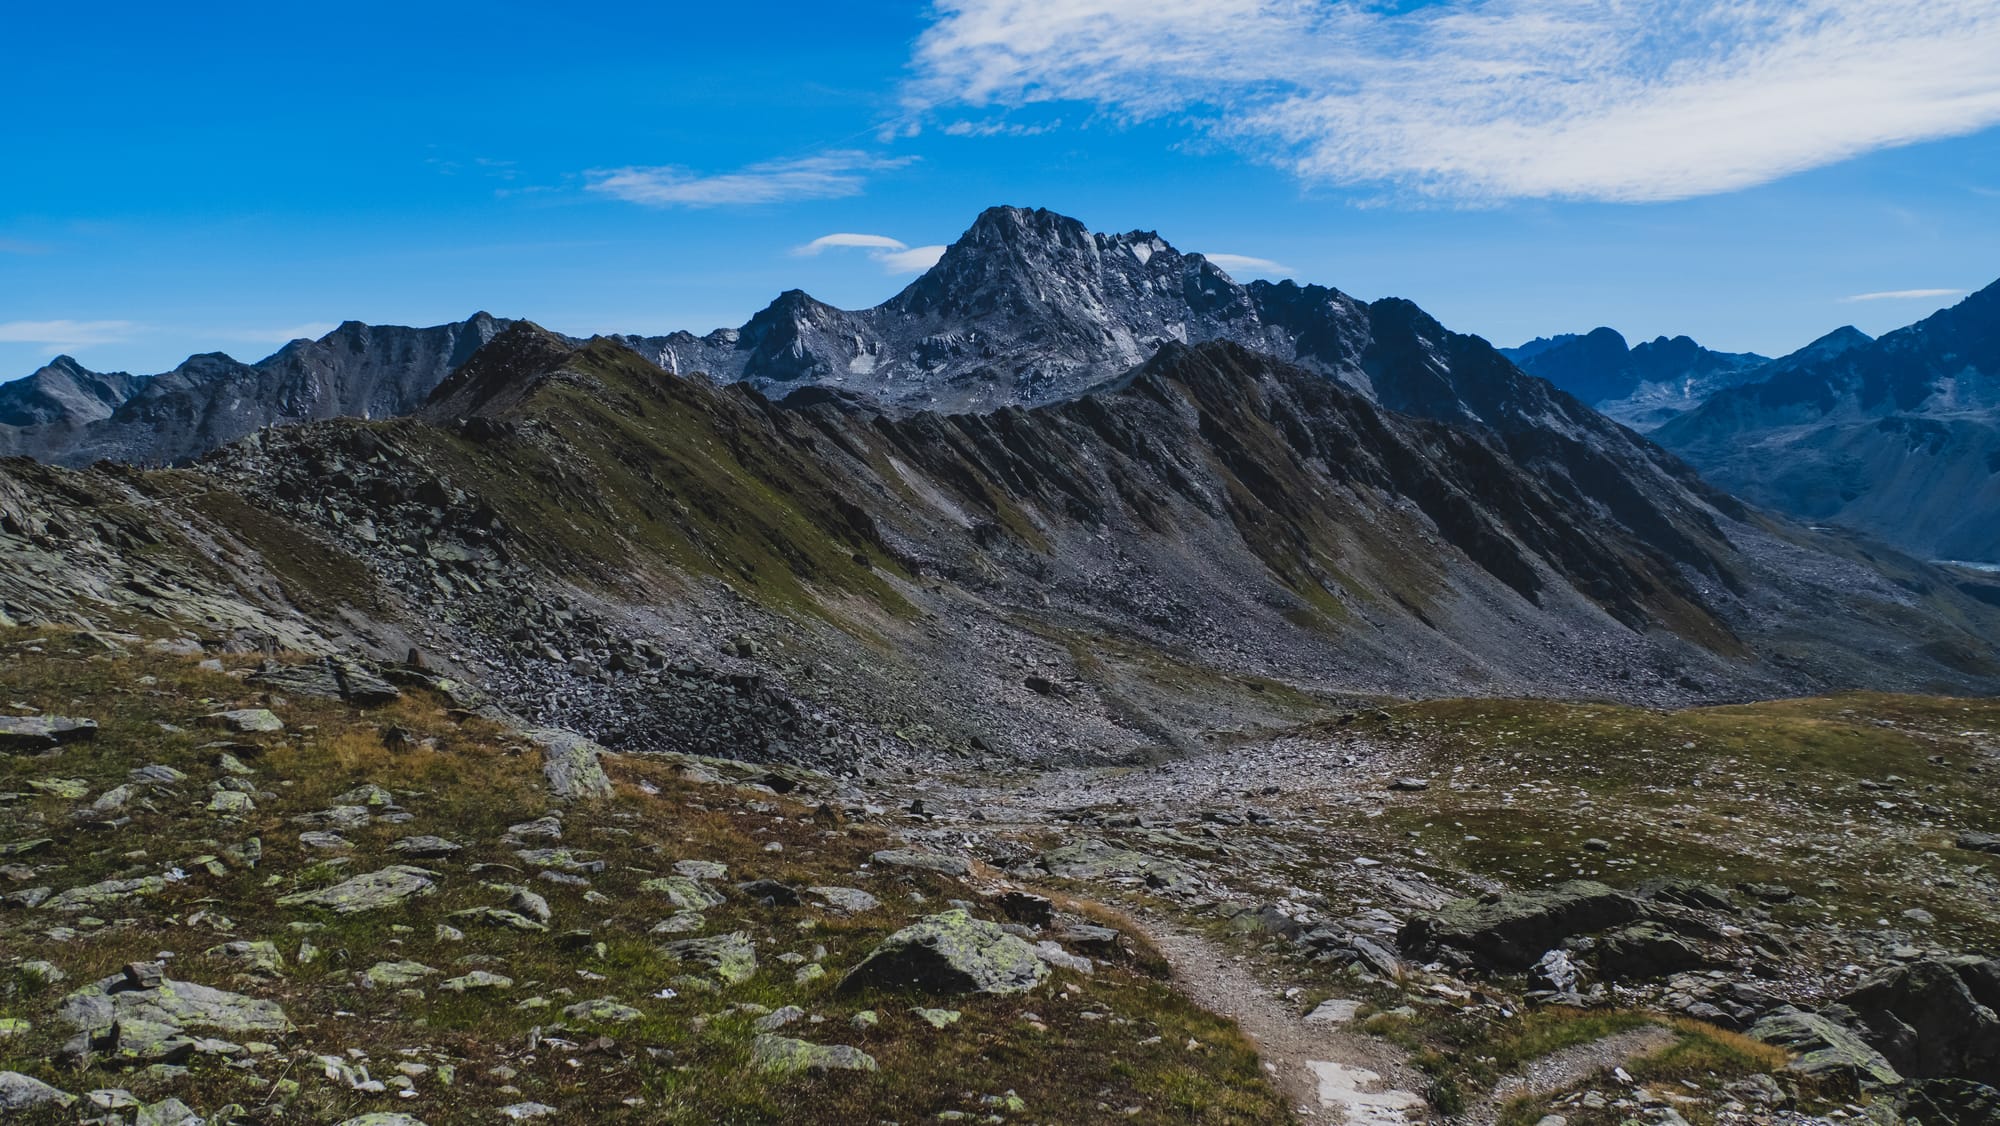
After that, the terrain gets flatter, although it still goes downhill. Then you get some downhill switchbacks before reaching the first intersection you encountered on the way up. Go straight to reach the parking lot, through the same path you came up.