
 Paloma
Table of contents
This has to be the hike with the most unique start I've ever done. Yes! Because on this hike, you go through a service tunnel before you can step onto the gravel.
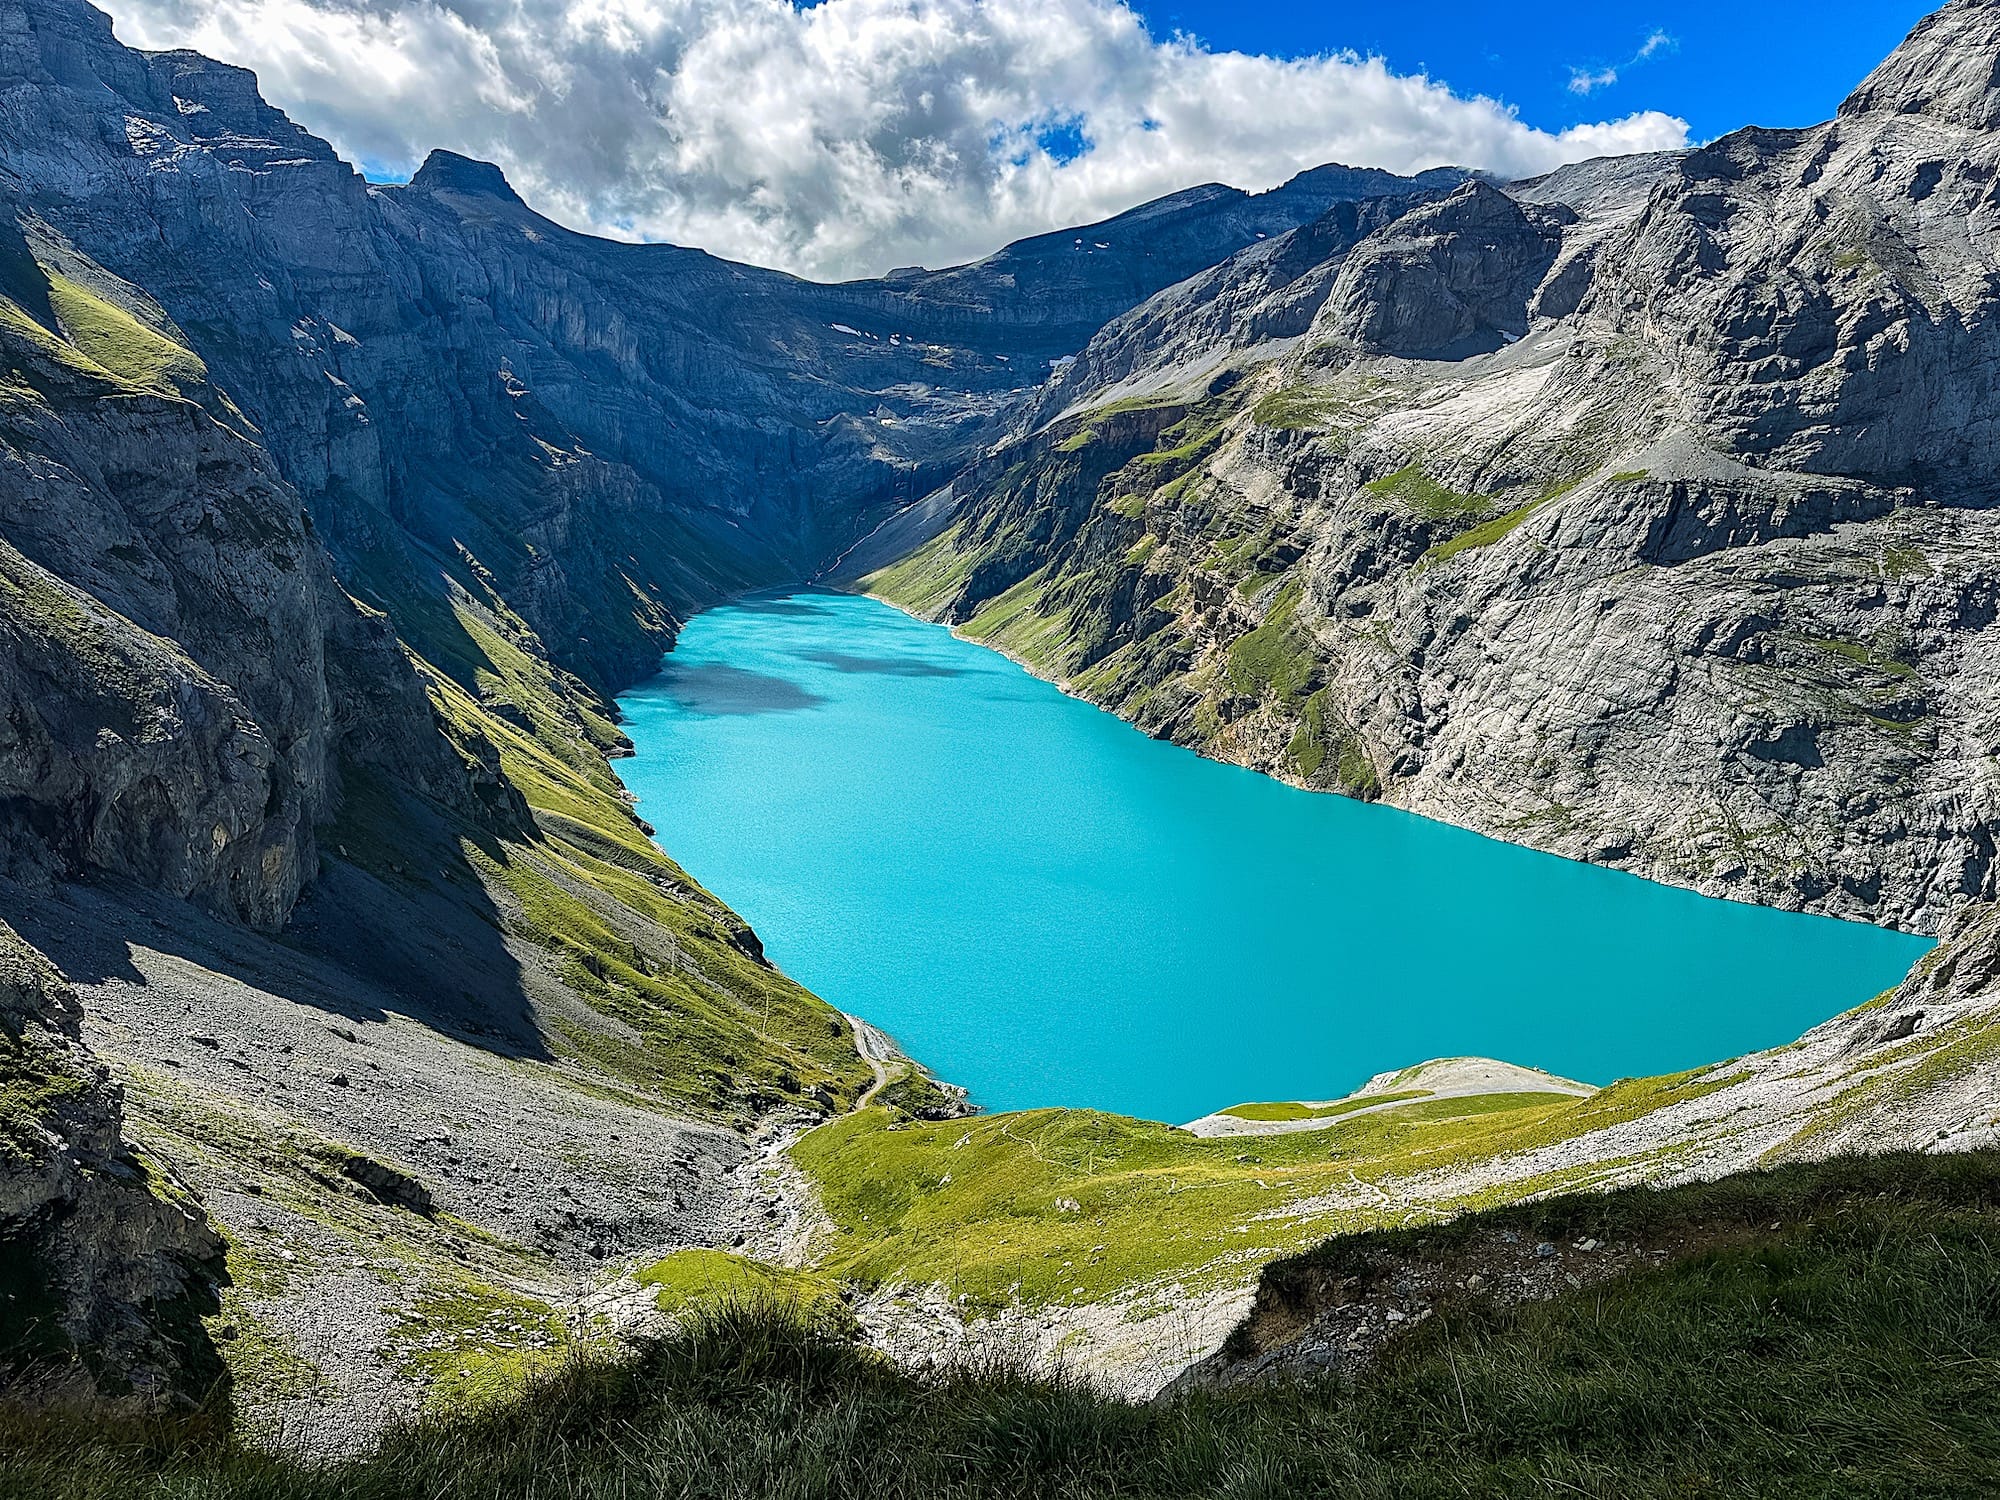
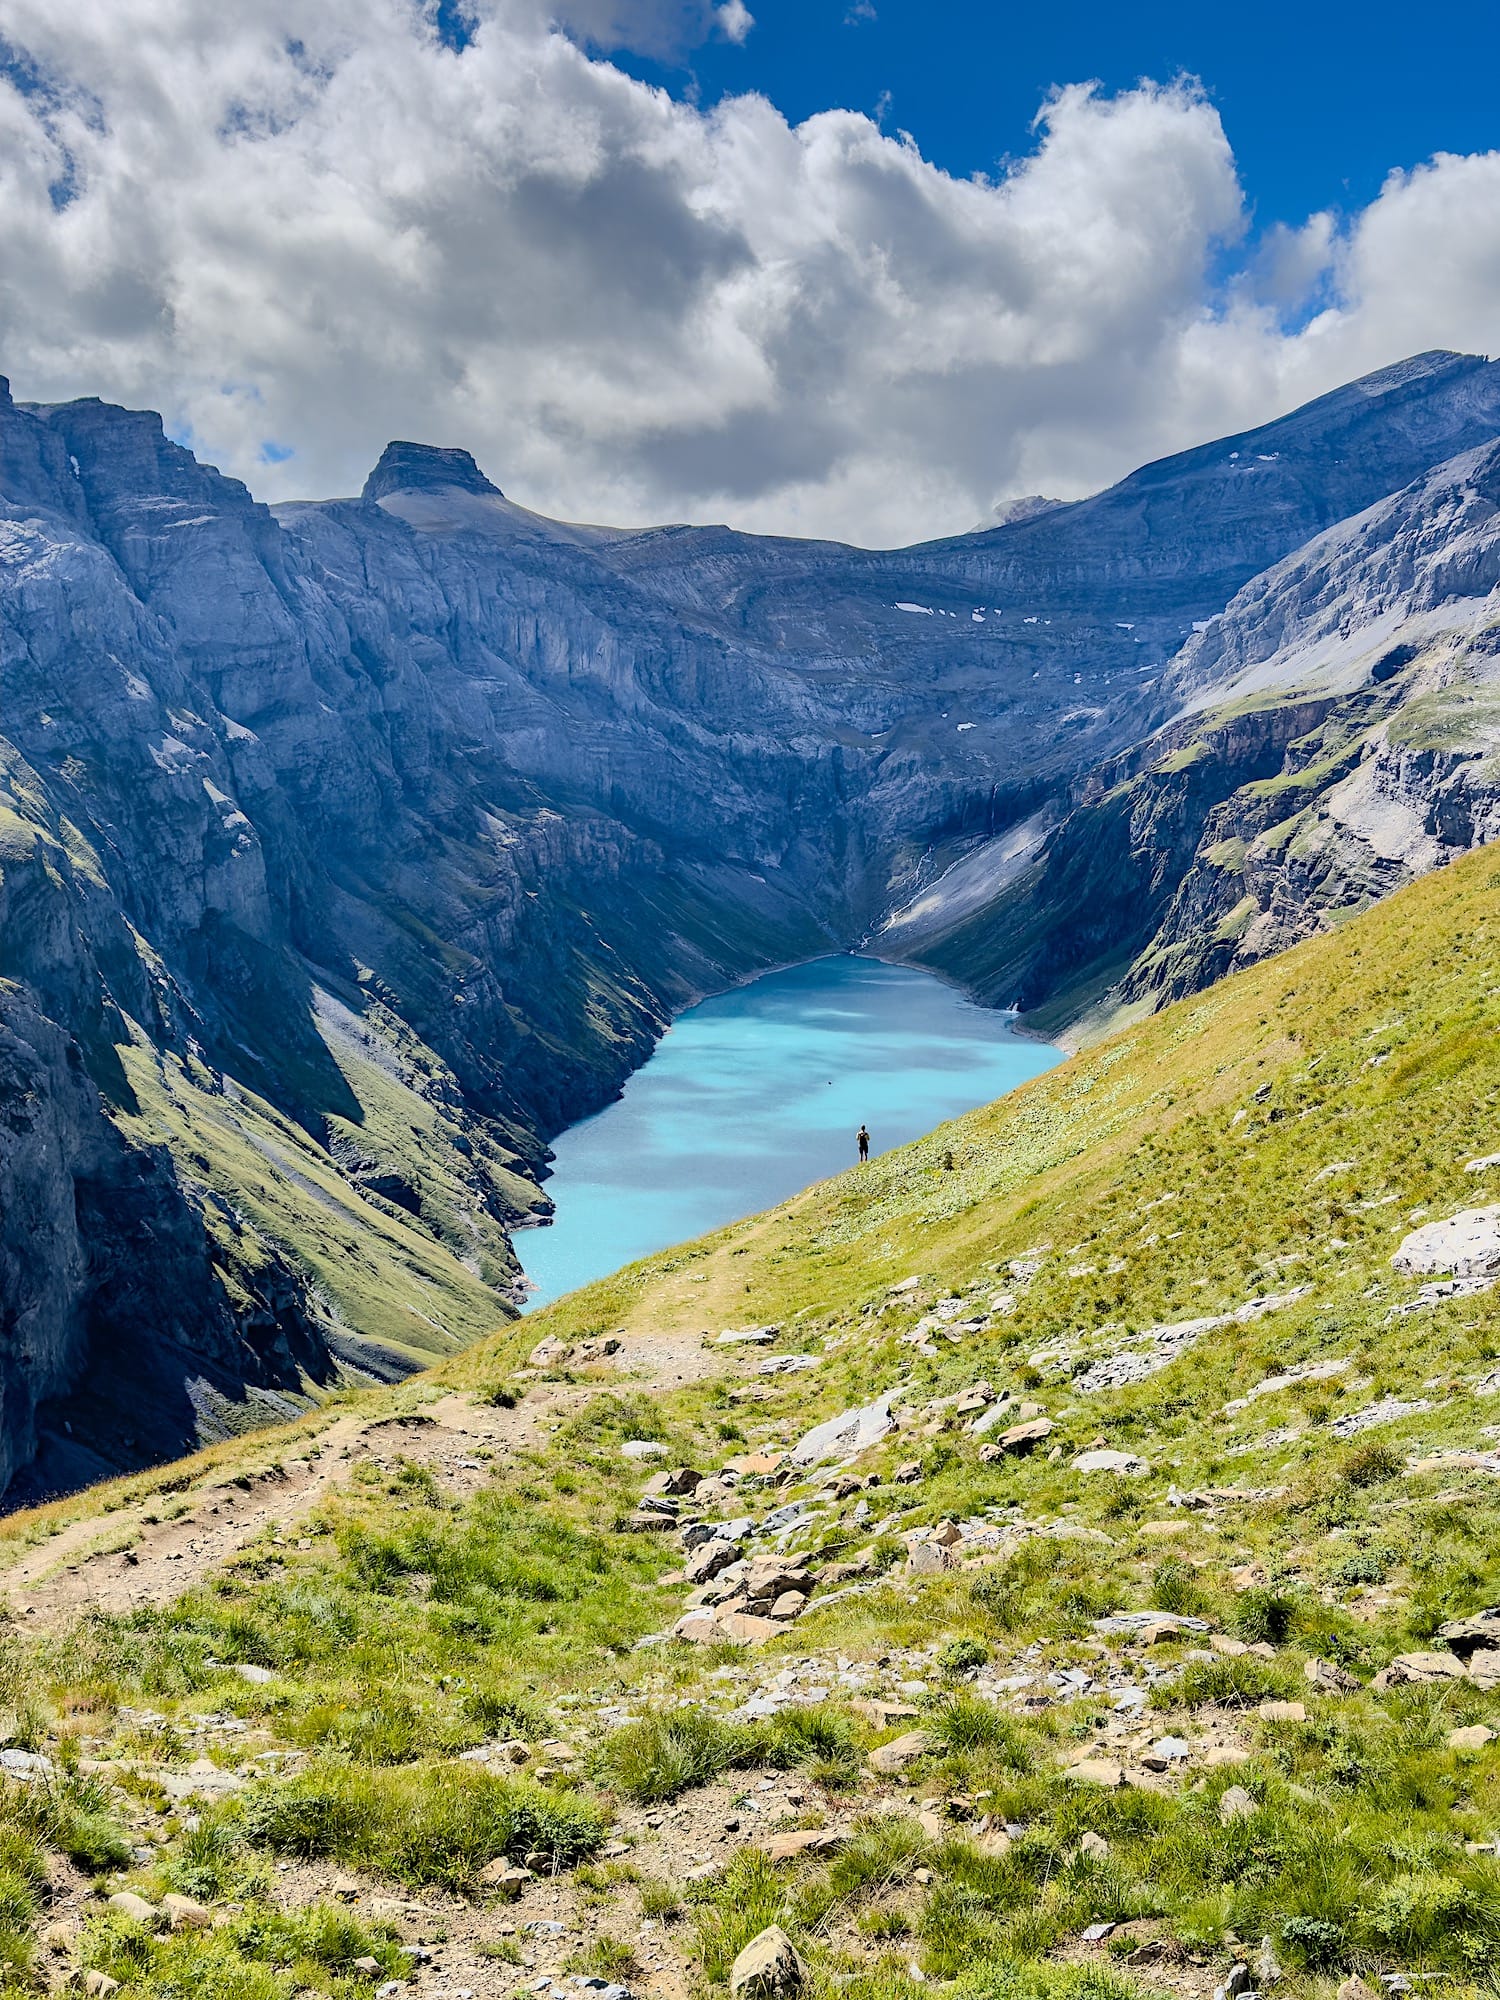
But soon after the quirky start, you will find yourself hypnotized by the green grass and the blue lake behind you as you make your way to the viewpoint (keep your eyes on the trail, please!).
This hike has it all: steep slopes, shady passages where you will be holding onto a chain, and dramatic views that must be earned before you can enjoy them.
In this article, you will find all the information you need to know exactly what to expect when hiking to the Limmernsee and everything you need to know before you even step into the mountain: from where to park, to the cost and operating hours of the cable car.
The hike at a glance
Hard (T3 with some chain passages)- Distance
- 12 km (6km tunnel + 6km on gravel), out-and-back
- Time needed
- 2 to 2:30 hours one way
- Elevation gain
- 600 meters up & down
- Starting point
- Cable car station and parking here
- Cost
- Cable car return 20 CHF
- Crowds
- Low
- Sun exposure
- High
Trail overview
Hiking Map
Note that the hike is 12km total, split into 2 parts: 6 km through the tunnel + 6km of gravel hiking
Difficulty
I will admit I was scared before doing this hike, especially after reading about the more difficult passages. It was honestly easier than I thought, since we did it in dry conditions. However, I wouldn't dare try it in the rain.
That said, it is definitely not an easy hike, and proper footwear isn't optional. The trail IS exposed, and I would argue the way down was harder.
On the way up, the first section is challenging right away, but nothing crazy if you take it slow. Going down, there was one tiny steep part where I struggled because of the loose gravel, and a fall could have been fatal... so definitely take poles with you if you can.
Alternative way
You can also do this hike as a loop instead of an out-and-back trail.
There are 2 options to do this: you can take the door to the left after getting off of the cable car (you dont go through the tunnel in that case), then follow the signs to reach the viewpoint, and finally go back down the way described below in this article, or up through the tunnel and down the other side of the mountain.
Beware that the alternative route is more exposed than the out-and-back hike detailed in this guide. However, the Glarnerland tourism office states that the path has been expanded and widened, and exposed sections are sufficiently equipped with chains.
How to get there
By car
Drive to the cable car valley station, Luftseilbahn Tierfed parking lot here. Parking is limited, so arrive early. There are also 2 electric car charging slots.
The drive up to the cable car station is about 1h25 coming from Zurich and 1h45 coming from Luzern.
By public transportation
The closest train station to the cable car is Linthal. However, no buses currently run between Linthal and the cable car station, so you have two options: walk 5.9 km (about 1h20min one way) or take a taxi from the train station to the cable car station.
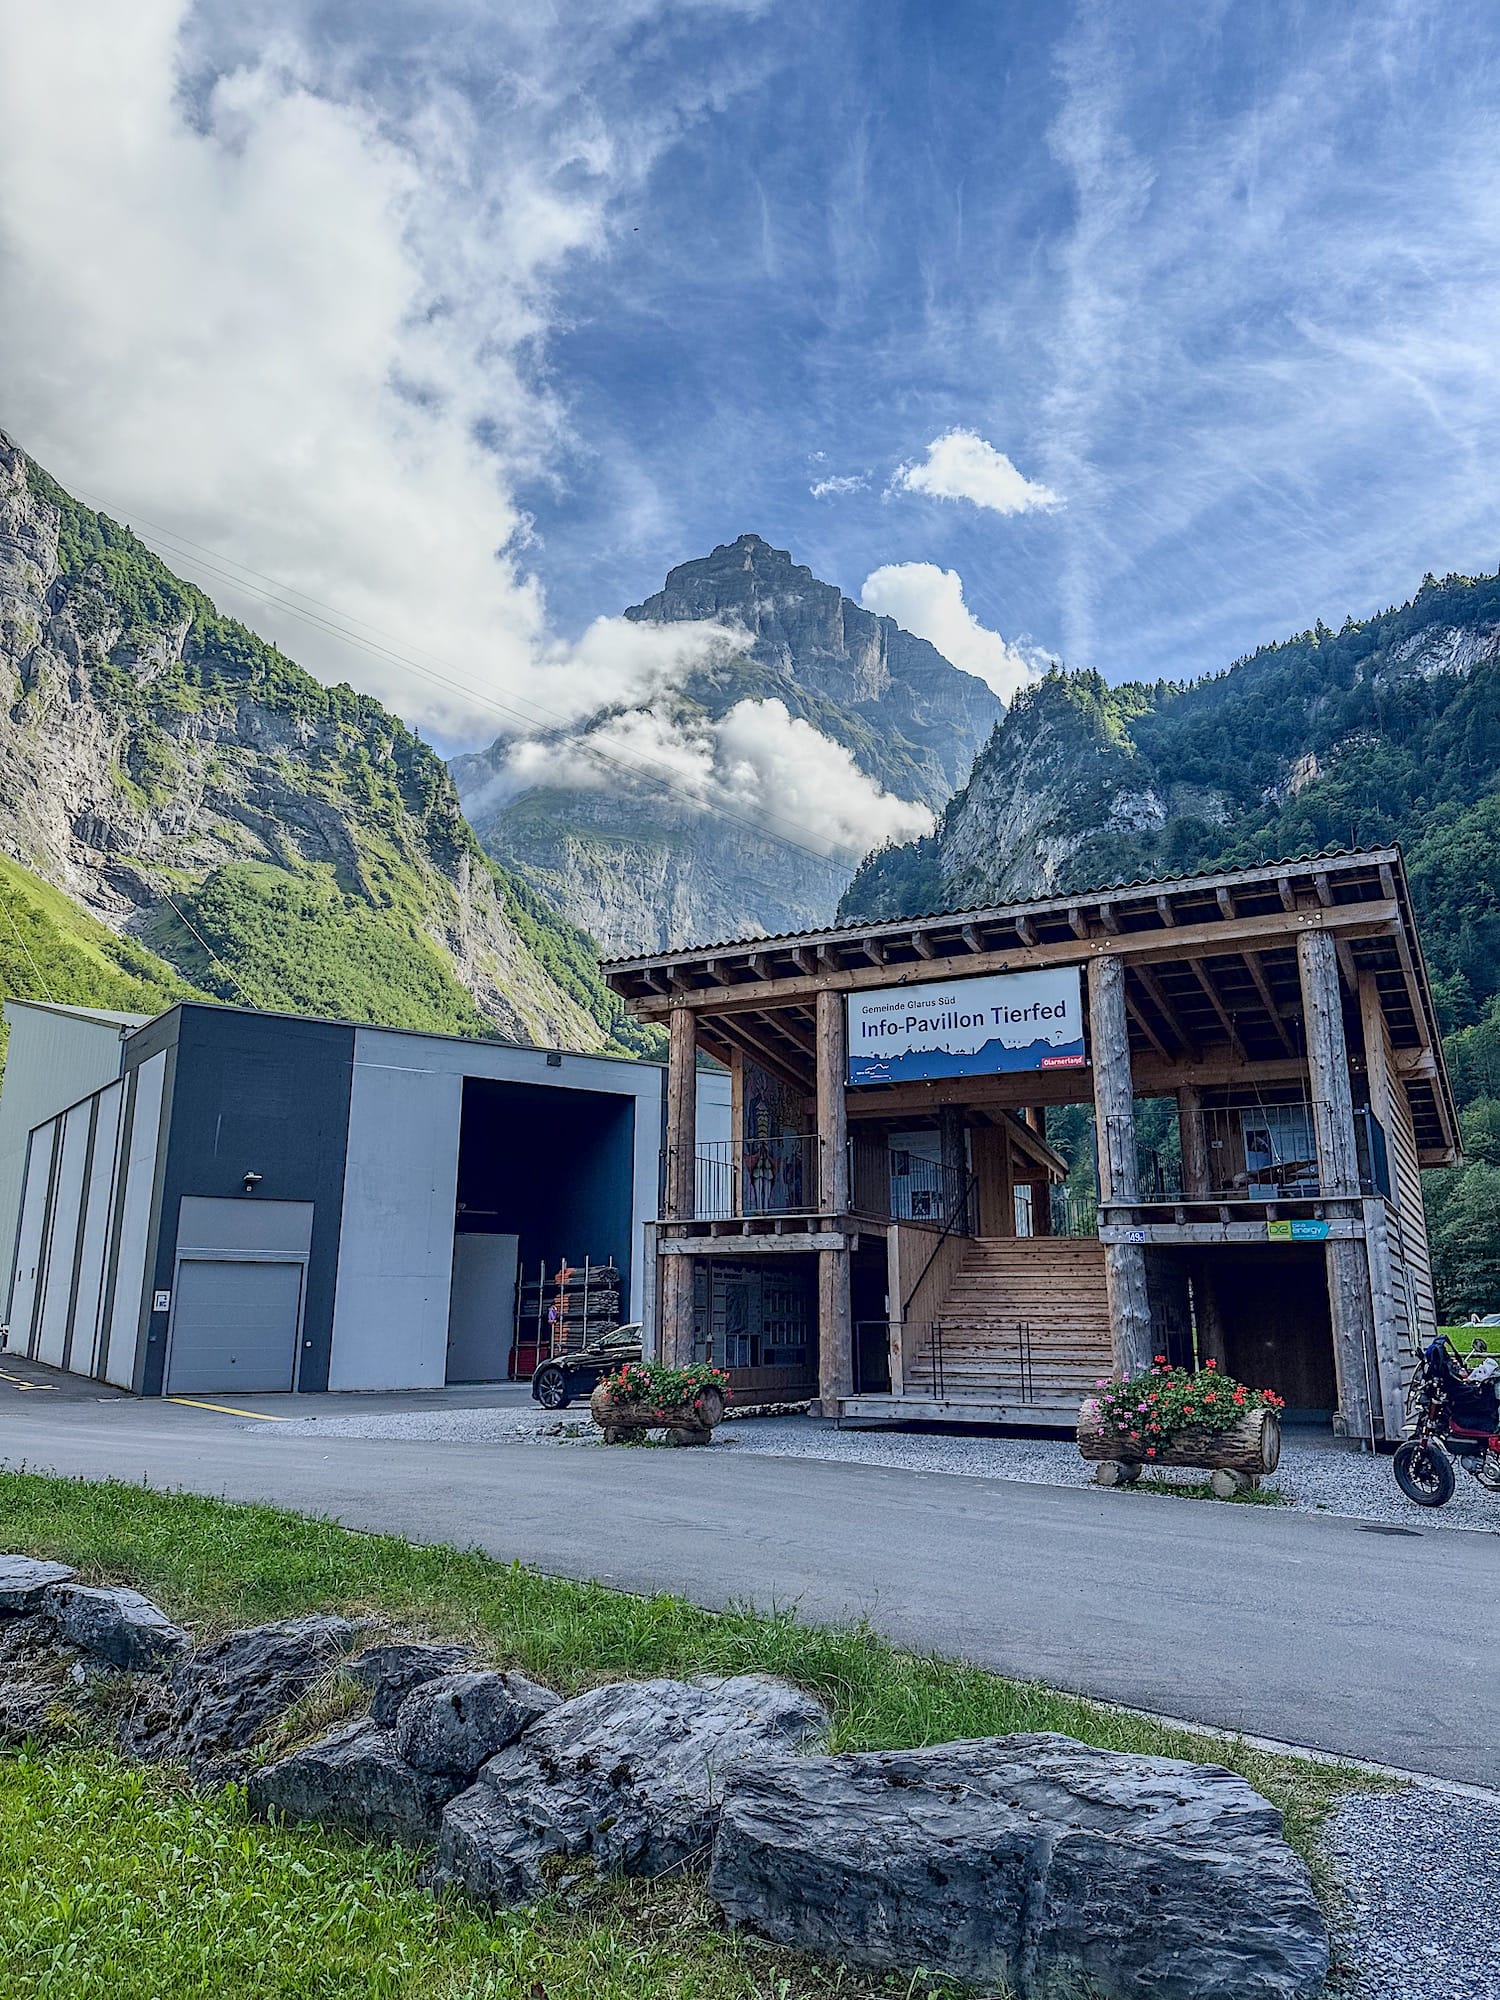
Practical planning
Operating hours
The cable car runs from around mid-June to around mid-October. Service is interrupted during bad weather.
During these months, the operating hours are Monday through Friday, from 7:00 am to 12:00 pm and from 1:00 pm to 6:00 pm. - 18:00. Note that the cable car stops its service at midday for 1 hour during the week, so plan your hike accordingly.
On Saturdays and Sundays, it runs from 7:00 am to 6:00 pm nonstop.
Cost
In 2026, an adult return ticket for the cable car is 20 CHF, and a one-way trip is 12 CHF. Children pay 10 CHF for a return ticket and 6 CHF for a one-way ticket. Dogs can ride the cable car for free.
You can buy the tickets directly at the cable car station. Cash and cards are accepted. All ticket sales are final, even if bad weather forces the cable car service to stop.
The trail in pictures
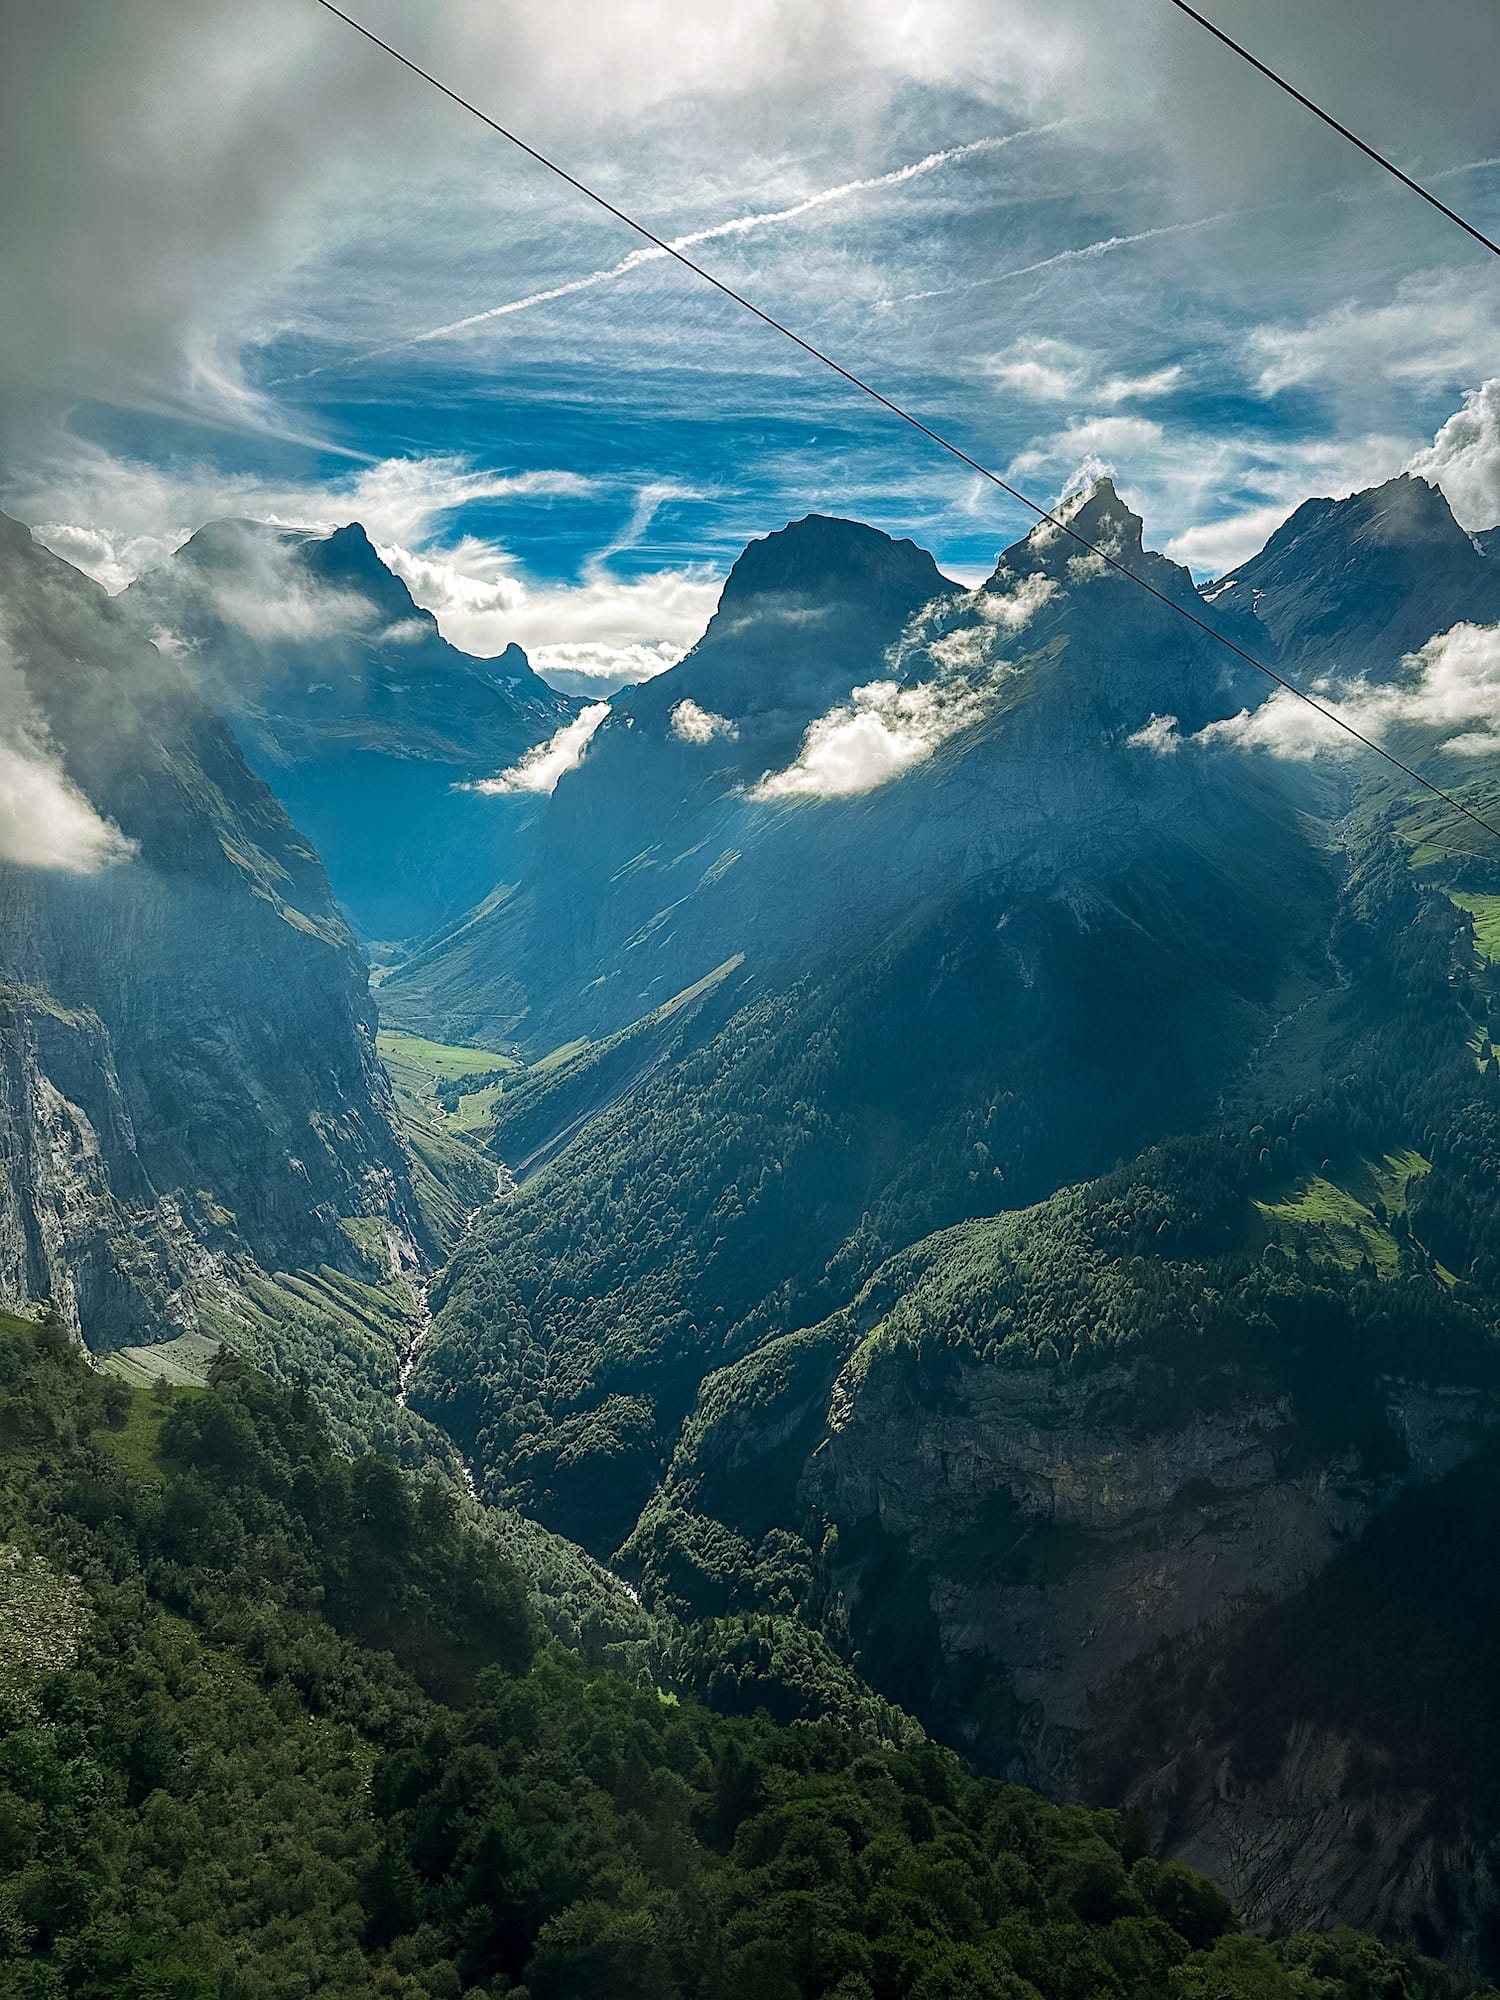
1. Riding the gondola
Honestly, this is one of the most beautiful gondola rides I've ever taken. On both sides, tall, dramatic mountains are visible.
2. Through the tunnel
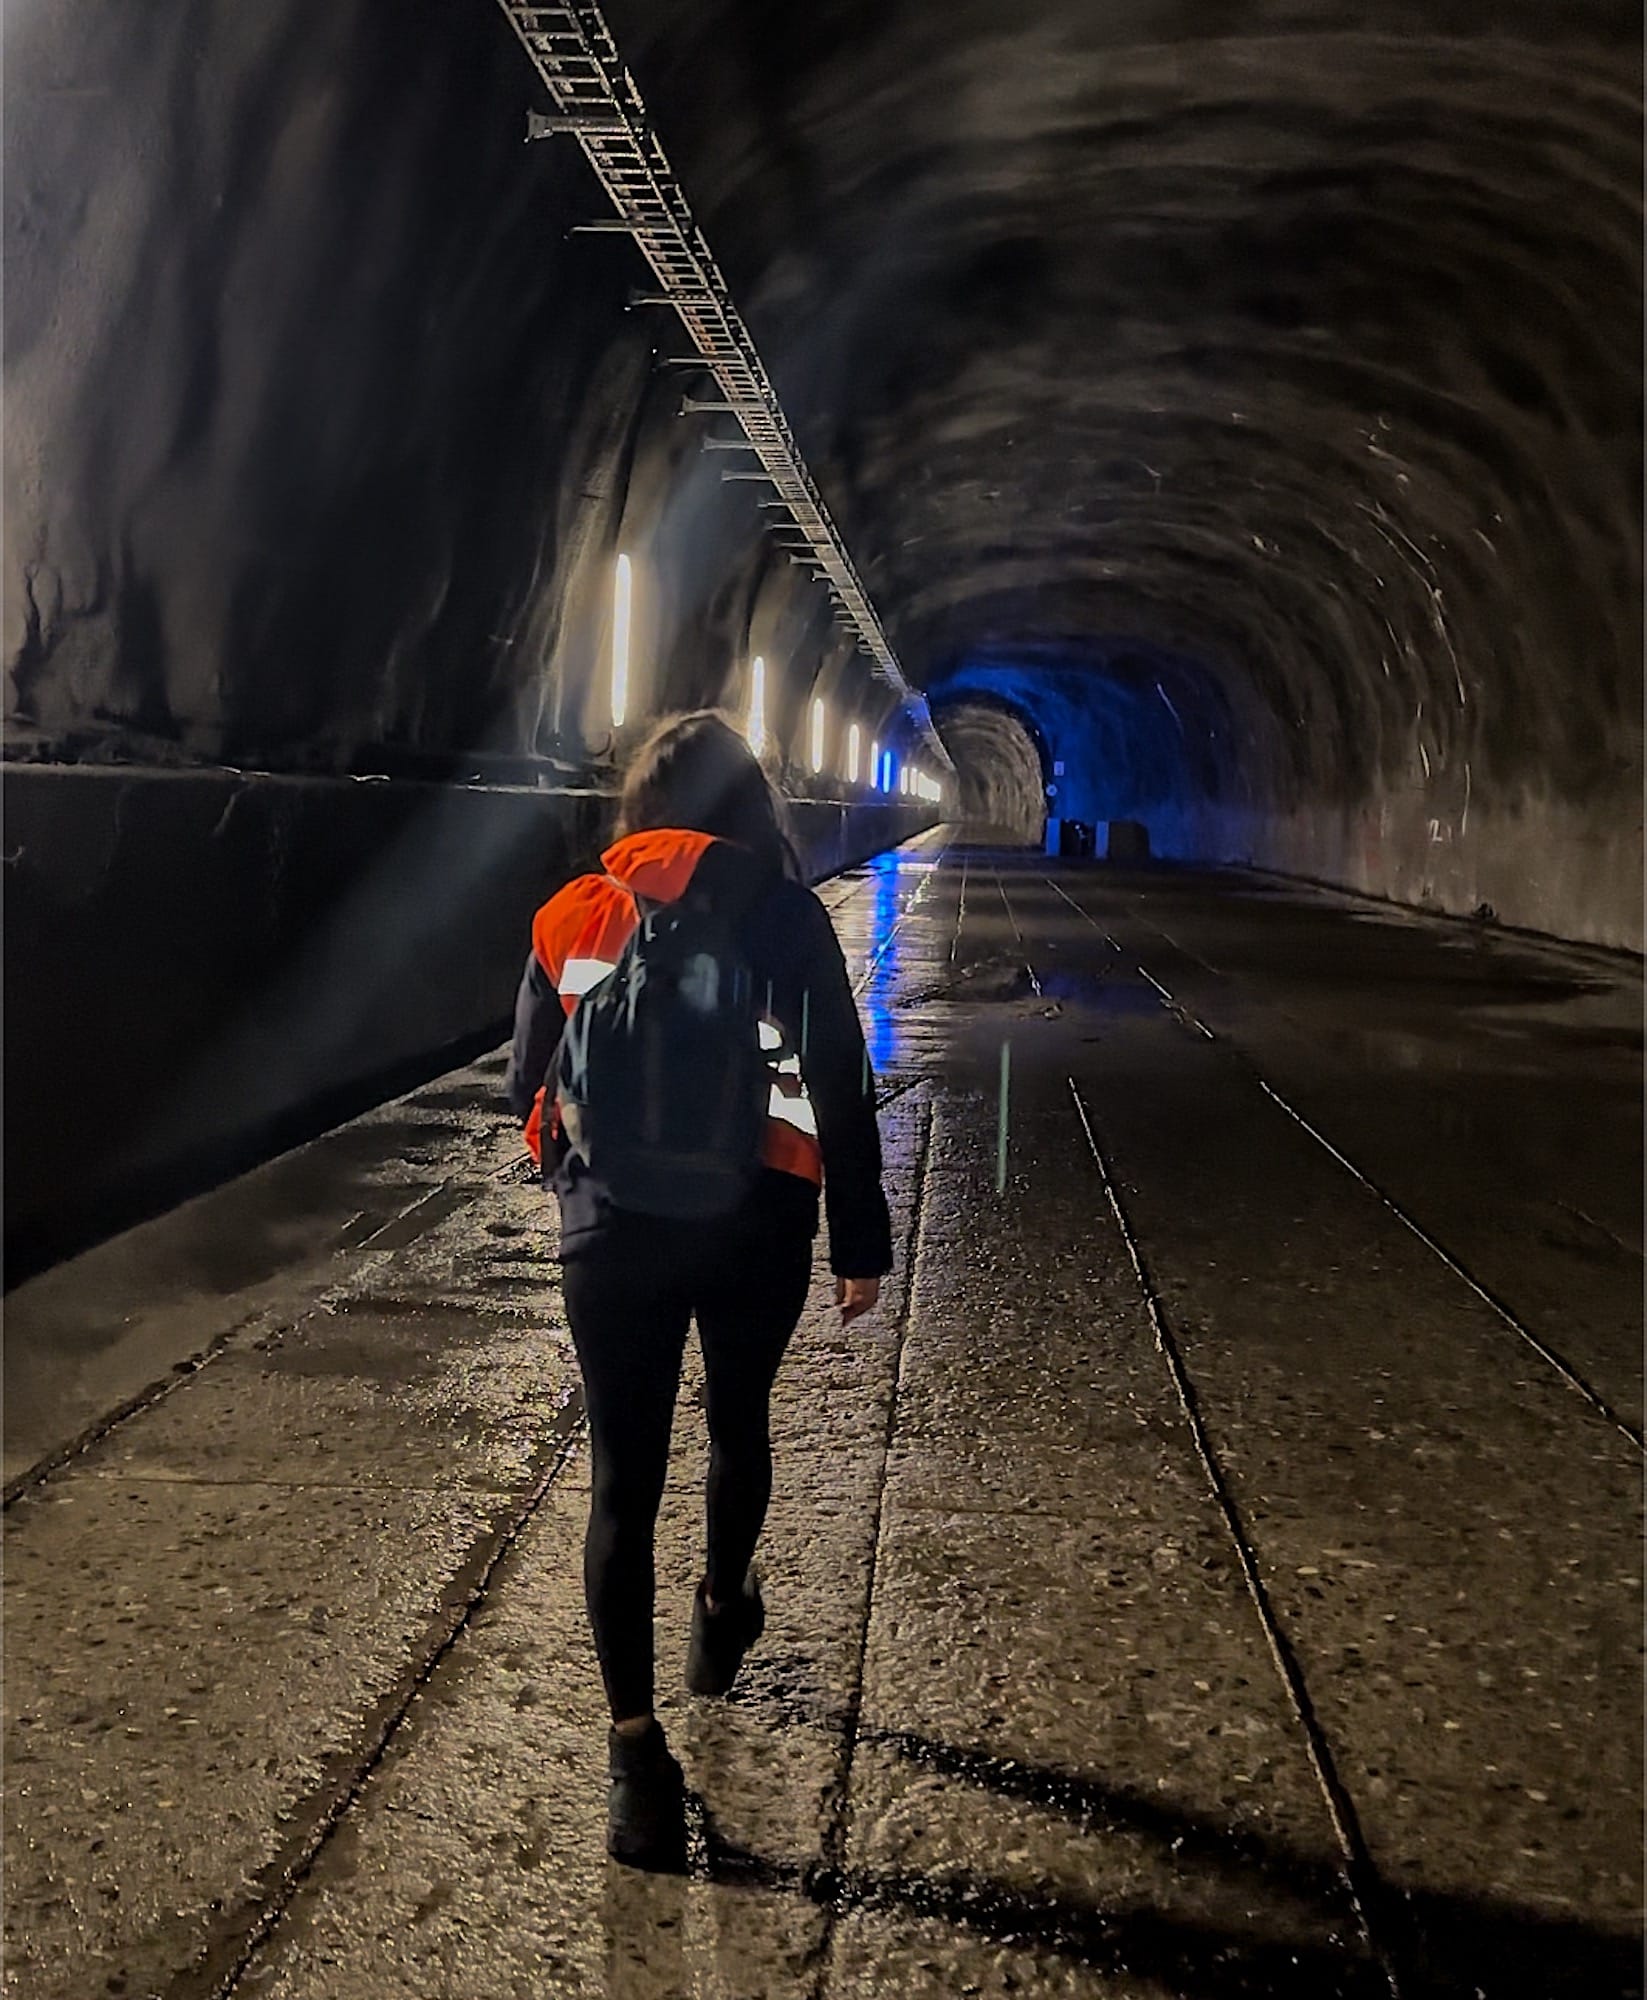
Once you've reached your destination by cable car, put on an orange safety vest and head straight ahead into the tunnel (do not take the door on the left, as it leads to the alternative way I mentioned earlier). Wearing a safety vest is highly recommended, as vehicles circulate through that same tunnel, so the vest maximizes visibility.
The walk through the tunnel lasts about 30 minutes. It does get cold inside the tunnel, even in summer, so dont forget to bring your jacket!
3. Uphill
Once you've returned your safety vest at the end of the tunnel, follow the dam wall to find the start of the trail.
Expect the trail to be steep and uphill right from the start.
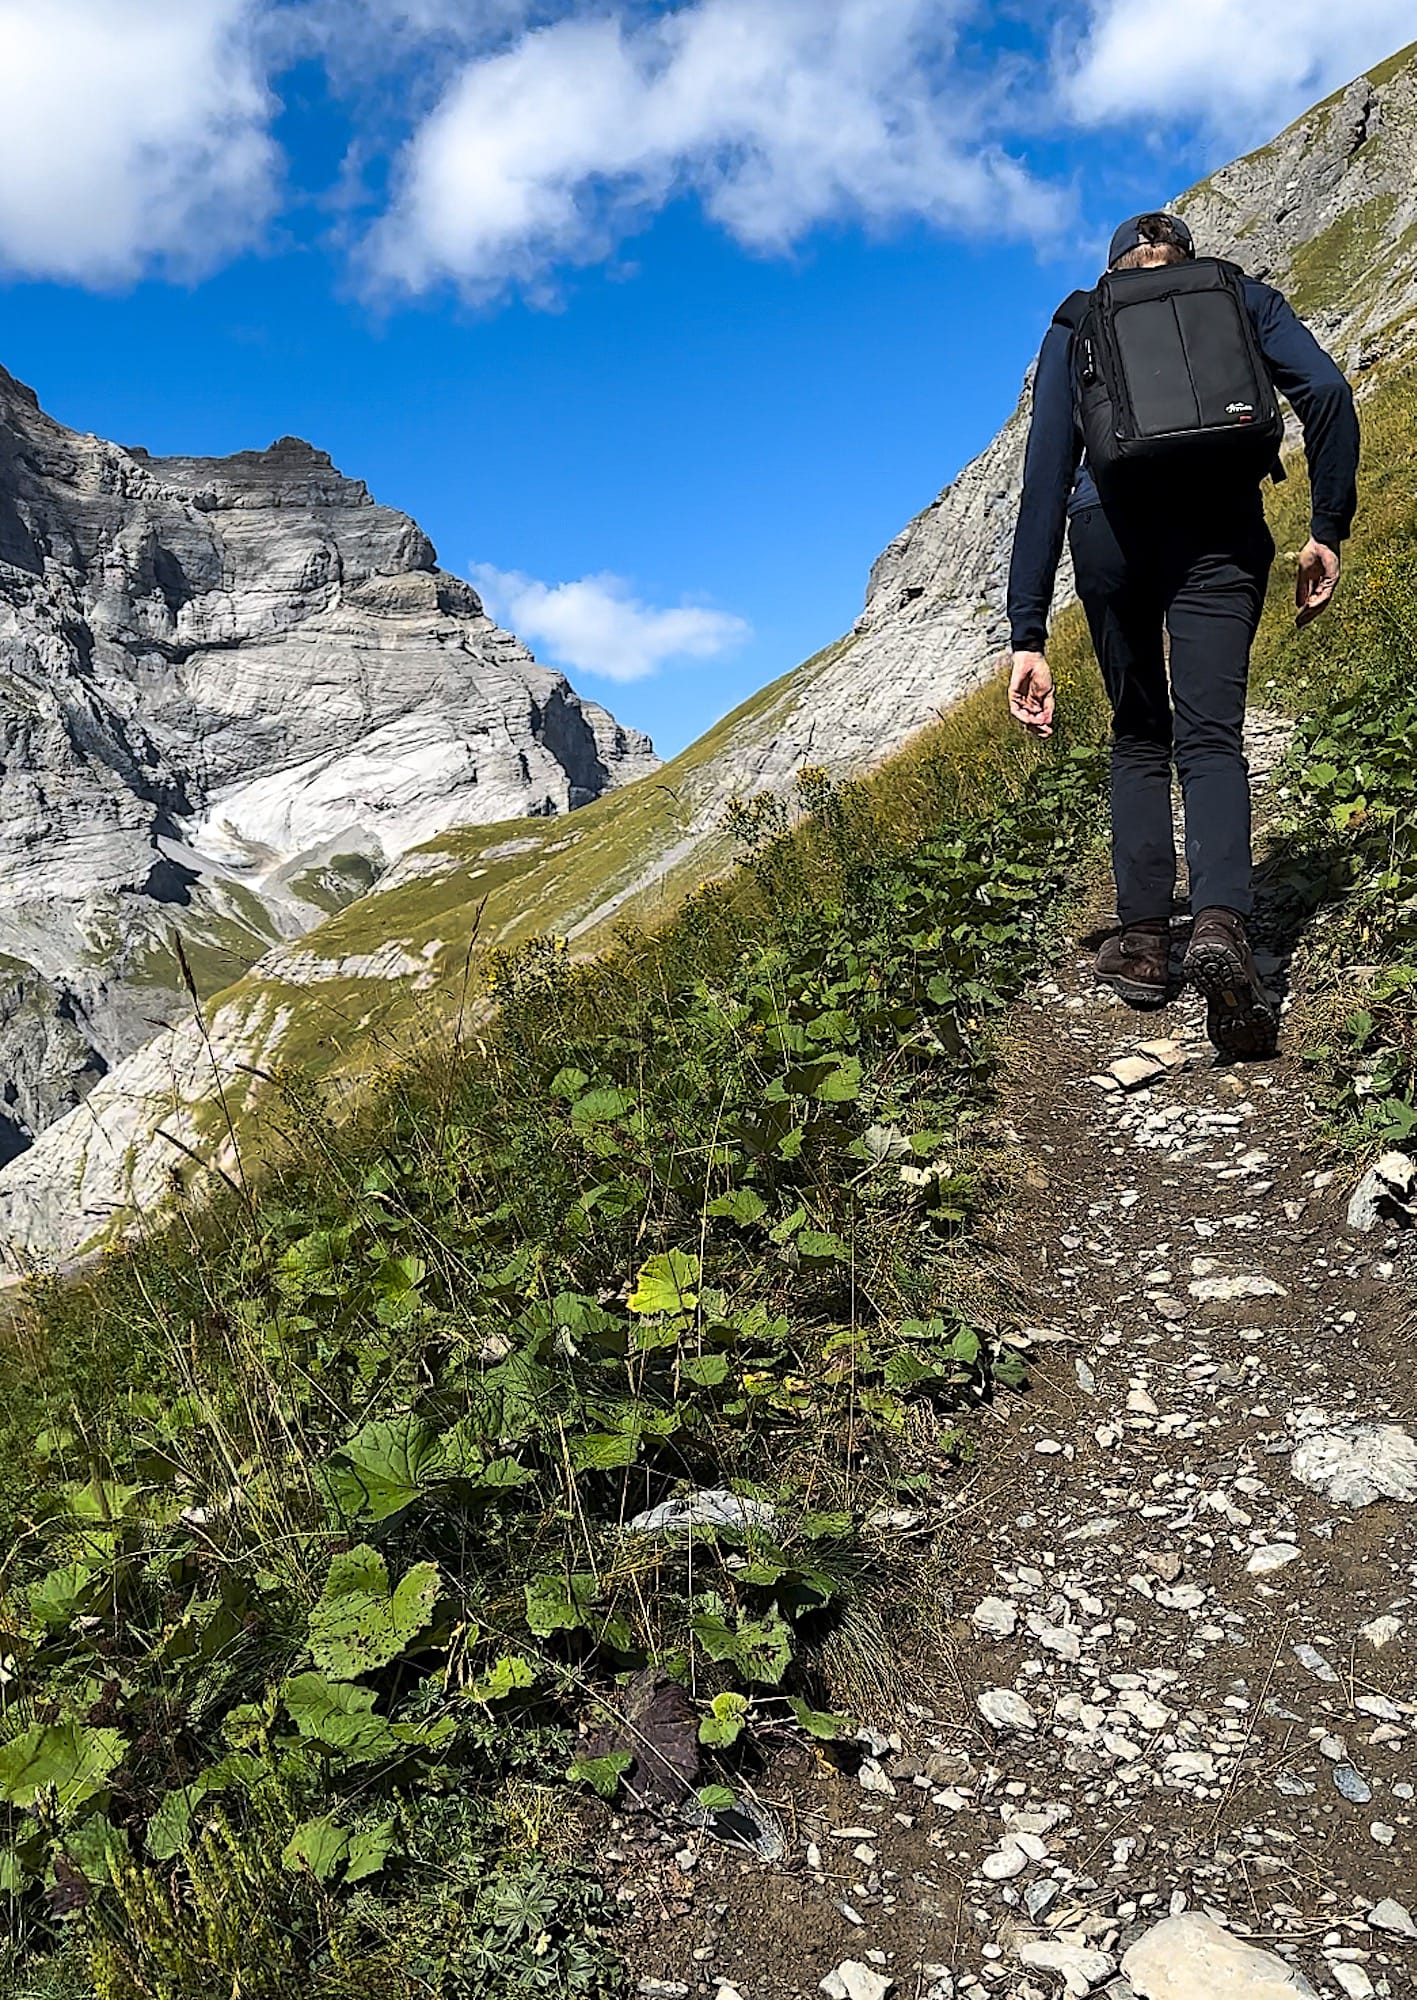
After some time, you will find two challenging sections of the trail, where there are chains you can hold onto. In my opinion, going slowly there is key, and both sections look scarier and harder than they actually are.
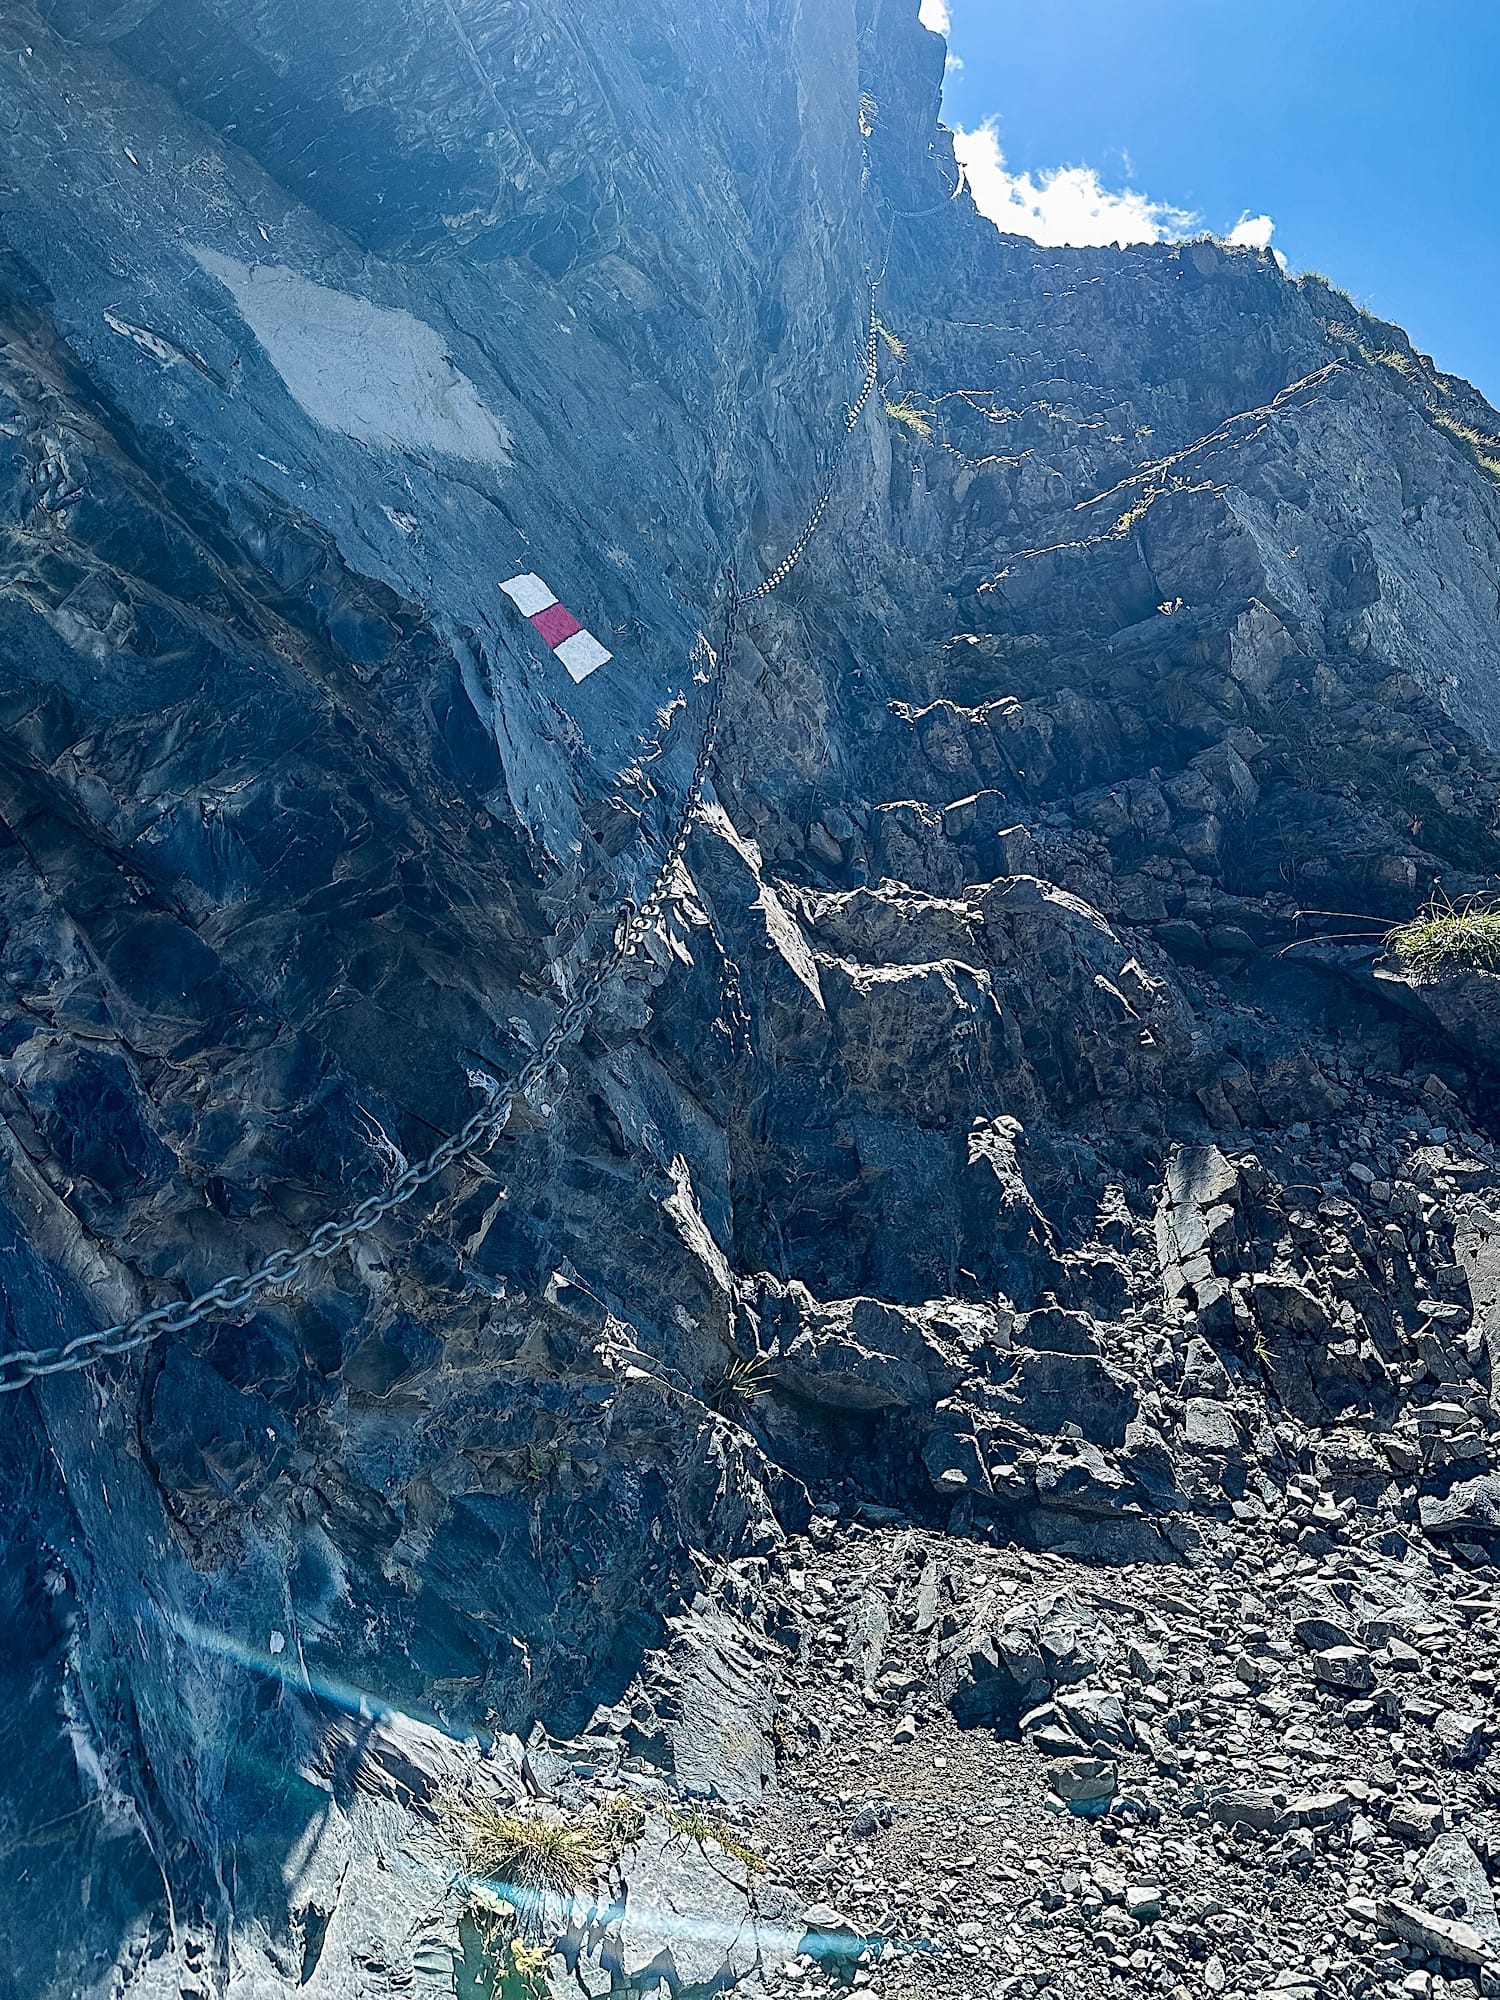
The first half of the trail is the most exposed one, but the second half is quite pleasant as you walk through green, flowery meadows.
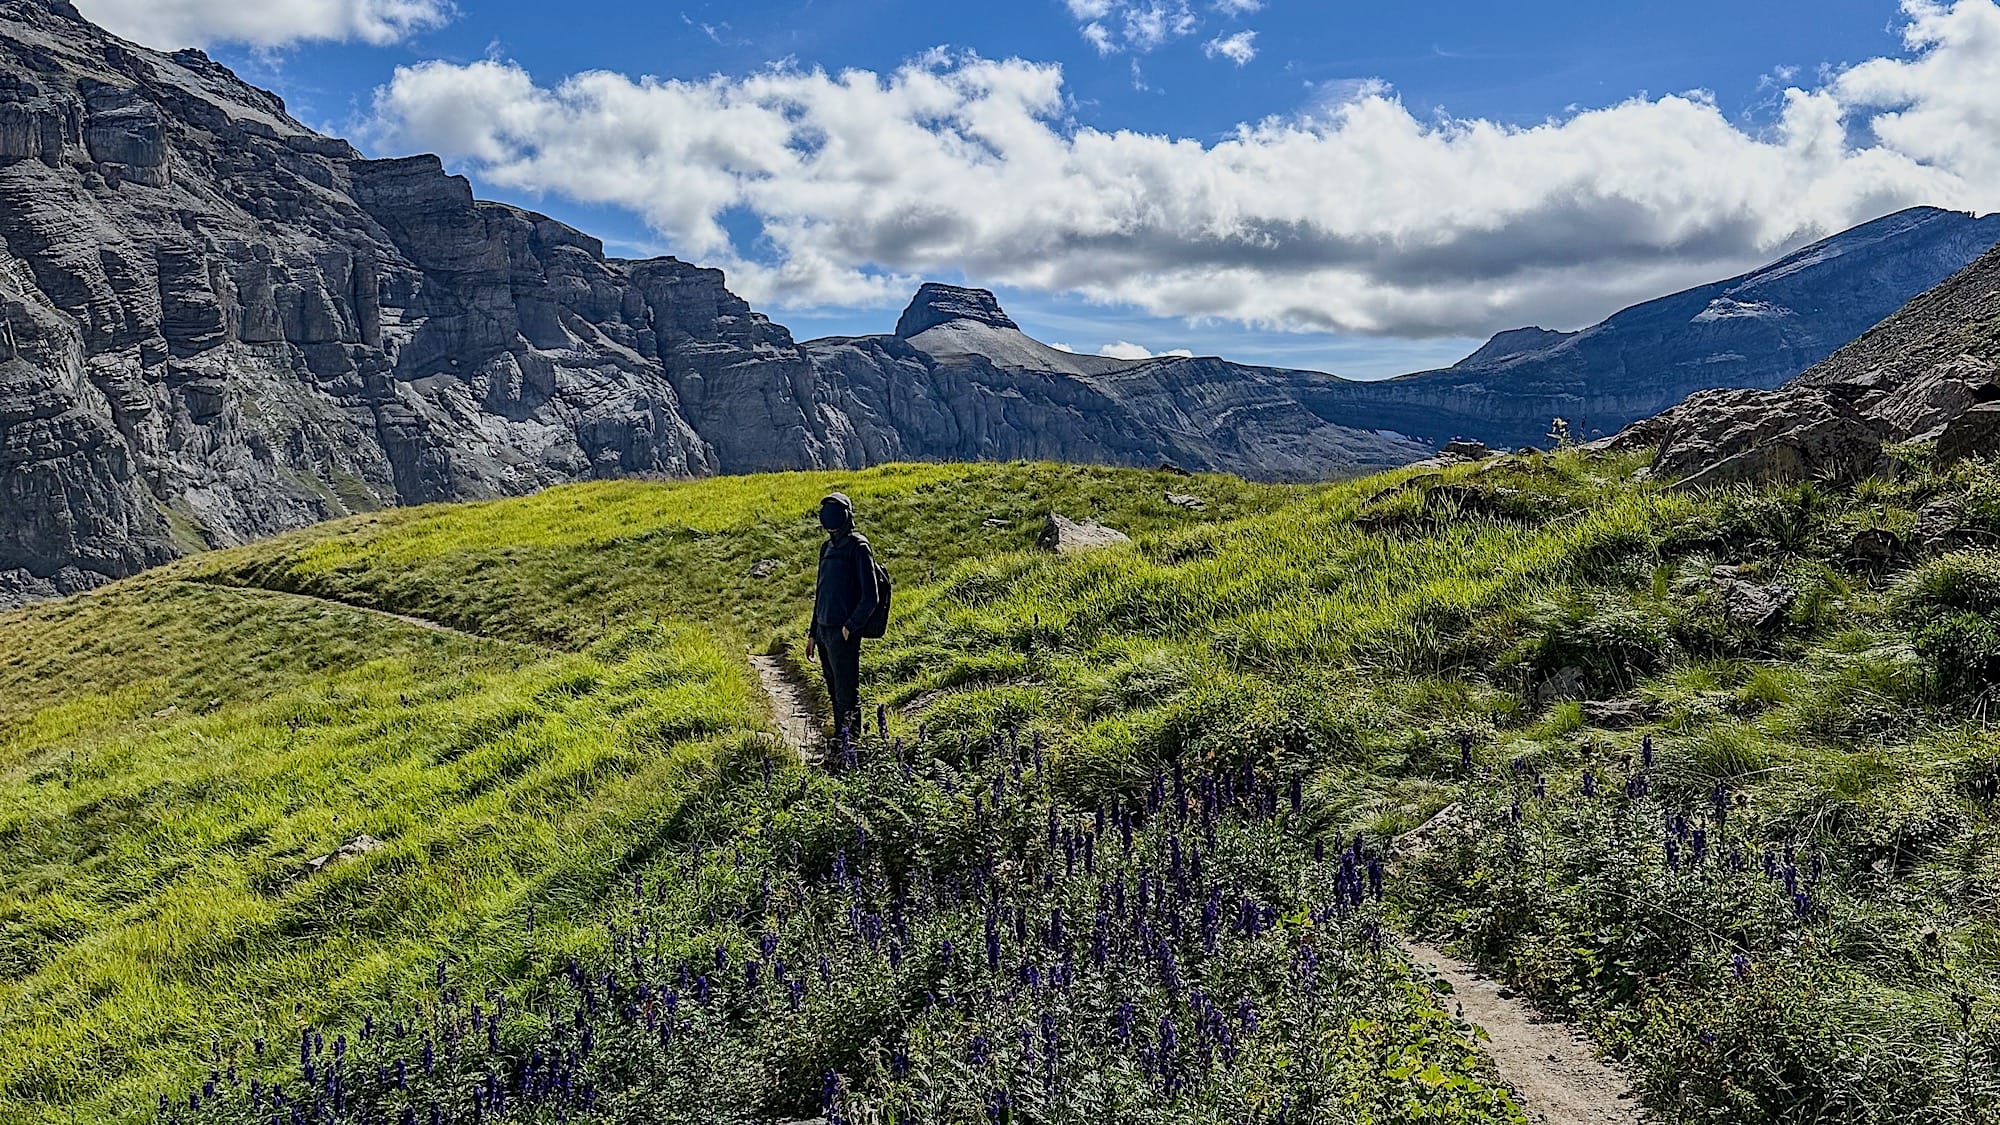
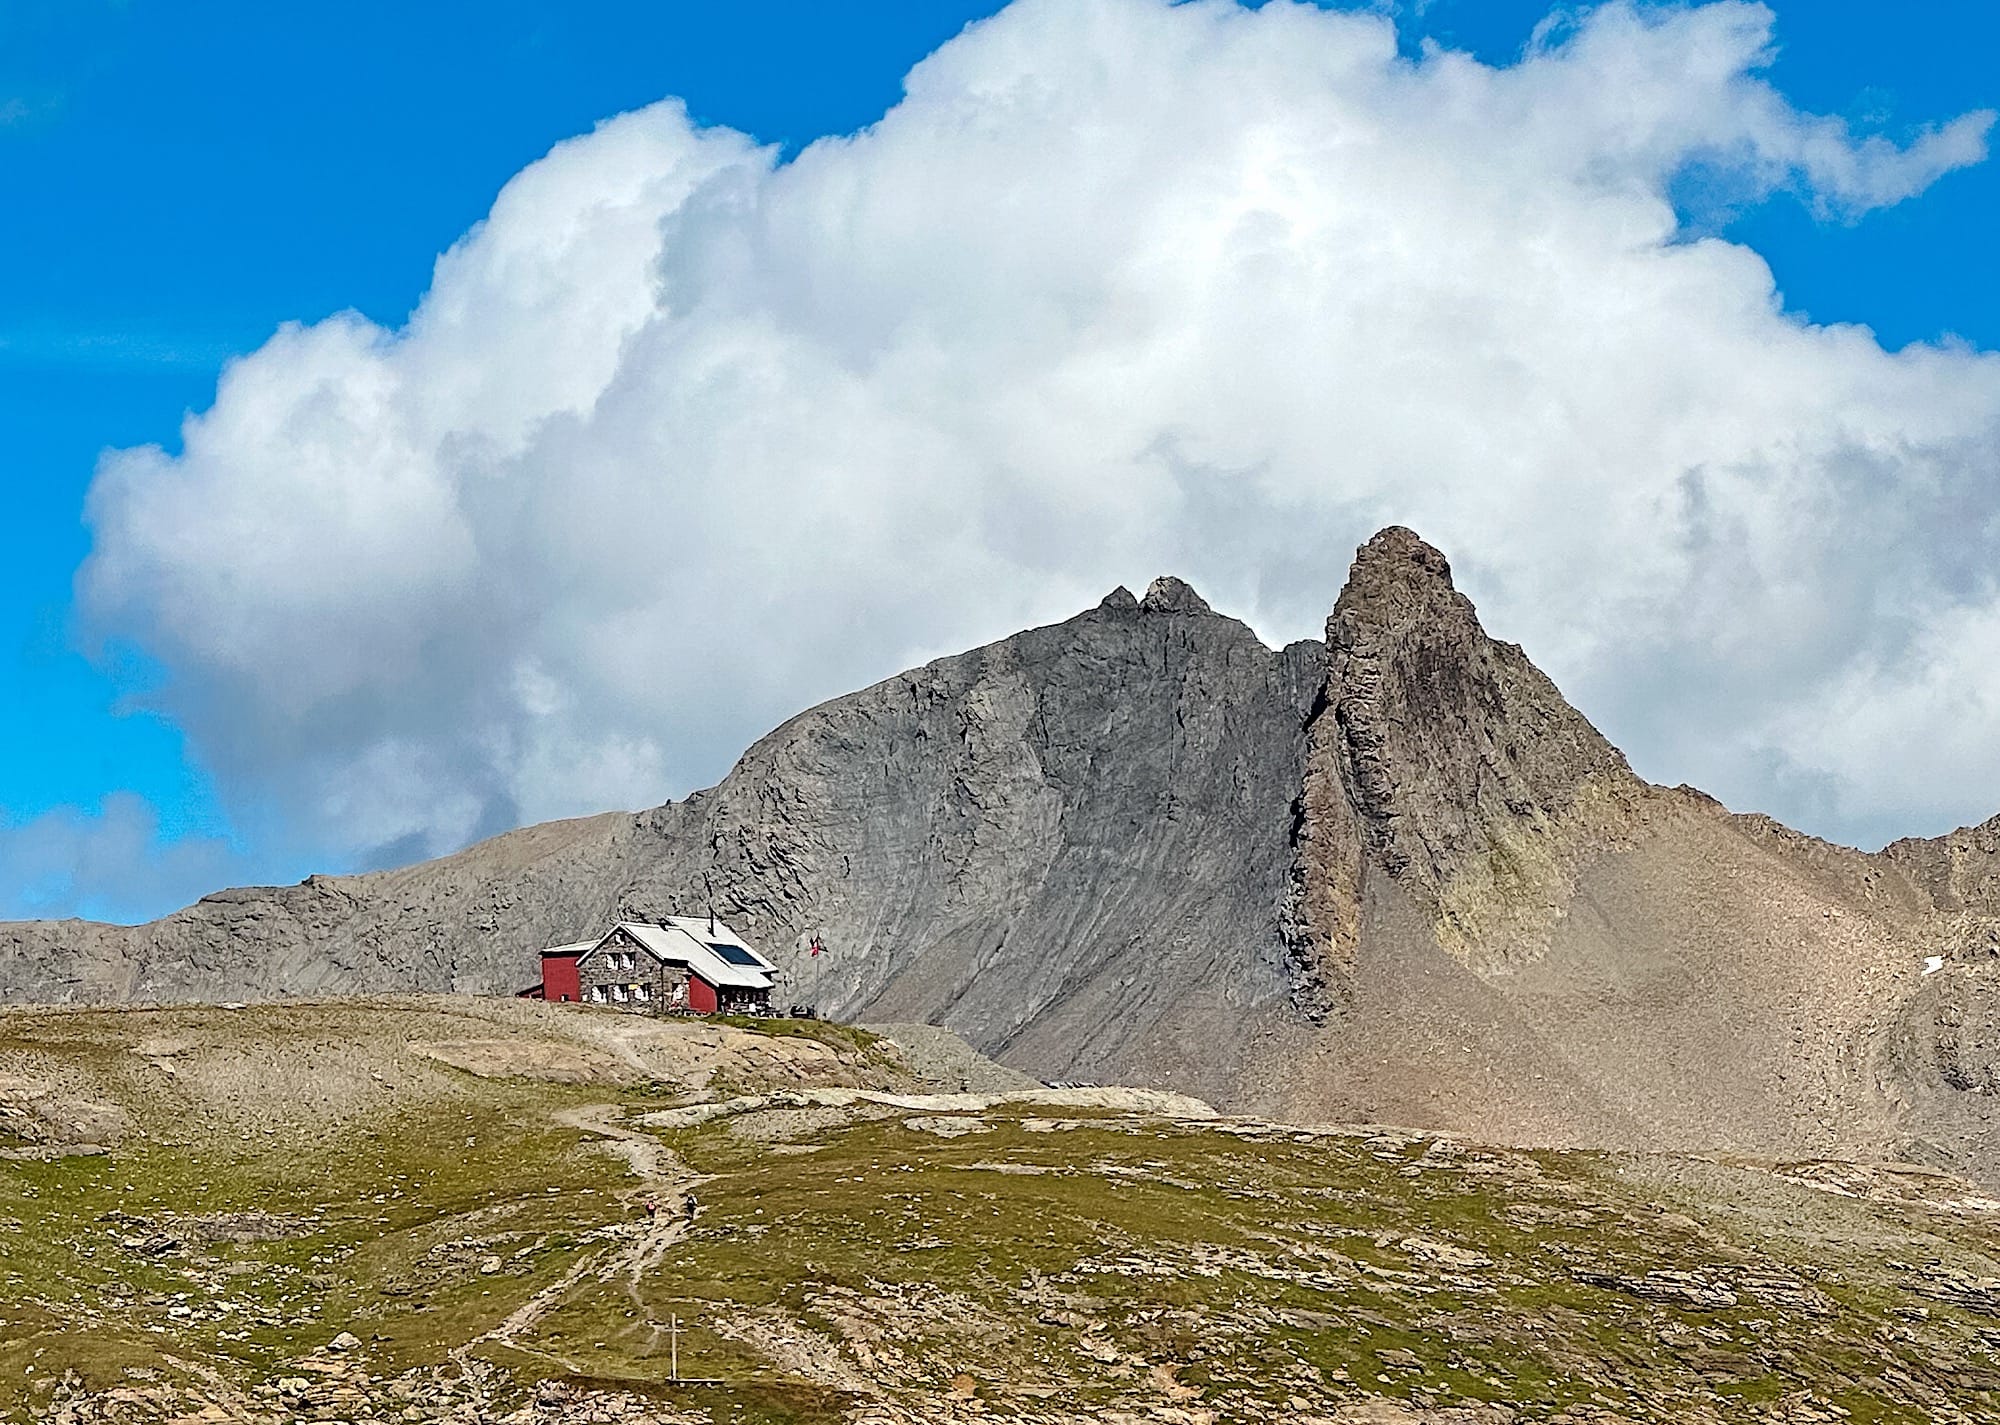
4. Muttseehütte
At the top of the mountain, you will find the trail splits into two.
Go left to reach the famous viewpoint as fast as possible, or follow the right path to the mountain hut Muttseehütte (optional).
At the Muttseehütte, you can rest and enjoy a drink and a meal, and even spend the night if you want, although previous booking is mandatory if you wish to spend the night.
You can use the toilet at the hut for free if you buy something to eat and/or drink there, or you can pay 5 CHF to use it without buying anything.
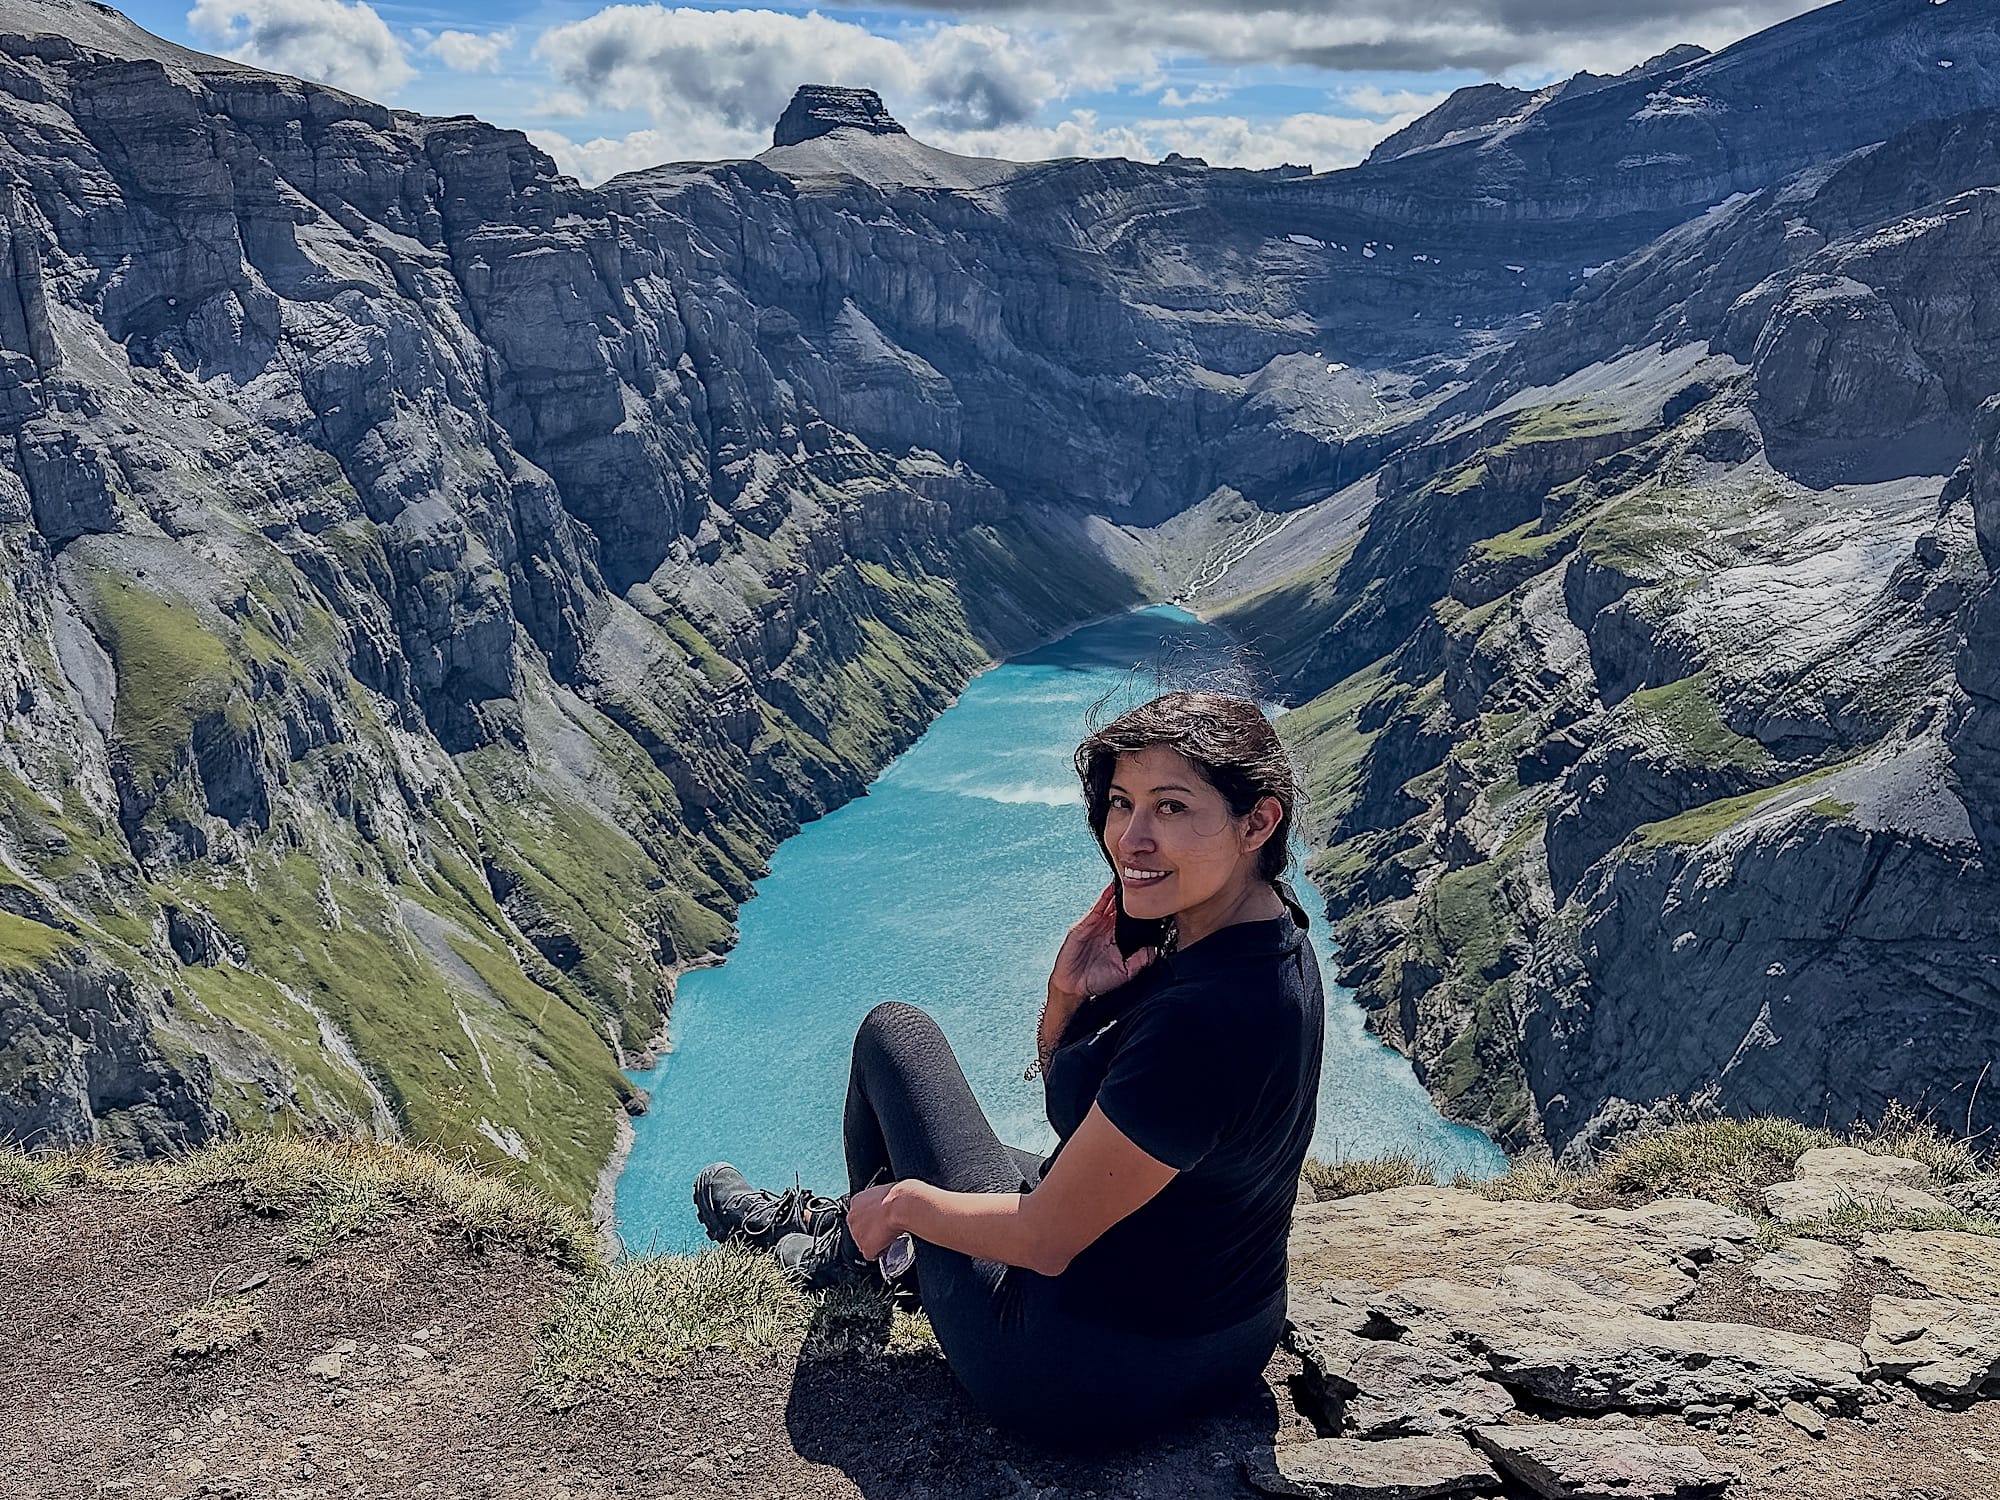
5. Viewpoint
If you made it to the Muttseehütte, you will have to go back on your tracks until where the paths split. Continue straight instead of going back the way you came to reach the famous viewpoint over the Limmernsee.
The part of the trail leading to the viewpoint is less well maintained than the earlier sections, so be careful.
6. Go back
After you have fully enjoyed the view, head back down the mountain the same way you came up, and through the tunnel to catch the cable car going down to the valley.
![The best 1-week Jordan Road Trip Itinerary [2025]](/content/images/size/w300/2025/06/IMG_9247-3.jpg)