Patagonia is a region in South America that covers Chile and Argentina. It is a stunning natural place, and it should be on everyone's bucket list, especially if they're into hiking!
Planning a trip to Patagonia can be complex and confusing because it is a big area, and because you will probably want to explore both countries to get the most out of your stay.
This article suggests a 12-day trip across southern Patagonia that covers both countries and focuses on the principal hikes in the region. It also explains how to get to and around Patagonia.
This Patagonia hiking itinerary begins in Puerto Natales, Chile, and takes you all the way to El Chalten, Argentina. However, you can also choose to complete it in the opposite direction and add additional rest days.
What You Need to Know Before Traveling to Patagonia
How to get to Patagonia
First of all, it is important to note that international flights outside of to and from the capitals are not very well developed in either Argentina or Chile.
This means that direct flights are limited to national flights. So, if you want to start on the Argentinian side, you will have to fly from another Argentinian city, and if you're going to begin on the Chilean side, you need to fly from a Chilean city.
You can still take an international flight with a layover; however, be prepared to spend the whole day on the road, as the layovers tend to be long.
Starting in Argentina:
Fly to El Calafate, the closest airport to the town of El Chalten and Perito Moreno glacier.
Starting in Chile:
You can fly to either Punta Arenas, where you can join a tour, see the penguins, and then head to Torres del Paine National Park. Or fly straight to Puerto Natales, the closest city to Torres del Paine.
Moving around Patagonia
The bus network in southern Patagonia is relatively well developed. This is also the cheapest option if you're going solo to Patagonia. In my experience, buses generally depart on time. However, be prepared for flexible arrival times.
Your second option is renting a car, which is the most comfortable and flexible option. In the next section, I will discuss some things you should know before renting a car.
The third option would be to combine both, renting a separate car in each country and crossing the border by bus.
Renting a car in Patagonia
- If you plan on keeping the same car for your whole trip, you must pay extra for a permit to take it out of the country and bring it back to where you rented it.
- Gas stations are far apart, so you need to carry at least one canister full of gas with you to avoid getting stuck in the middle of nowhere because you ran out.
- A regular car is more than enough to drive around Patagonia. However, remember that the terrain in Torres del Paine is uneven. So, although it is feasible with a regular car, the sensation inside the vehicle might be very uncomfortable, and it will slow you down. That's why, at least for the Chilean part, I would recommend having a 4x4 or, at the very minimum, a car with good shock absorbers.
12-Day Itinerary: Things to See & Do in Patagonia
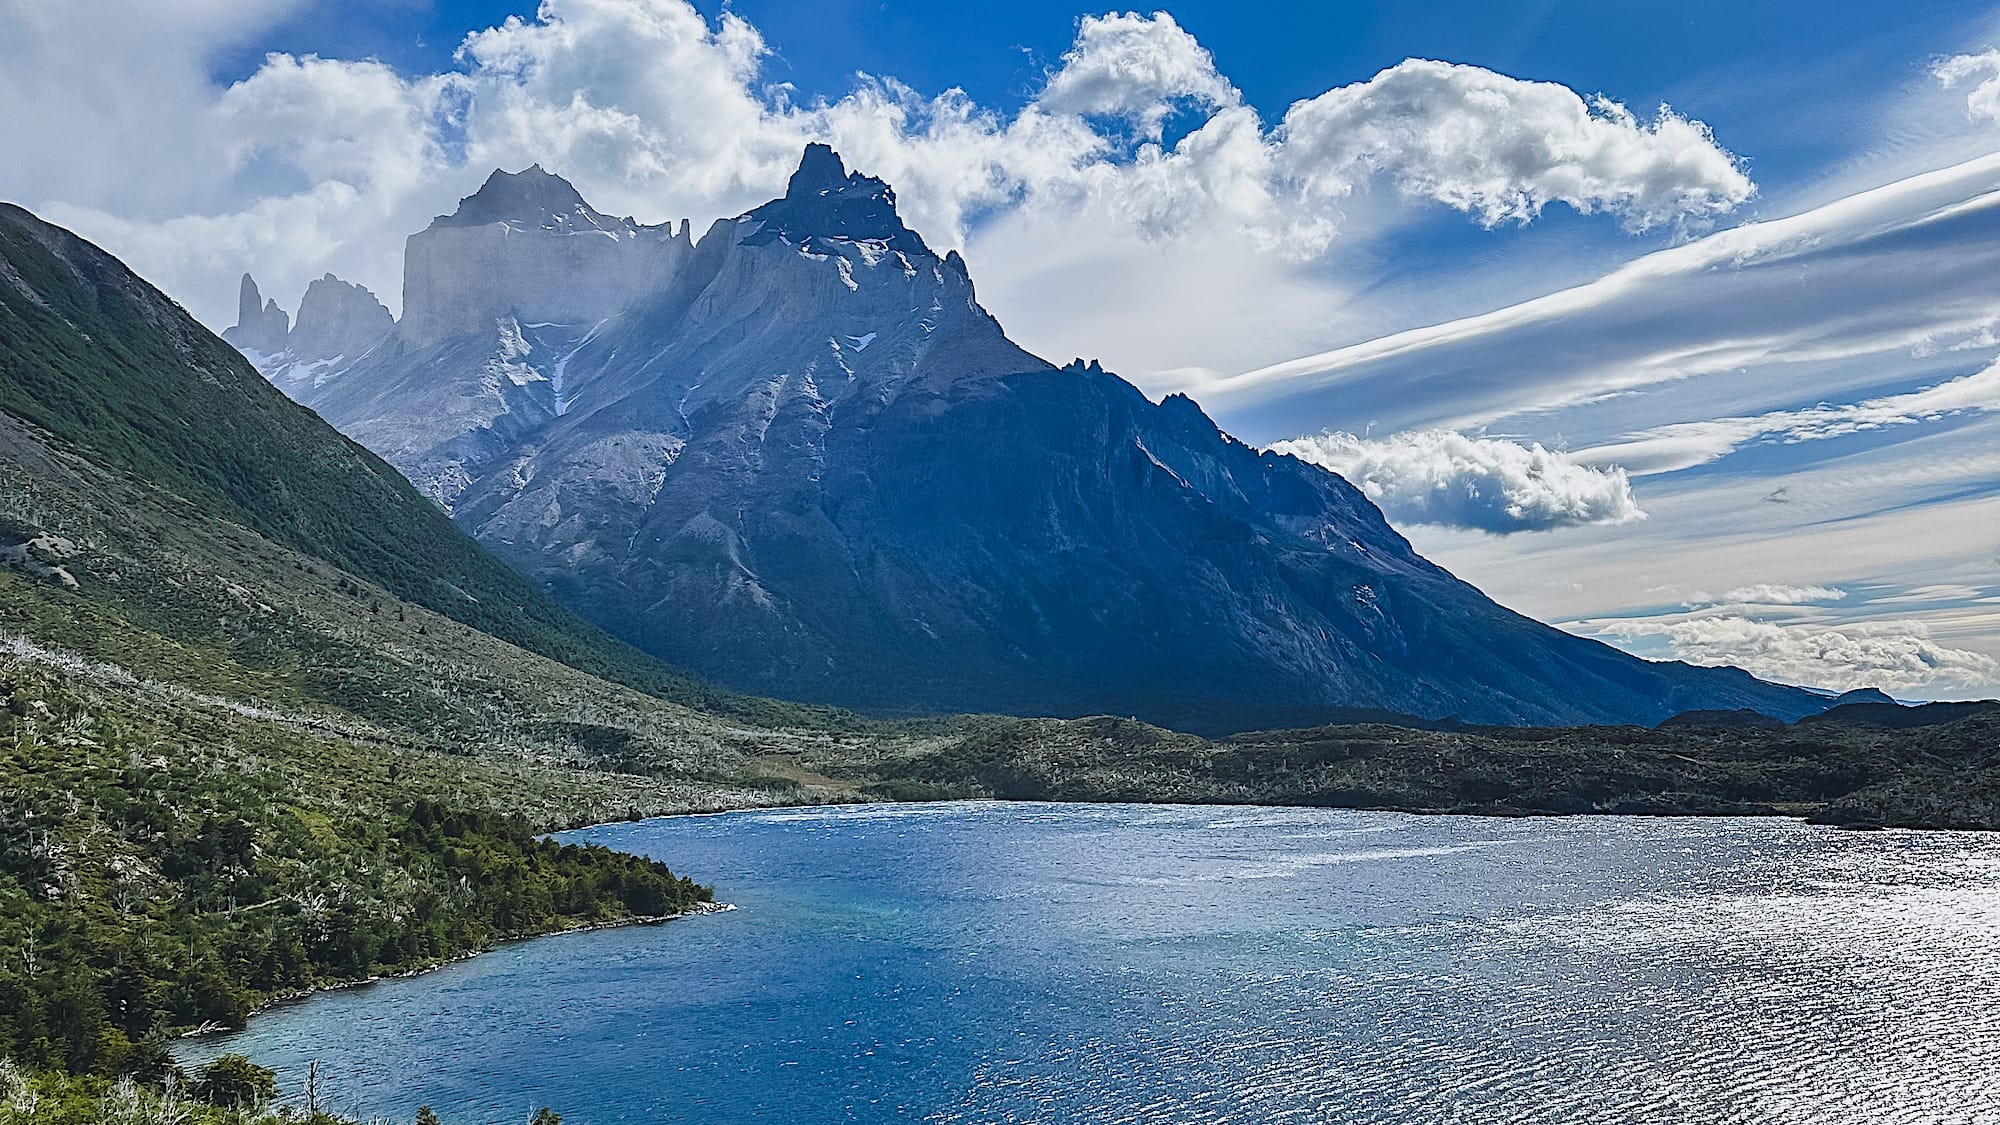
Day 1: Puerto Natales to Torres del Paine National Park
After flying into Puerto Natales, retrieve your rental car and drive from Puerto Natales to Torres del Paine National Park on your first day. The drive will last around 2 hours.
Staying as close as possible to the National Park will make exploring easier, as the three main day hikes are full-day. We knew the first hike we wanted to do was the Base de las Torres hike, so staying near the Torres del Paine National Park's Welcome Center was vital.
Settle into your accommodation and prepare for the challenging hike that awaits you the next day.
Day 2: Base de las Torres Hike
Eat breakfast at your accommodation and start the hike before 8:00 a.m. There are two reasons to start early: to beat the crowds and to make it to the moraine before it closes at 2:00 p.m.
This is a challenging full-day hike, and there are limited services once you're in the mountains, so bring plenty of water and don't forget to pack your lunch.
If you want more information about this hike, read my complete guide here.

Alternative to days 2 to 5: Tackle the W-trek as a 3-day/2-night camping trek.
Day 3: Rest day and change your base in the National Park
After an exhausting day hike, take a rest day and change your base to be closer to the start of the other hikes.
Staying near the Pudeto or the Rio Serrano sector will make the two remaining day hikes more accessible.
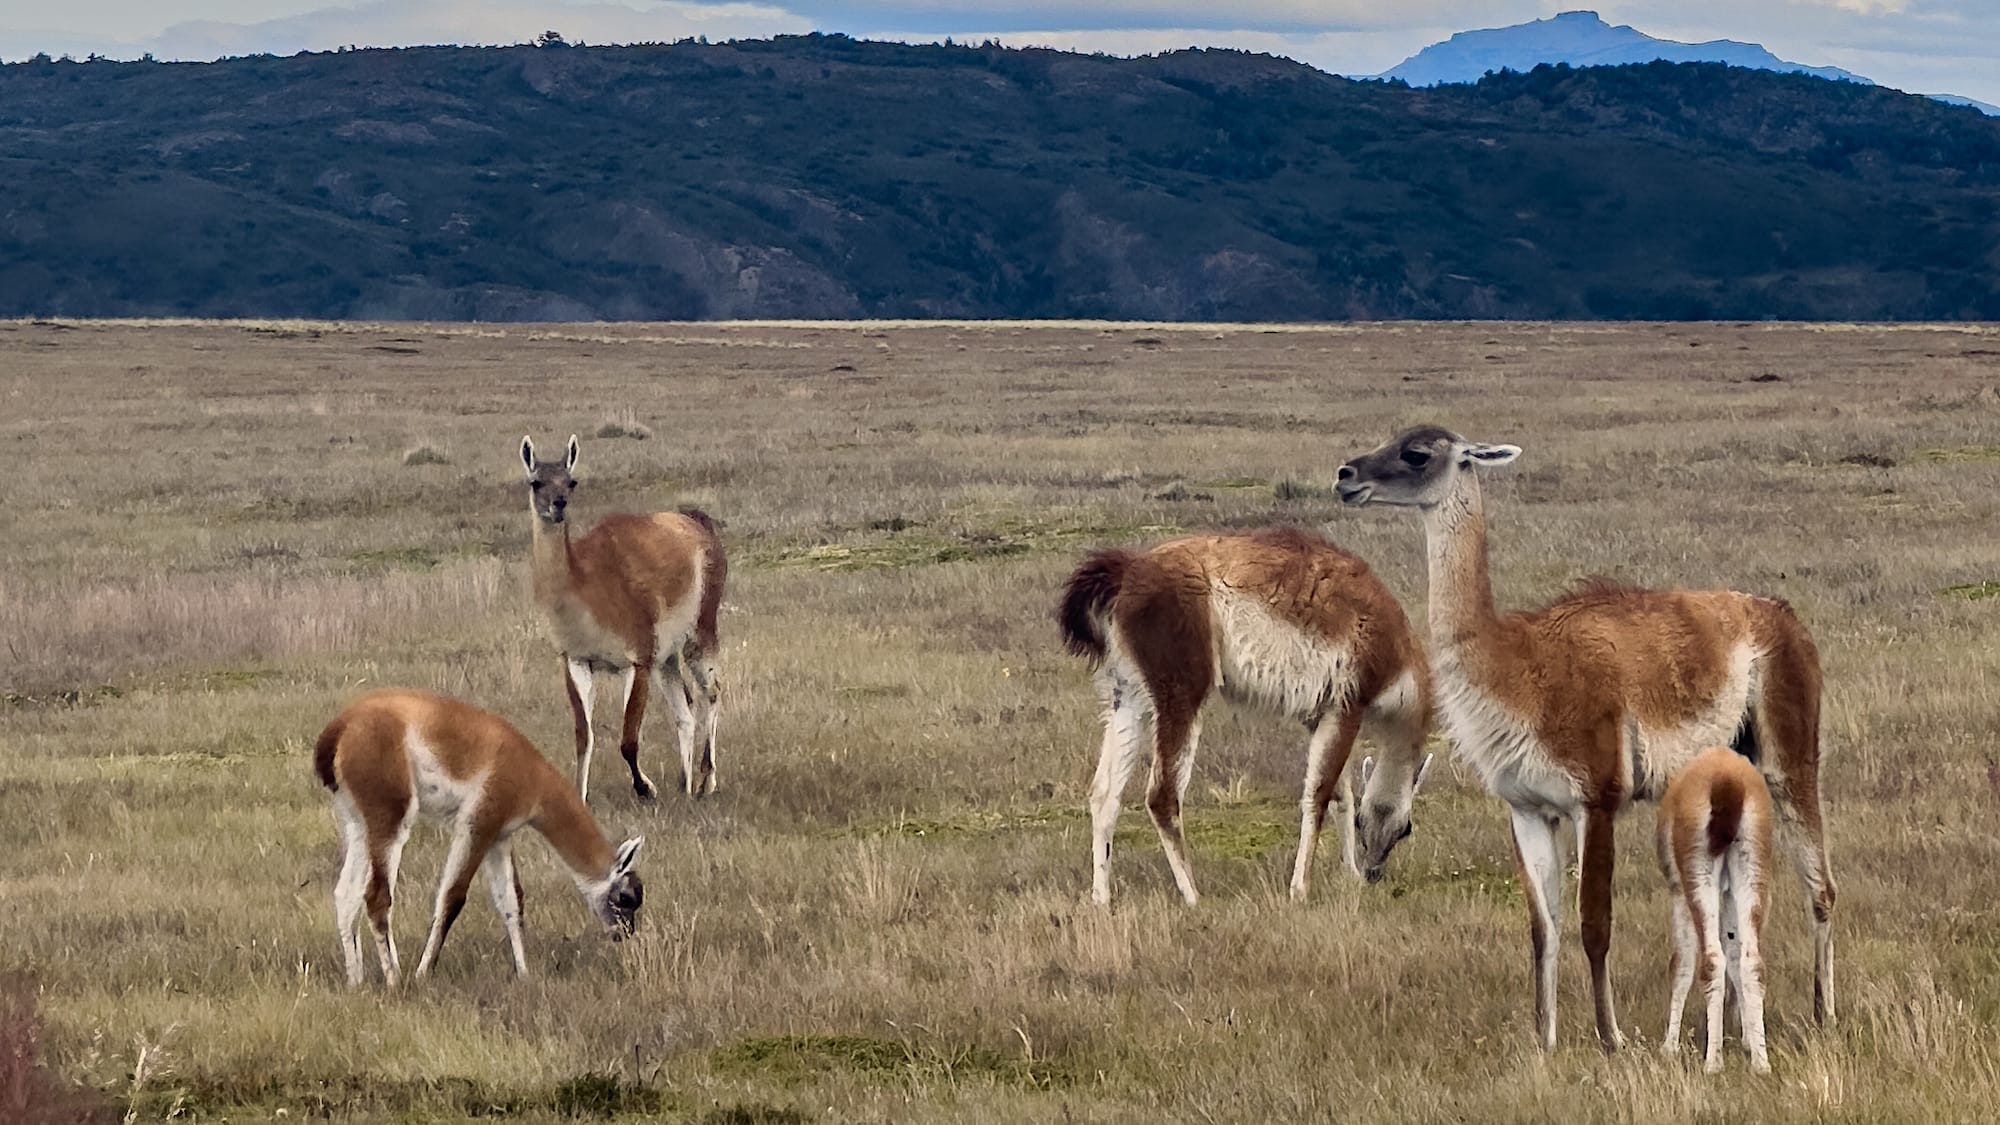
Enjoy the ride and the views; if you're lucky, you may even encounter a pack of guanacos or spot a puma.
Day 4: French/British Lookout Hike
For the second full-day hike in Torres del Paine, you must take the Pudeto catamaran to the beginning of the trail and return once you've finished.
Once you reach Paine Grande, turn to your right and follow the signs to the Italiano Camp and then to the British Lookout.
This is a moderate but long day-hike, which I fully cover on this blog.
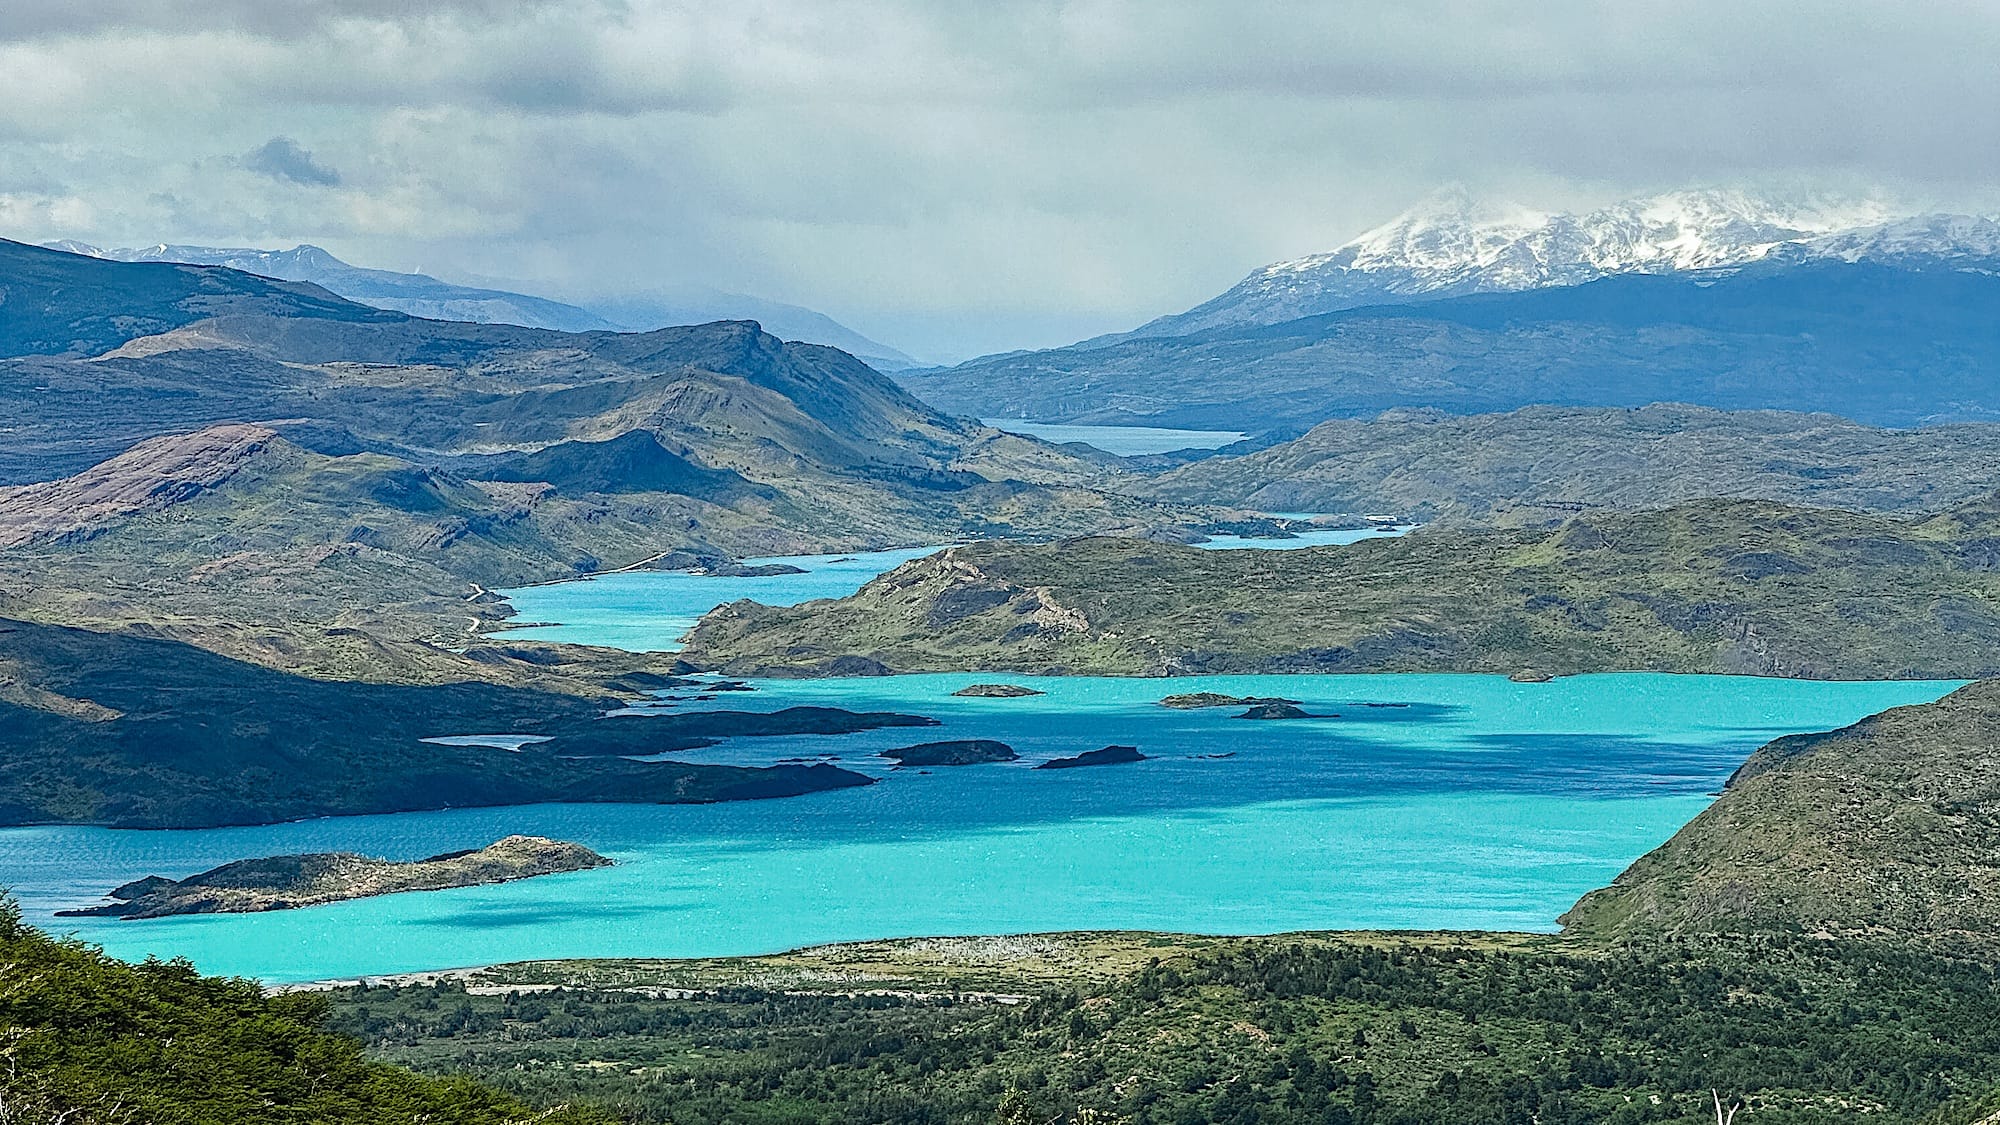
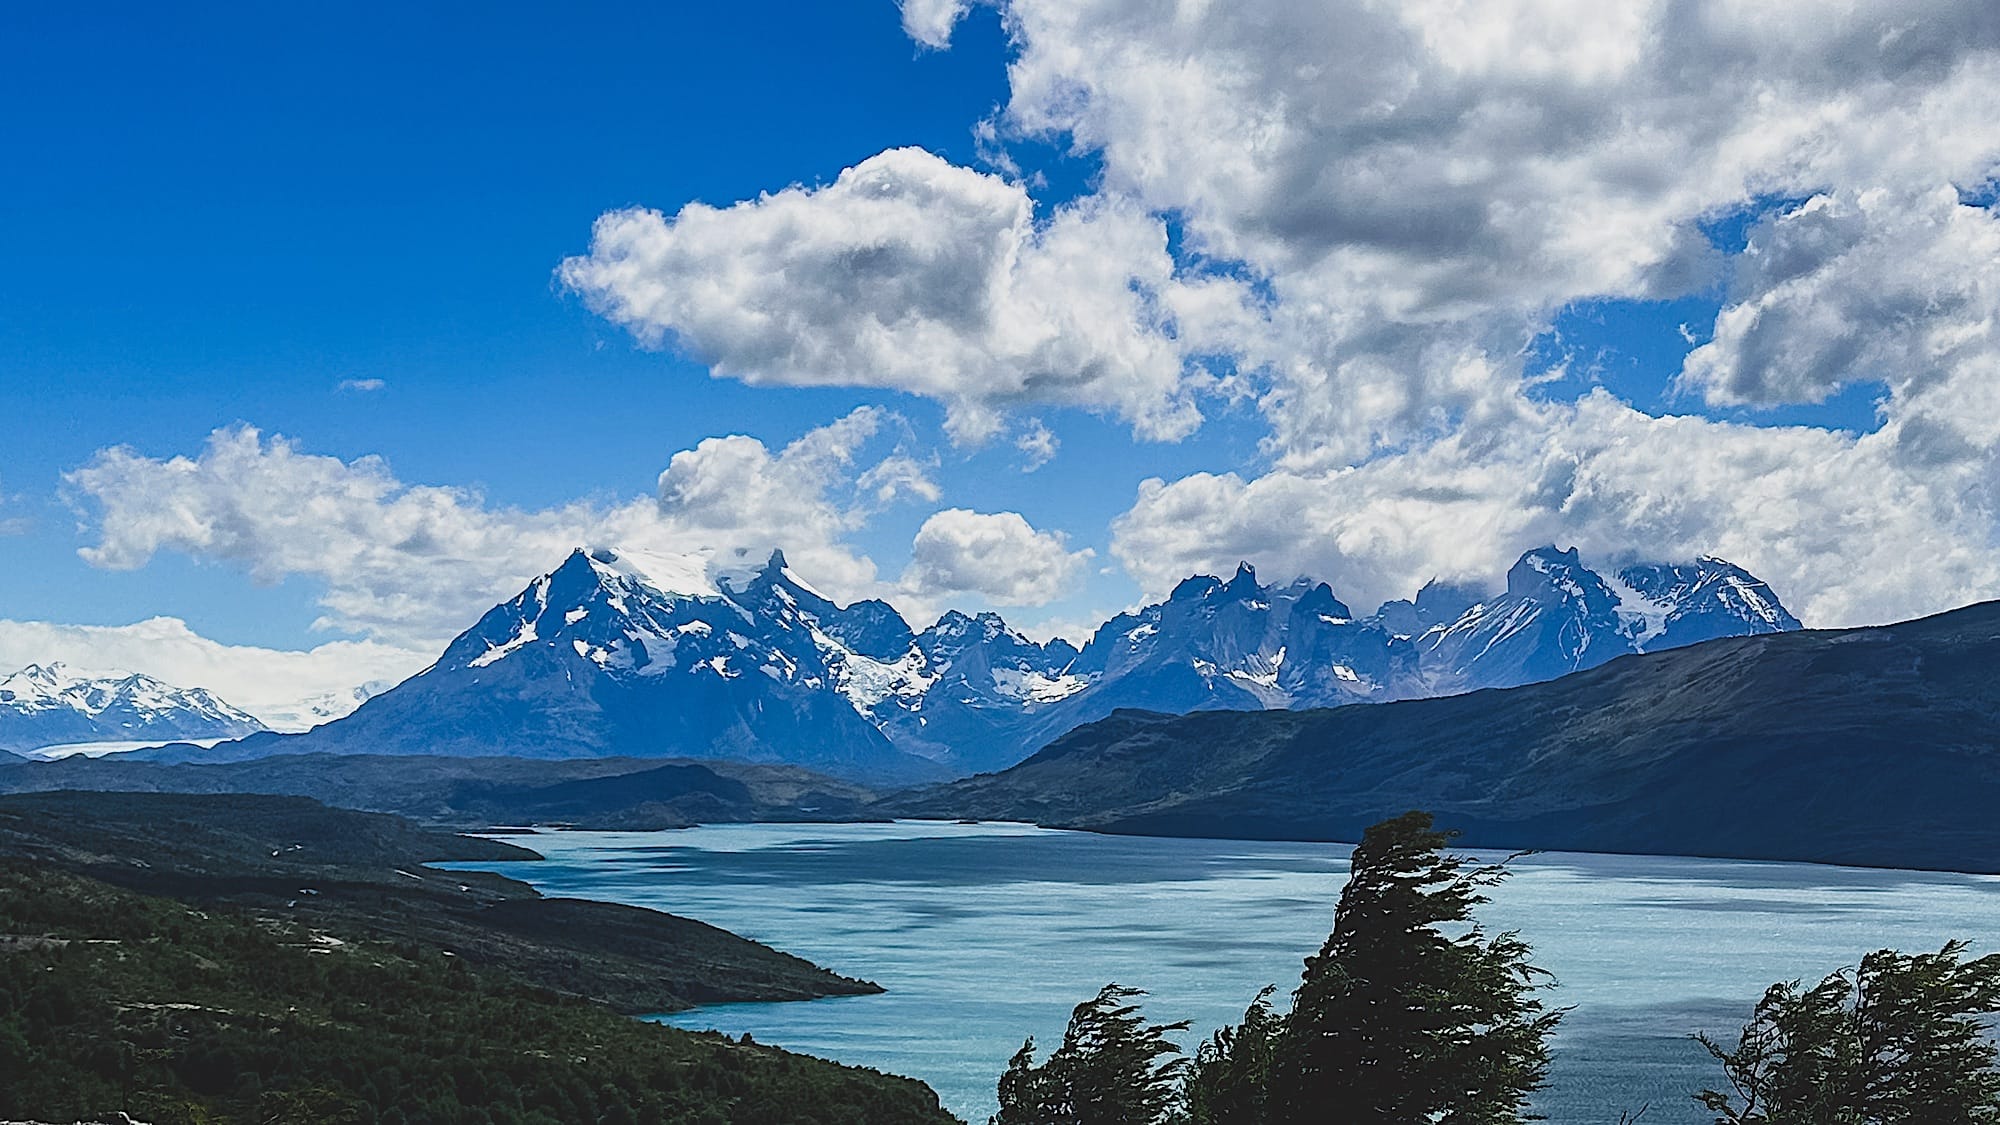
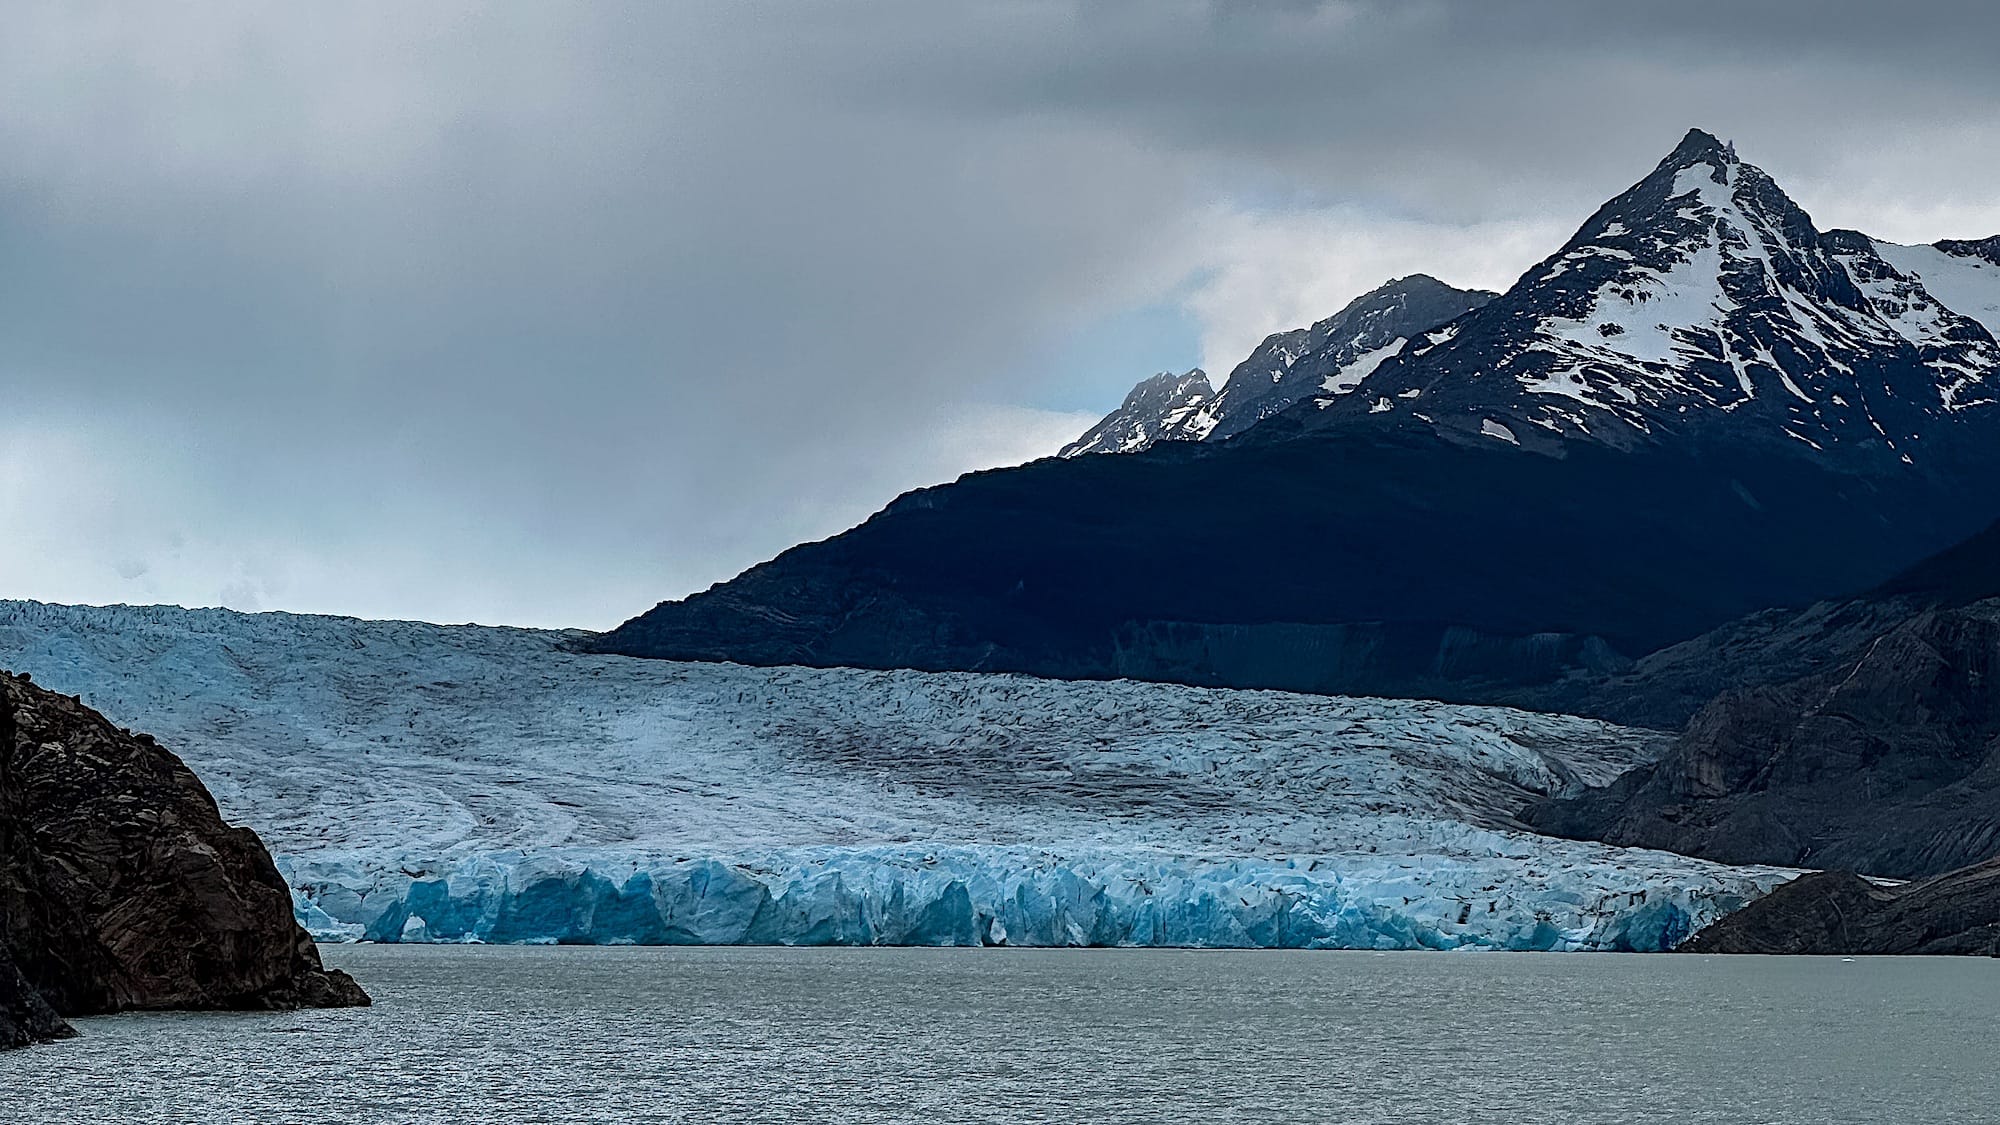
Day 5: Grey Glacier Viewpoint Hike
This will be the last full-day hike in Torres del Paine National Park. As the day before, it begins by taking the Pudeto catamaran.
However, this time you should turn to your left and follow the signs to Grey Refuge.
Optional add-on: If you have an extra day to spare, you could spend it exploring the different viewpoints around the Pudeto area.
Day 6: Torres del Paine to El Calafate
Today will be a travel day. Check out of your accommodation and start the journey towards Argentina.
You have two options here: Return your rental car at Puerto Natales and take the bus to El Calafate.
The second is to keep the rental car, which is the most comfortable and fastest option. As mentioned before, if you opt for this option, you will have to drive all the way back to Puerto Natales to return the car at the end of your stay.
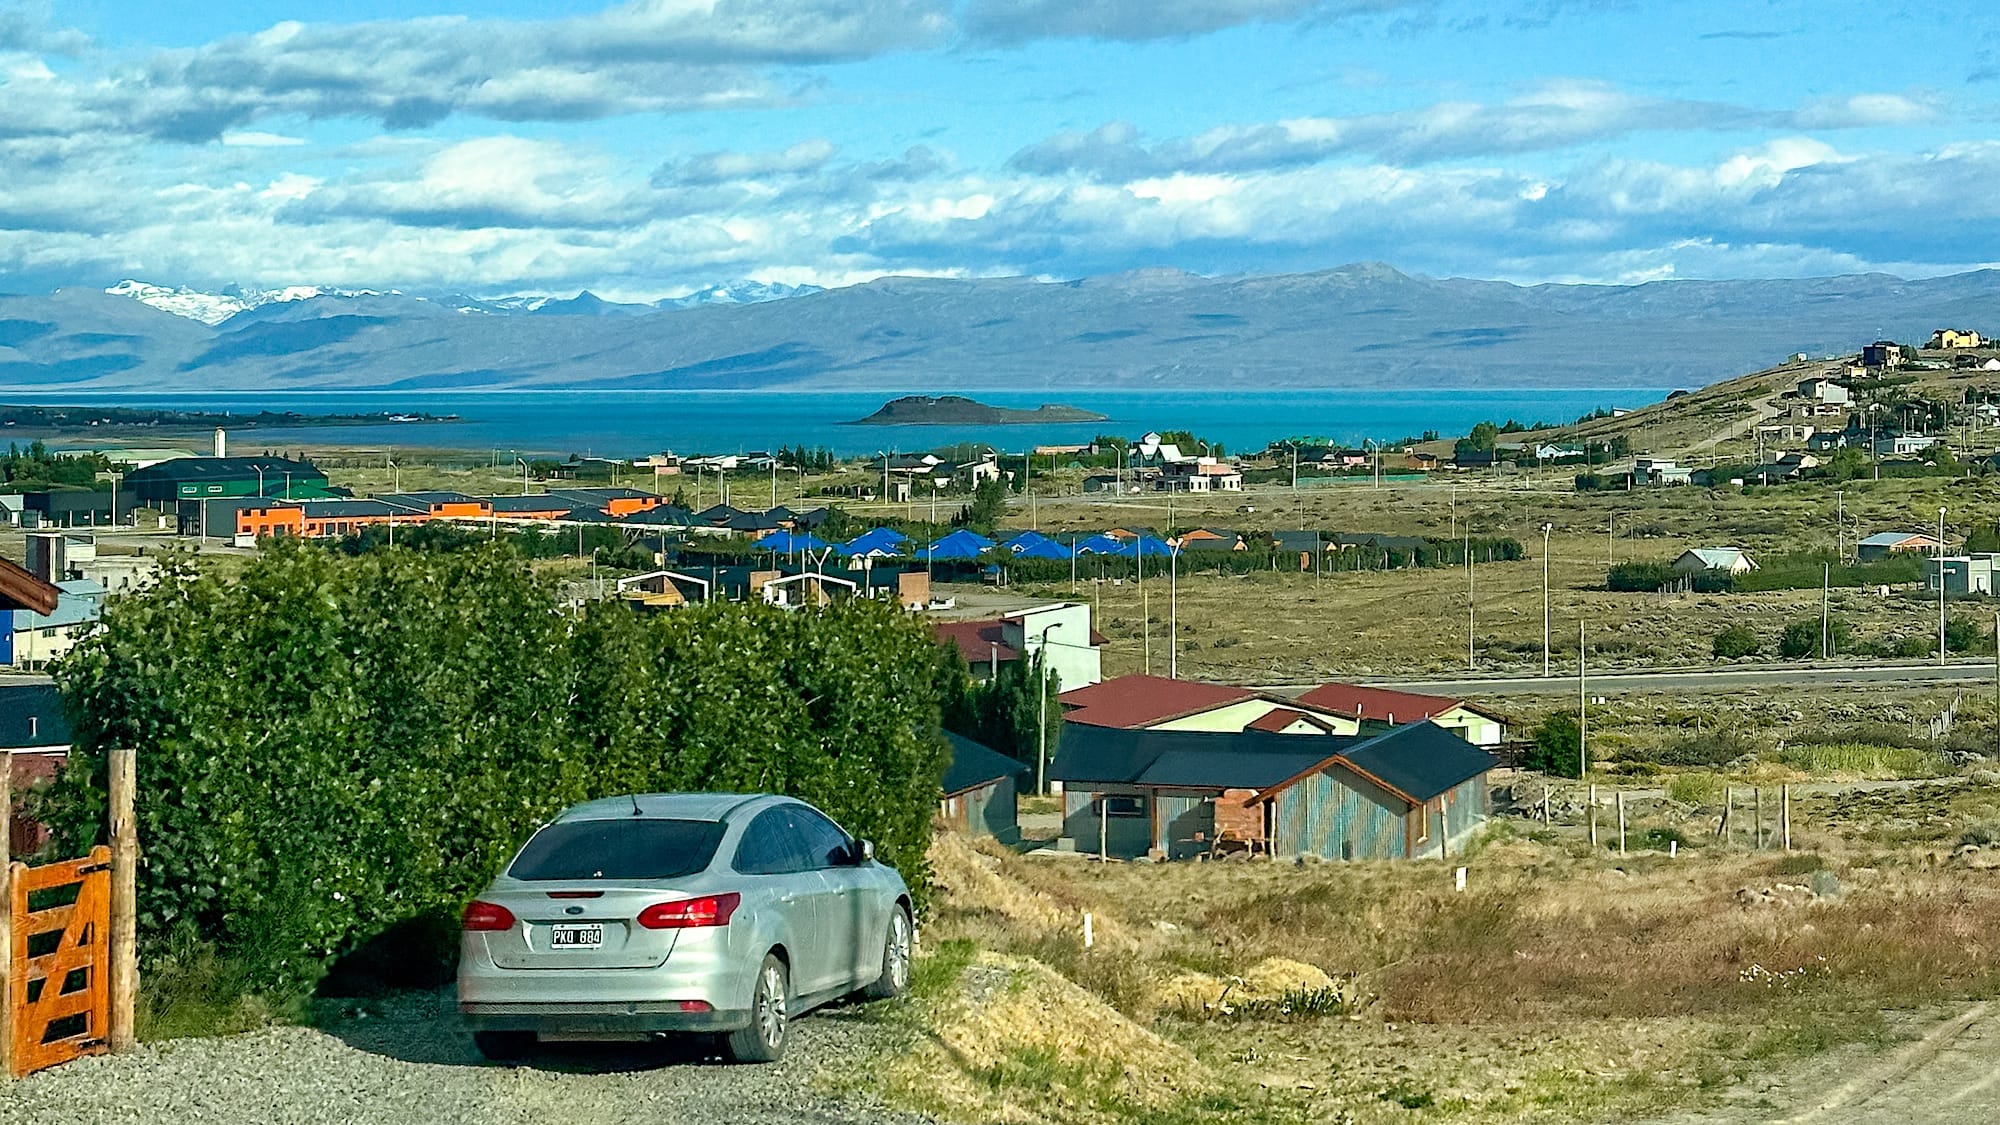
I recommend staying in the center of El Calafate, since most of the bars and restaurants are located there. The town is spread over a large area, so staying further away means taking taxis or driving to reach the town's center.
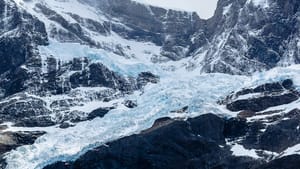
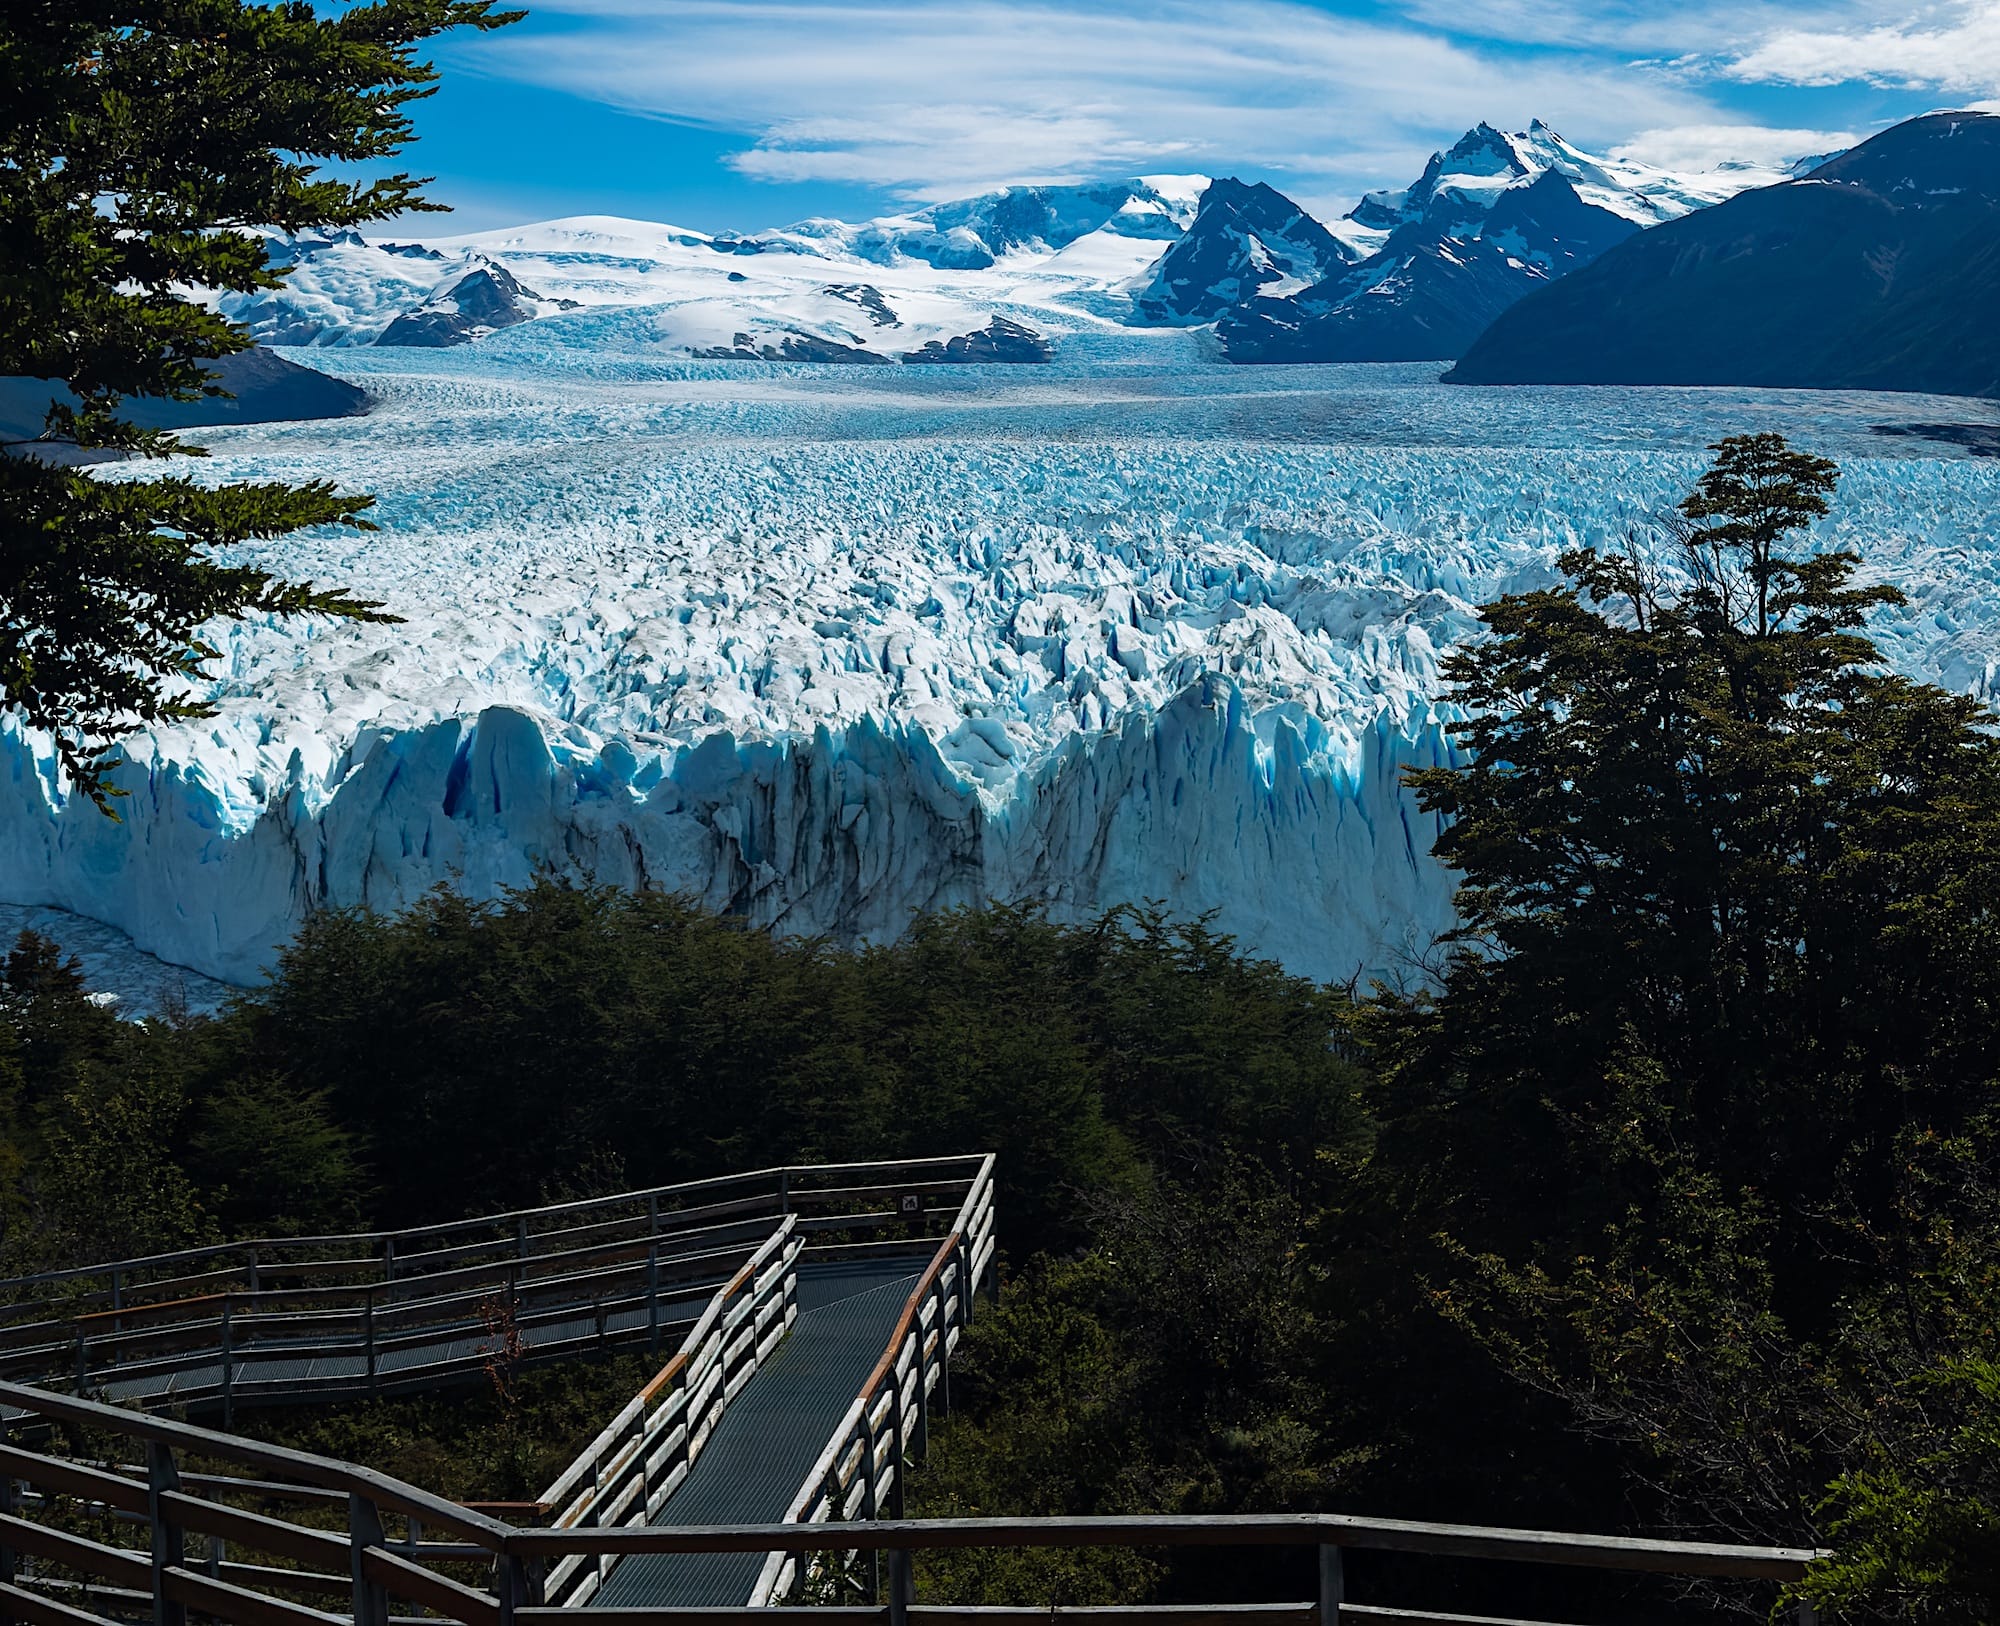
Day 7: Perito Moreno Glacier Hike
Start the day by enjoying breakfast in town.
Depending on the circuit and options you book, you will either be picked up from your accommodation and taken to the pier or drive there by yourself. This will also impact whether you have enough time to walk on the wooden platforms the same day.

Day 8: Perito Moreno Glacier Platform walk
If you didn't have enough time to visit the wooden platforms the previous day, you should definitely seize the opportunity to do so on this day.
Have lunch at the "Natives of Patagonia" restaurant for a meal with a view of the glacier.
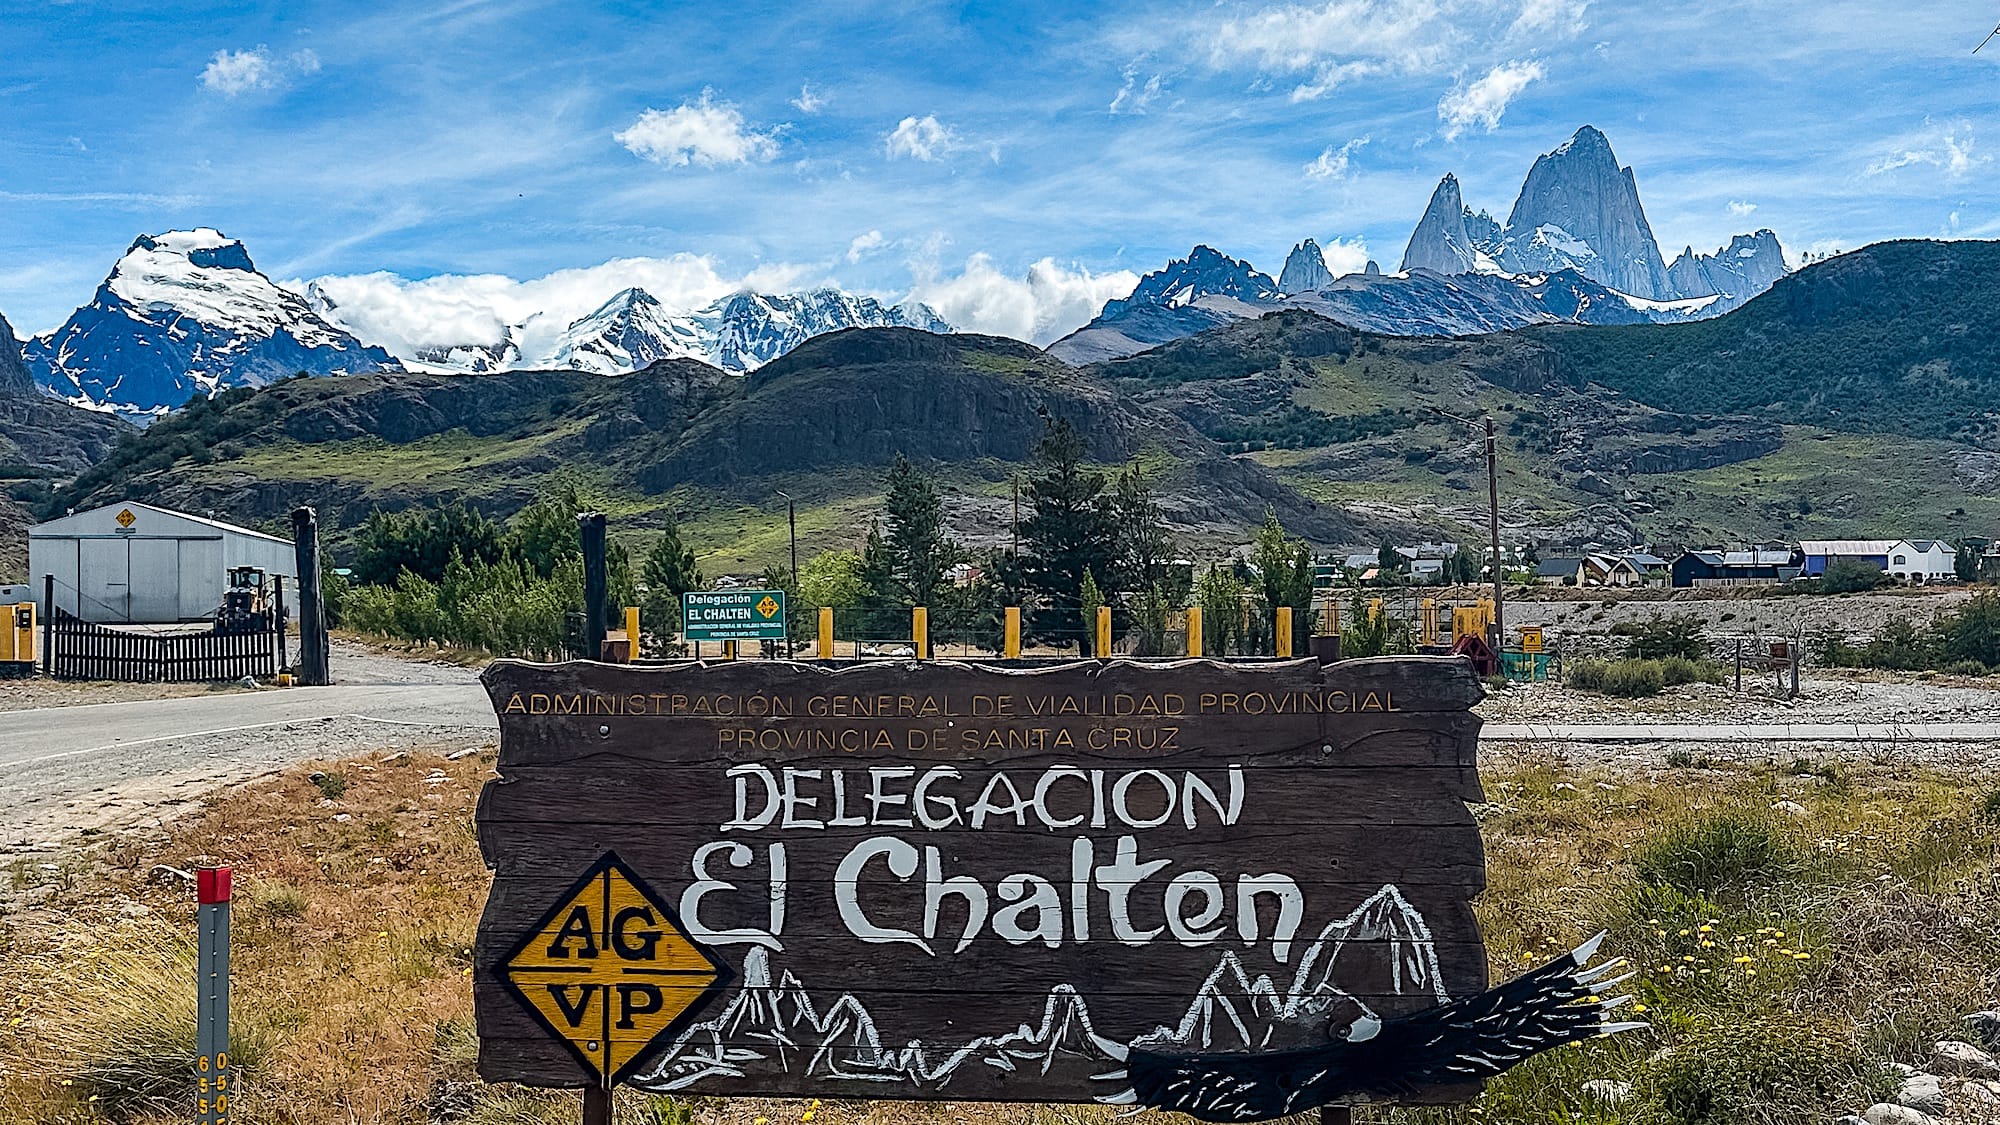
Day 9: El Calafate to El Chalten
If you keep your rental car on this day, you can drive straight to El Chalten.
Otherwise, take one of the many buses serving this route. If you take the bus, try to get the upper front row to get the best views over the mountain range as you get closer to your destination.
You will most likely have some time on this day to do the short hike to Mirador Los Condores.
If you like pasta, my suggestion for dinner would be "Maffia." If you have a specific place in mind, consider making reservations, as the demand surpasses the capacity in this town.
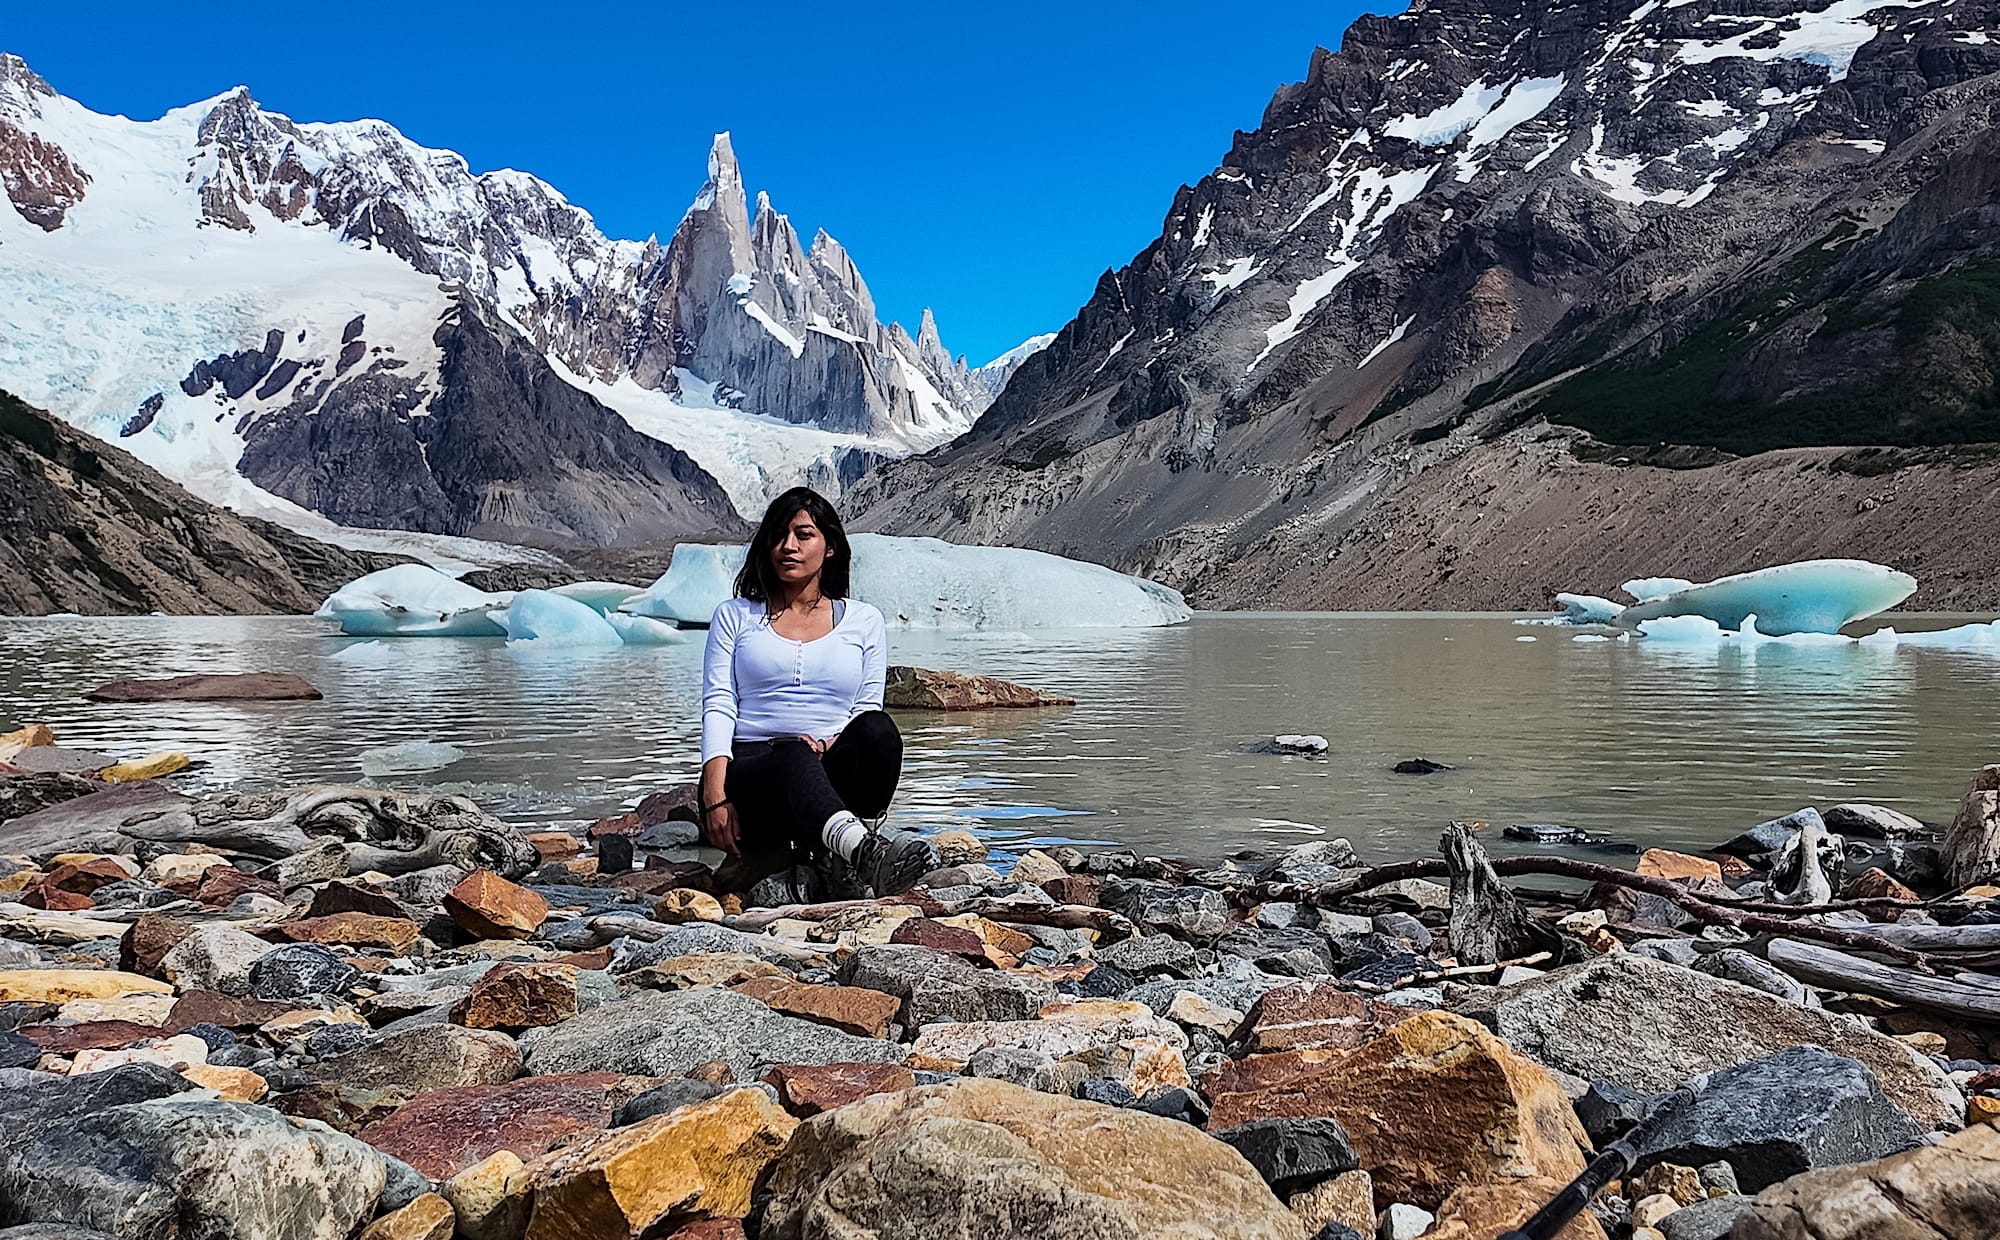
Day 10: Laguna Torre Hike
On your first full day in El Chalten, tackle the Laguna Torre Hike to prepare yourself for the next day's longer and more challenging hike.
Just like in Torres del Paine, there are no services in the mountain, so bring plenty of water and your lunch.
This is more of a half-day hike. You can read all about this hike in this guide.
Once you're back in town, you can go for a stroll and maybe even get an ice cream.
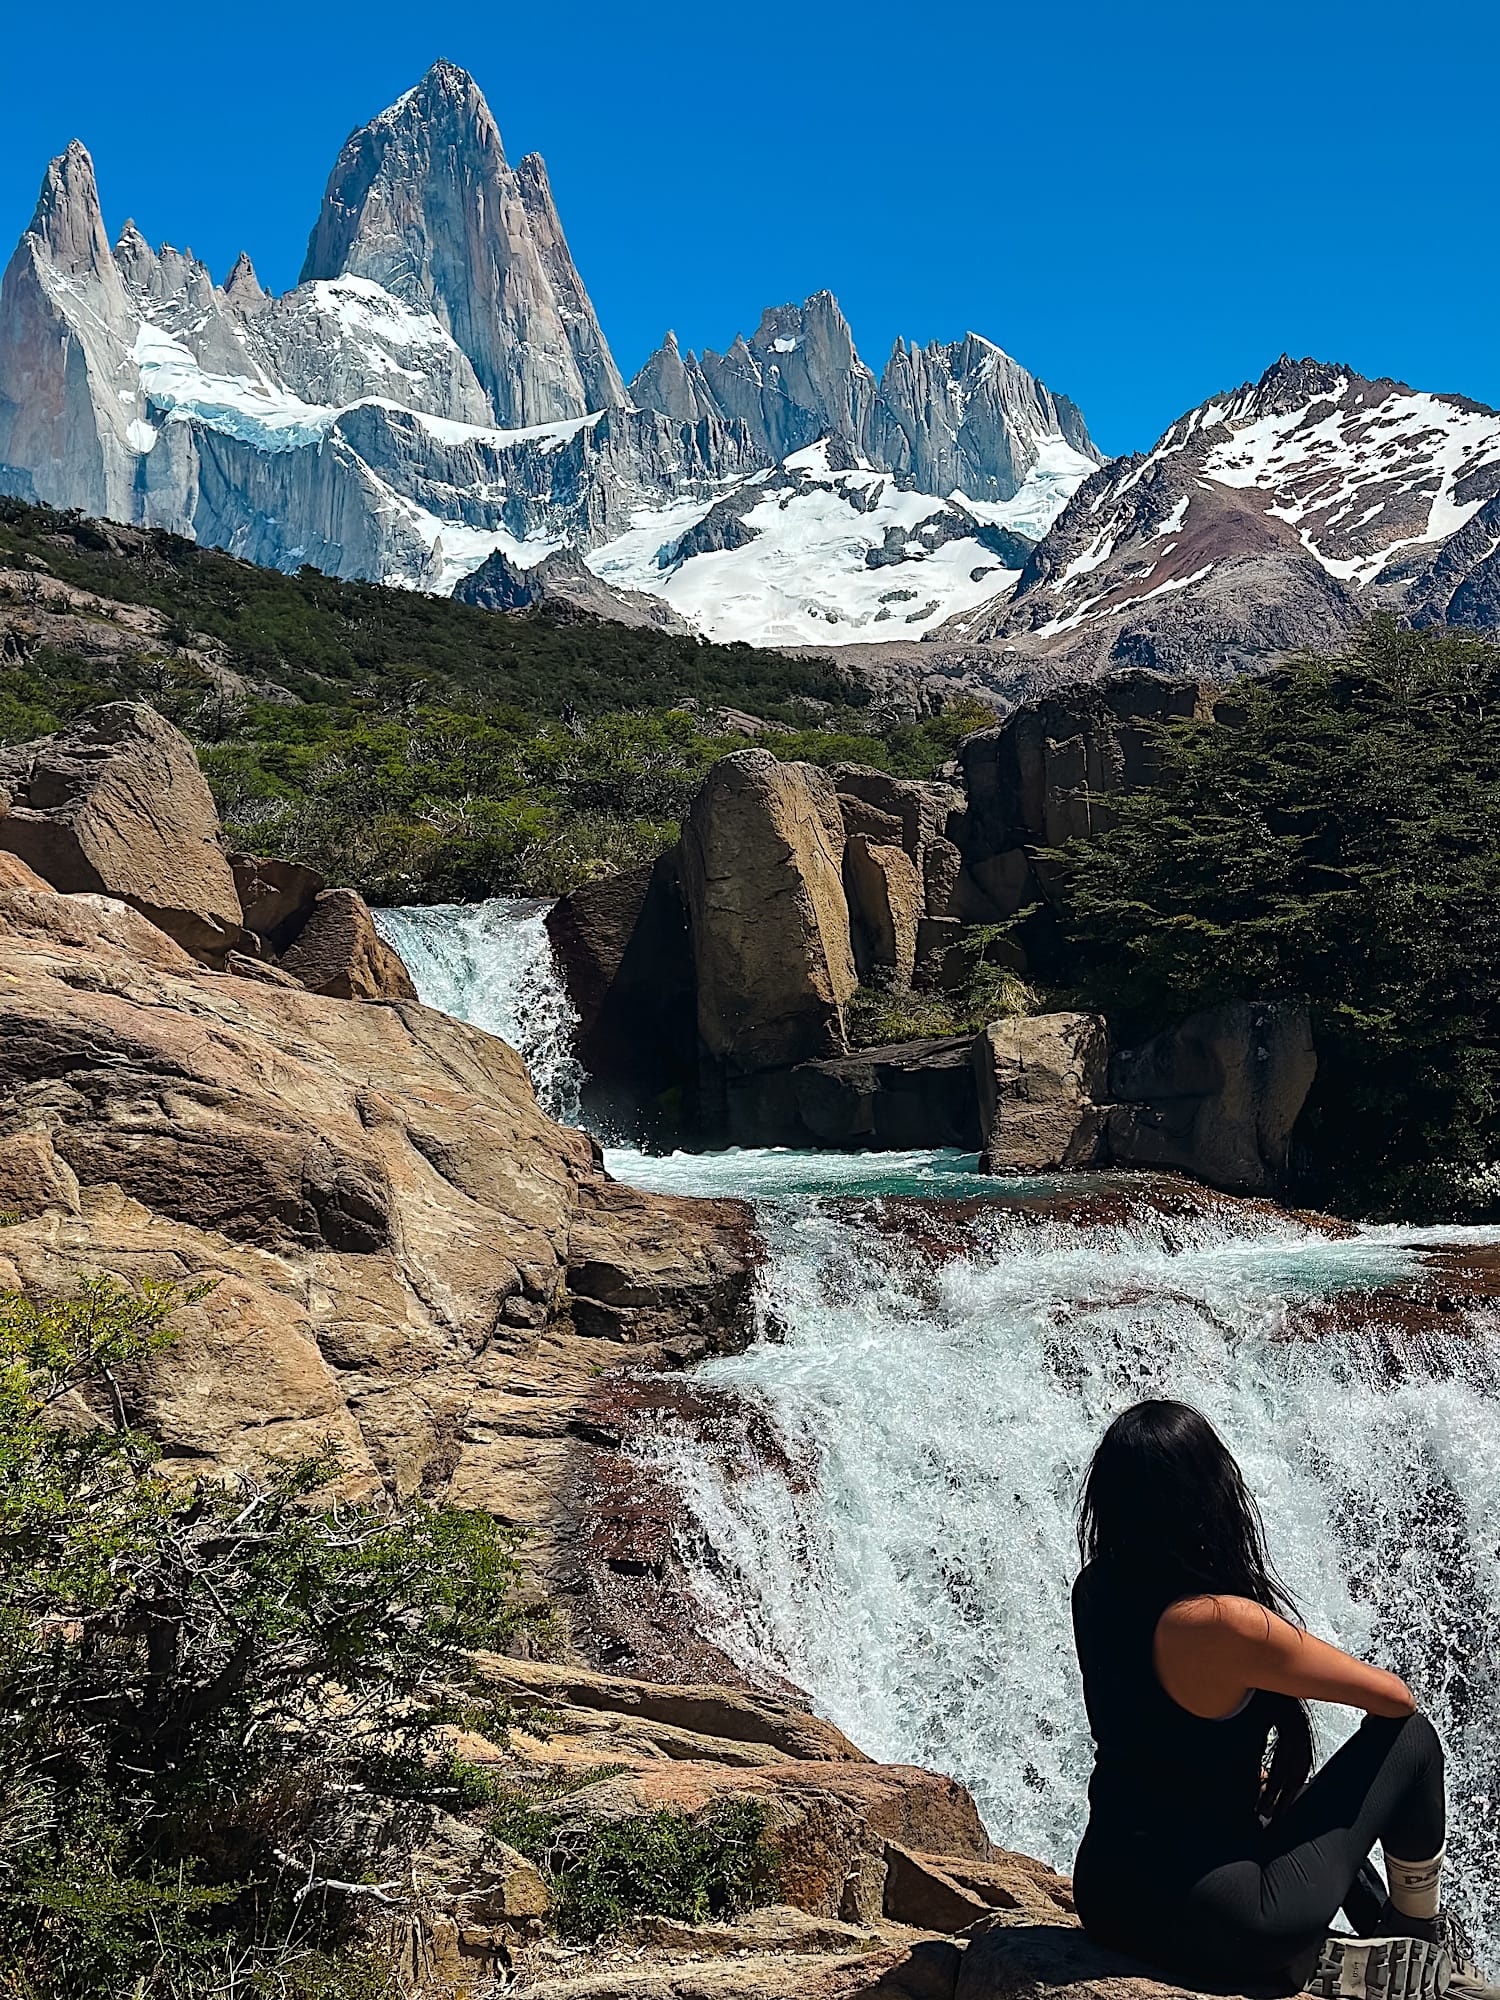
Day 11: Laguna de los Tres Hike
Wake up early and go on the Laguna de los Tres Hike.
This is a full-day, challenging hike, especially towards the viewpoint. This article provides all the details.
Day 12: El Chalten to El Calafate & Head to the Airport
On the last day of the trip, head back to El Calafate and give back your rental car if you still have it. You will find an airport in El Calafate to continue your trip.